How to give an agent access to messaging in Zendesk
Here is how to give an agent access to messaging in zendesk
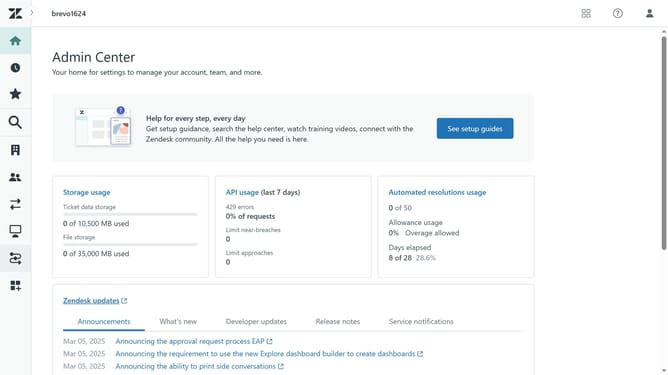
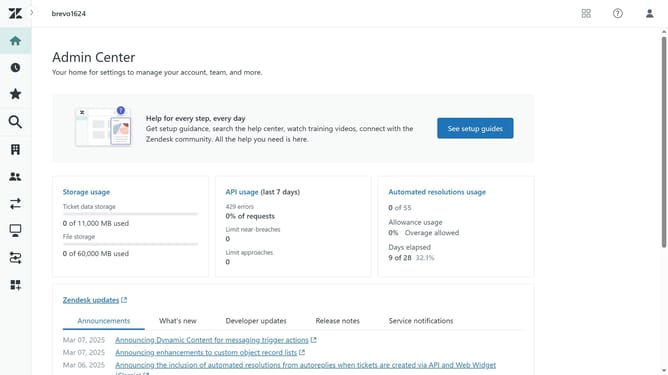
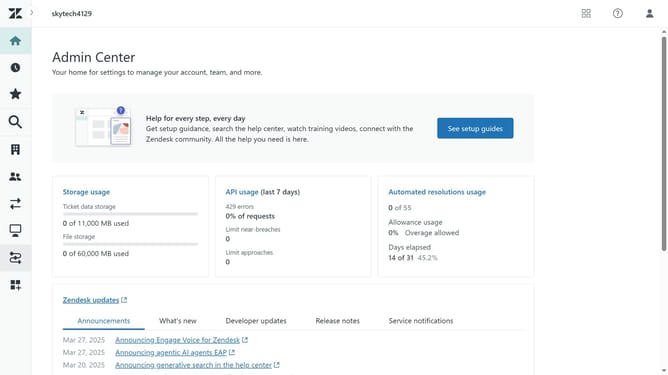
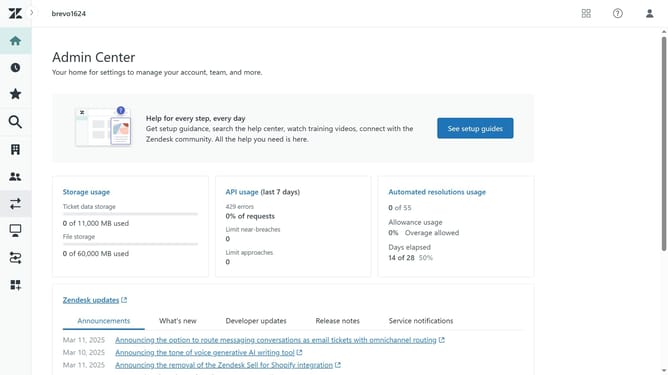
- First in Admin Center, click on the "People" icon in the left sidebar
- Then click on "Team members" under the Team section
- Next find and click on the agent you want to grant messaging access to
- Click on the "Roles and access" tab in the user profile
- Locate the "chat" section in the roles list
- Click on the "Access" checkbox for the chat role to enable it
- Click on the role selector dropdown for chat and select "Agent"
- Finally, click the "Save" button at the bottom of the page to apply the changes
- The agent now has access to messaging and can handle conversations in Zendesk
Why should you give an agent access to messaging in Zendesk
Zendesk is a versatile customer service platform that facilitates seamless communication between businesses and their customers.
Empowering an agent with access to messaging in Zendesk enhances customer interaction efficiency. It allows agents to quickly engage with clients through various messaging channels, ensuring timely responses and boosting customer satisfaction.
Implementing this feature means that agents can handle queries in real-time, which streamlines operations and improves the overall user experience. Enrich your support team's capabilities by making Zendesk messaging accessible to your agents.
Last update