How to enable the delimiter in Zendesk
Here is how to enable the delimiter in zendesk
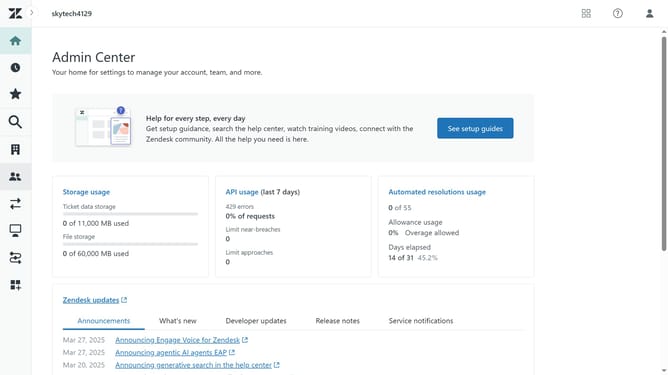
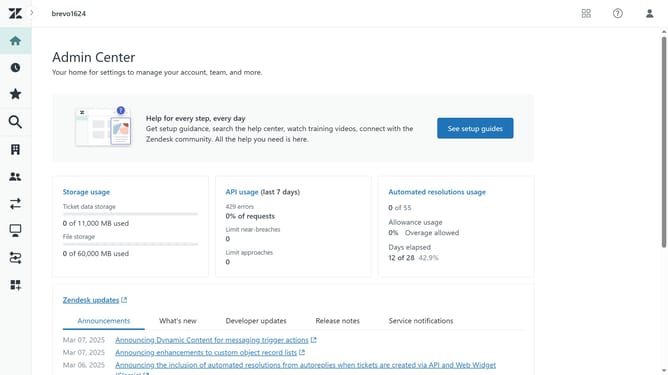
- First in Admin Center, click on the "Channels" icon in the left sidebar
- Then click on "Email" option under the "Talk and email" section
- Next in the email setting, find the "Mail delimiter" section
- Select the "Enable" checkbox next to it to enable this feature
- If needed, edit the delimiter text
- Next, you need to add the delimiter placeholder to your email template. Locate the "HTML template" in the Email templates section
- Then add the {{delimiter}} placeholder to your template, along with any surrounding CSS you want to apply
- Ensure that the {{delimiter}} placeholder appears before the {{content}} placeholder in the template
- Finally click on the "Save" button at the bottom of the page to apply changes
Why should you enable the delimiter in Zendesk
Zendesk is a robust platform designed to streamline customer support and enhance communication efficiency across teams.
Enabling the delimiter feature in Zendesk can significantly enhance your workflow management by separating essential data points more effectively. This functionality allows for clearer data organization, facilitating better reporting and analytics.
Using delimiters ensures that your interactions and data processing become more structured. This ultimately leads to improved team collaboration and a smoother customer service experience.
Last update