How to add custom fields to a custom object in Zendesk
Here is how to add custom fields to a custom object in zendesk
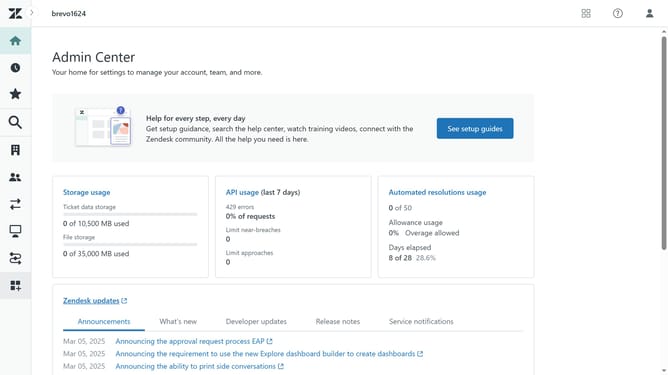
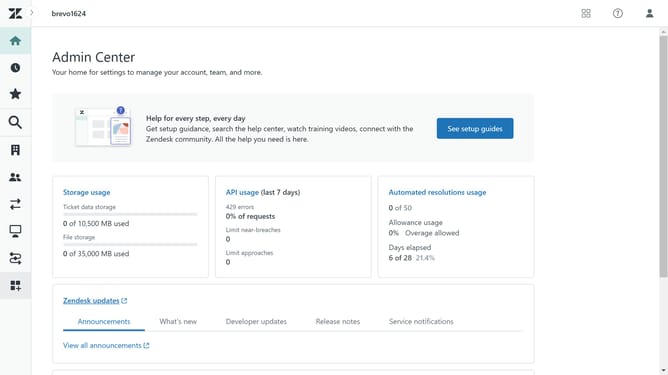
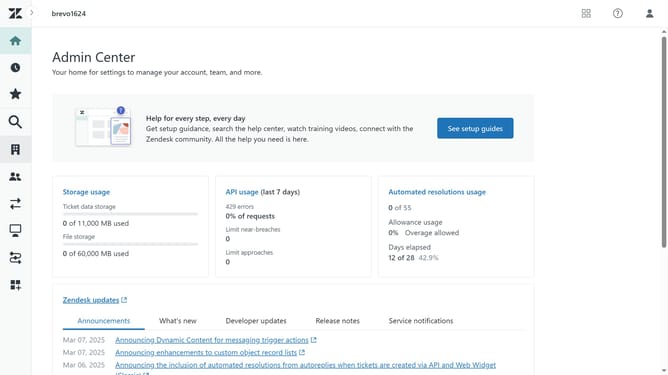
- First in Admin Center, click on the "Objects and rules" icon in the left sidebar
- Then click on "Objects" under the Custom objects section
- Next click on the custom object you want to add fields to from the objects list
- Click on the "Fields" tab in the object details view
- Then click on the "Add field" button in the top right corner
- In the Add field view, choose a field type from the available options (e.g., text, number, date, dropdown)
- Enter a name in the Display name field
- Enter a field key, zendesk auto-generates one, but you can customize it
- Enter a brief description of the field in the Description field, if necessary
- Next in the right panel you can preview the Agent view
- Then, click the "Save" button
- Alternatively, click on the down arrow next to the Save button
- Finally, click "Save and add another" to save and continue adding a new field
- Repeat the same steps as necessary to add more custom fields
- You've successfully added custom fields to your custom object
Why should you add custom fields to a custom object in Zendesk
Zendesk is a comprehensive customer service platform designed to enhance communication and streamline support efforts.
Adding custom fields to a custom object in Zendesk empowers users to tailor their data management precisely to business needs. This feature enables users to collect and organize information that is most relevant to their specific workflow.
By implementing custom fields, organizations ensure that their support teams have access to precise data, enhancing decision-making and improving customer interactions. This customization ultimately assists in making support processes more personal and efficient.
Last update