How to enable notification limits in Zendesk Chat
Here is how to enable notification limits in zendesk chat
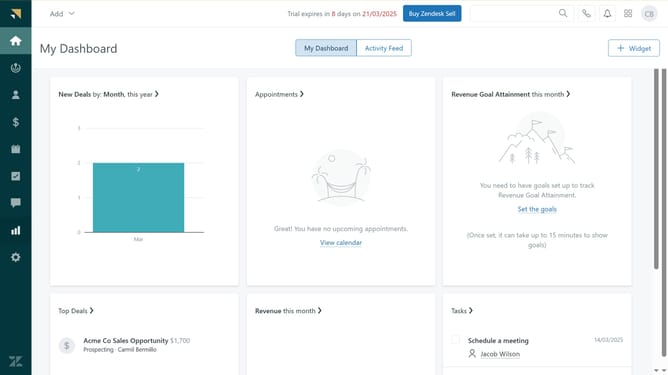
- First in your dashboard, click on "Settings" in the left sidebar
- Then click on "Routing" in the Settings menu
- Next click the "On" toggle button in the Chat limit section
- In the Chat limit settings, next to "Apply to" select Account or Agent
- If you selected "Account", enter a value in the Maximum chats field
- If you selected "Agent," configure the limits in each agent's profile
- Finally, cick the "Save changes" button at the bottom of the page to apply the changes
Why should you enable notification limits in Zendesk Chat
Zendesk is a powerful tool designed to enhance customer service interactions.
By enabling notification limits in Zendesk Chat, you empower your team to prioritize important messages without the distraction of excessive notifications.
This feature helps maintain focus and efficiency, ensuring that your staff can manage inquiries effectively.
Ultimately, setting notification limits enhances the quality of customer interactions while optimizing the workflow of your support team.
Last update