How to deactivate a custom ticket field in Zendesk
Here is how to deactivate a custom ticket field in zendesk
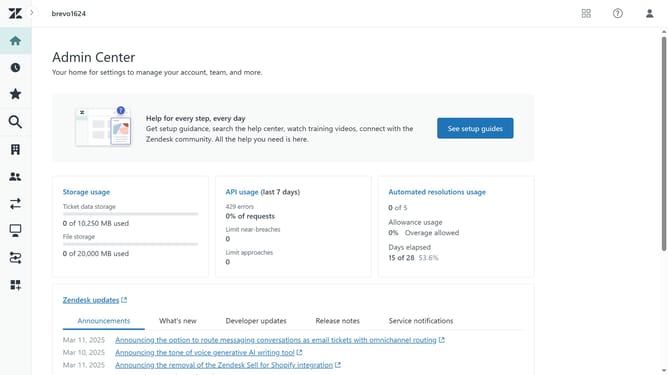
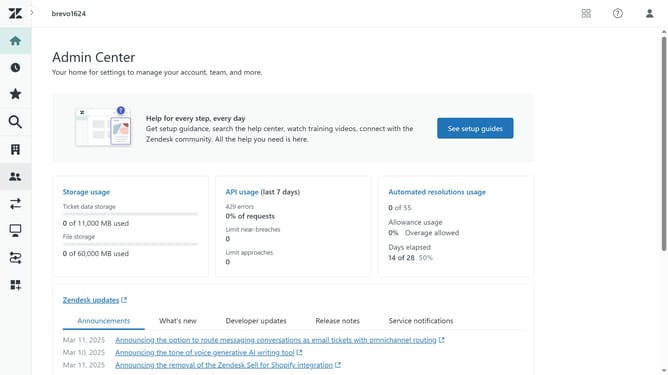
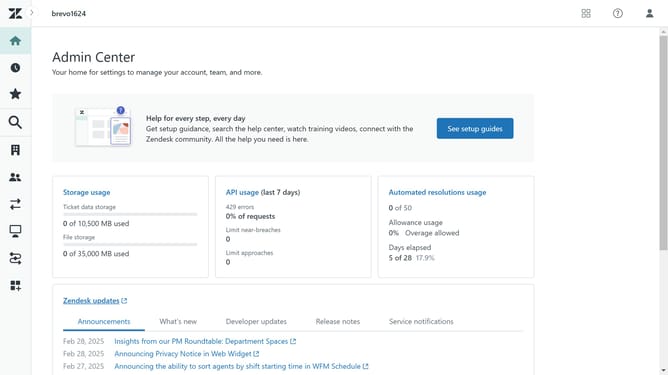
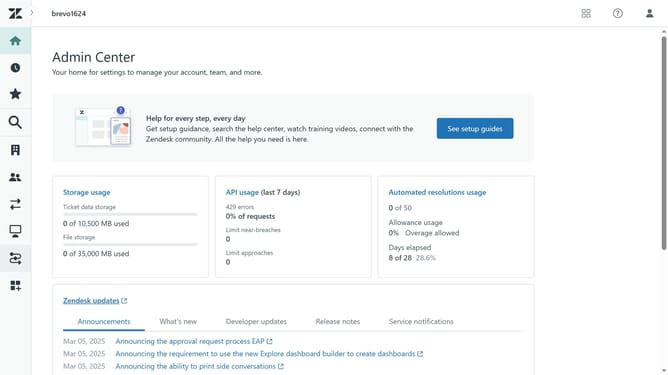
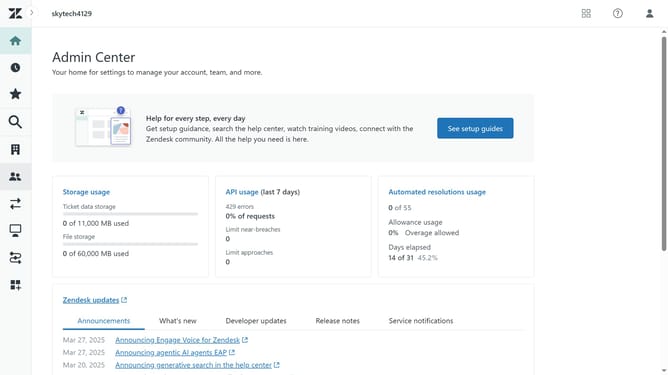
- First in Admin Center, click on the "Objects and rules" icon in the left sidebar
- Then click on "Fields" option under the Tickets section
- Next find the custom field you want to deactivate
- Click the "More options" button (three dots) next to it
- Select "Deactivate" option from the dropdown menu
- Finally click the "Deactivate" button in the confirmation dialog box to confirm the action
Why should you deactivate a custom ticket field in Zendesk
Zendesk is a powerful tool designed to enhance customer support experiences by streamlining communication and workflow.
The ability to deactivate a custom ticket field gives users the flexibility to adapt their support system as needs evolve. It's an essential feature that ensures the ticketing environment remains uncluttered and focused.
Deactivating unnecessary fields helps agents work more efficiently, reducing time spent on irrelevant information and allowing them to concentrate on resolving issues that truly matter.
This adaptable approach promotes a clean, effective, and user-friendly support platform, enhancing overall productivity.
Last update