How to edit the order of an object's fields in Zendesk
Here is how to edit the order of an object's fields in zendesk
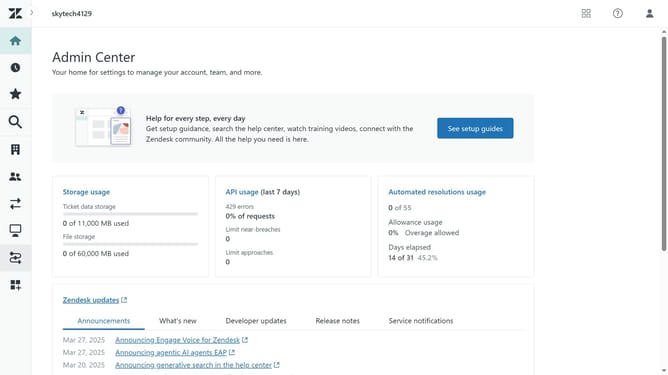
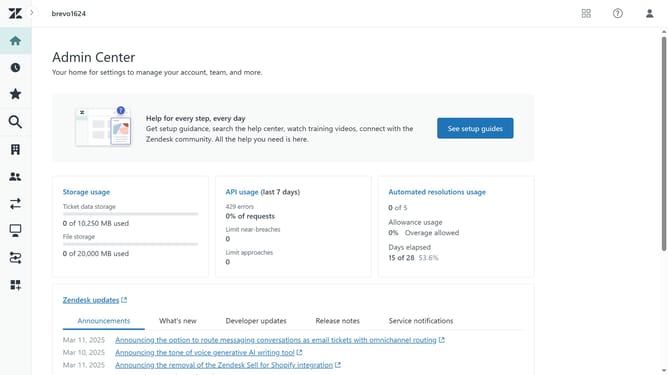
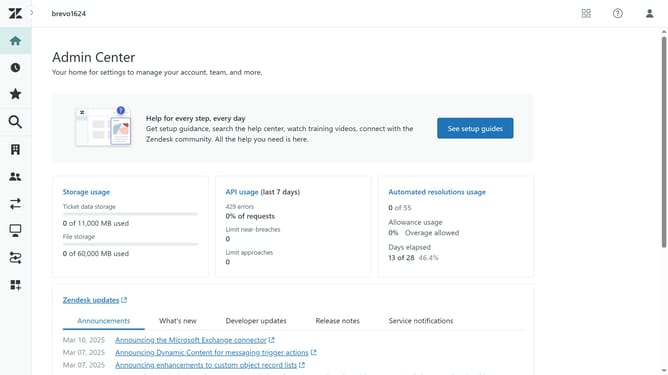
- First in Admin Center, click on the "Objects and rules" icon in the left sidebar
- Then click on "Objects" under the Custom objects section
- Next click on the custom object whose fields you want to reorder
- Click on the "Fields" tab in the object details view
- Click on the "Edit order" button in the fields view
- In the Edit order view, click and drag the field you want to move to its new position
- Then release the field to drop it in the desired position
- Do the same for all the other fields you want to change the order of
- Finally once done, click on the "Save" button to confirm the field order changes
Why should you edit the order of an object's fields in Zendesk
Zendesk is a powerful customer service software that streamlines support interactions for better customer experiences.
One of its handy features is the ability to edit the order of an object's fields, allowing users to customize their interface to match their workflows.
By organizing these fields, support agents can access vital information quickly, enhancing efficiency and reducing response times.
Ultimately, it empowers teams to deliver personalized and prompt customer service, tailored to their unique needs.
Last update