How to create a custom ticket field in Zendesk
Here is how to create a custom ticket field in zendesk
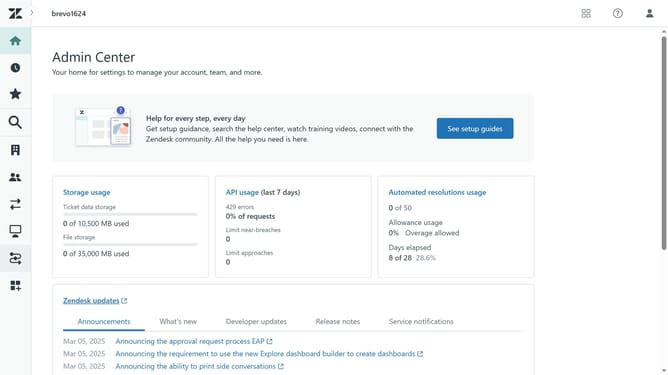
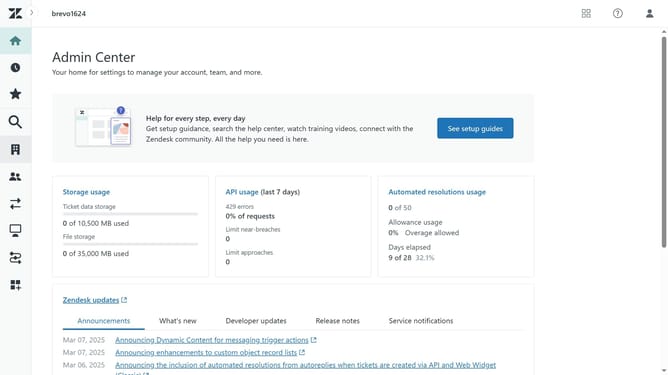
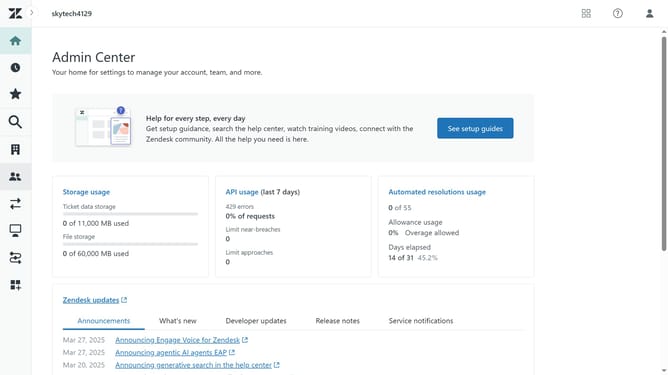
- First in Admin Center, click on the "Objects and rules" icon in the left sidebar
- Then click on "Fields" option under the Tickets section
- Next click on the "Add field" button in the top-right corner
- Choose the appropriate field type based on the data you need to collect (e.g., Text, Dropdown, etc)
- Enter a name for the field in the "Display name" field
- Optionally, enter a description to explain the purpose of this field for agents
- Check the "Required to solve a ticket" checkbox, if the agent must complete the field to solve the ticket
- Then under the Permissions section, choose who can access or edit the field
- Configure any additional options, depending on your field type. If using a "Dropdown" or "Multi-Select" field, enter the possible values that users can choose from
- Finally, once done, click on the "Save" dropdown menu in the bottom-right corner
- Click on "Save and add another" option to create another custom field
- Alternatively, click on "Save" button directly to finalize the field creation
Why should you create a custom ticket field in Zendesk
Zendesk is a powerful customer service platform designed to enhance client relationships.
Creating a custom ticket field in Zendesk allows you to tailor your support requests to better fit your business needs.
This feature enables you to collect specific data points, ensuring more personalized and efficient service.
By leveraging custom fields, you streamline operations and gain insightful analytics, ultimately improving customer satisfaction.
Last update