How to reassign shortcuts in Zendesk Chat
Here is how to reassign shortcuts in zendesk chat
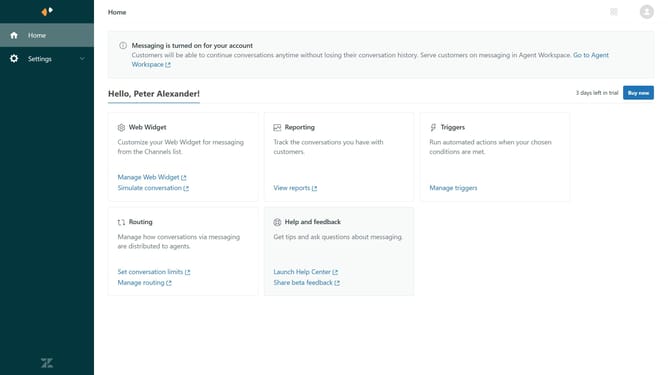
- First in your dashboard, click on the "Settings" option in the left sidebar
- Then click on the "Shortcuts" option in the settings menu
- Select the checkbox next to shortcuts you want to reassign in the shortcuts list
- Next click the "Actions" dropdown button in the top menu
- Click on "Reassign" in the actions dropdown menu
- Click on the "Available for" dropdown in the reassign dialog
- Select the new group or agent to reassign the shortcut to from the dropdown list
- Then click on the "Set" button to proceed
- Finally click the "Reassign" button in the confirmation dialog
Why should you reassign shortcuts in Zendesk Chat
Zendesk is your go-to solution for seamless customer interaction and streamlined support processes.
Reassigning shortcuts in Zendesk Chat empowers teams to tailor their workflow, ensuring that every support interaction is quick and efficient.
By customizing these shortcuts, agents can refine their chat operations, leading to faster response times and elevated customer satisfaction.
This feature supports personalized customer engagement, leaving a lasting positive impression on users and enhancing overall productivity.
Last update