How to deactivate a ticket trigger in Zendesk
Here is how to deactivate a ticket trigger in zendesk
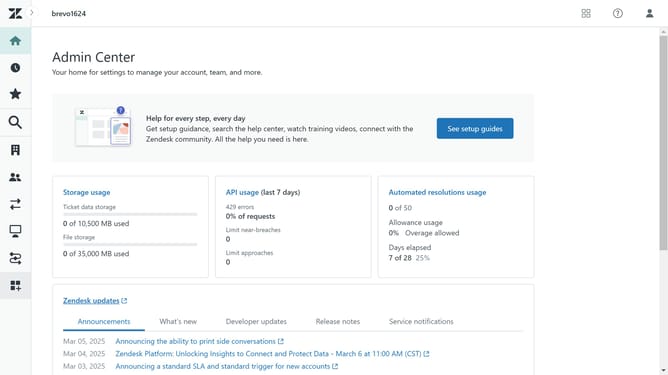
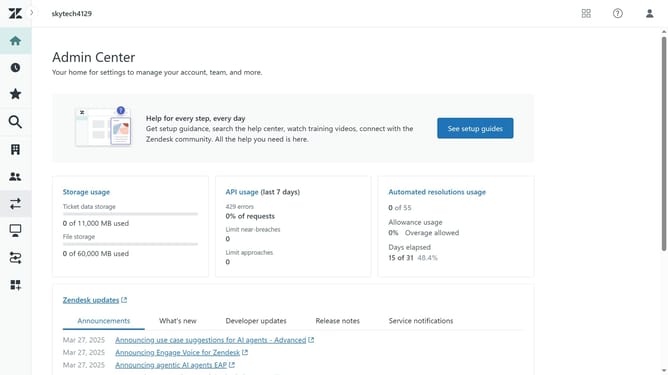
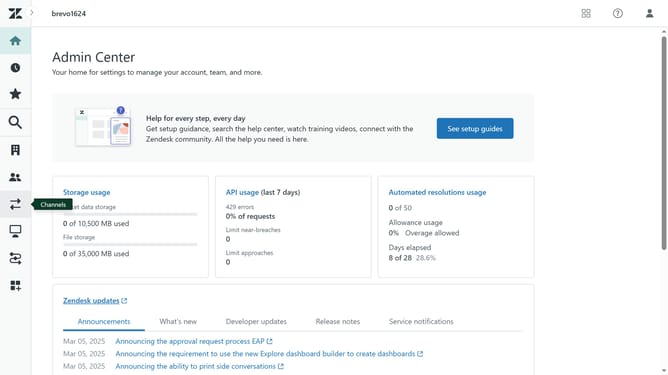
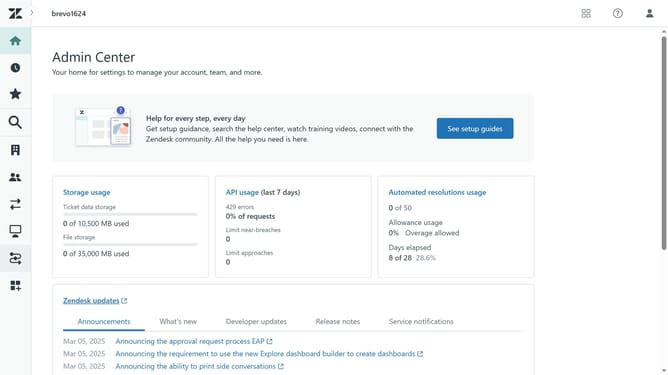
- First in Admin Center, click on "Objects and rules" in the left sidebar
- Then click on "Triggers" under Business rules
- Click on the "Ticket" tab in the main content area
- Locate the trigger you want to deactivate
- Click on the menu icon (three dots) next to it
- Select "Deactivate" option from the dropdown menu
- Click the "Deactivate" button in the confirmation dialog to confirm
- The trigger has been successfully deactivated and will now be marked as Inactive
Why should you deactivate a ticket trigger in Zendesk
Zendesk is a dynamic customer service platform designed to enhance communication and streamline support processes.
The feature to deactivate ticket triggers in Zendesk allows for greater control over how and when actions are automated, ensuring that your workflow remains efficient and relevant to current needs.
Deactivating unnecessary or outdated triggers can prevent automated responses or actions that are no longer applicable, ultimately reducing clutter and potential confusion.
By carefully managing these triggers, businesses can maintain a more organized and responsive support environment.
Last update