How to create categories for ticket triggers in Zendesk
Here is how to create categories for ticket triggers in zendesk
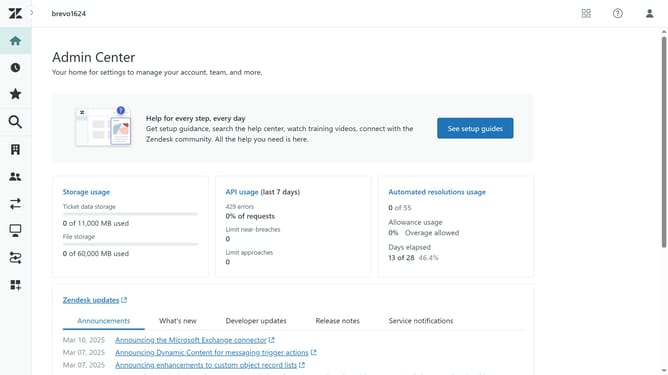
- First in Admin Center, click on "Objects and rules" in the left sidebar
- Then click on "Triggers" under Business rules
- Click on the "Ticket" tab in the triggers section
- Click on the dropdown arrow next to the "Create trigger" button
- Select "Create category" from the dropdown menu
- Enter the category name in the "Category name" field
- Then click the "Create" button to create the new category
- Your trigger category has been successfully created and you can now create new ticket triggers with it
Why should you create categories for ticket triggers in Zendesk
Zendesk is a versatile platform designed to enhance customer service interactions.
Creating categories for ticket triggers in Zendesk enables more organized and efficient ticket handling. By categorizing triggers, businesses can streamline their workflow, ensuring that specific actions are automatically executed for different types of inquiries.
This feature leads to quicker response times and improved customer satisfaction as it reduces manual effort, allowing support teams to focus on more complex issues.
Last update