How to edit a ticket trigger in Zendesk
Here is how to edit a ticket trigger in zendesk
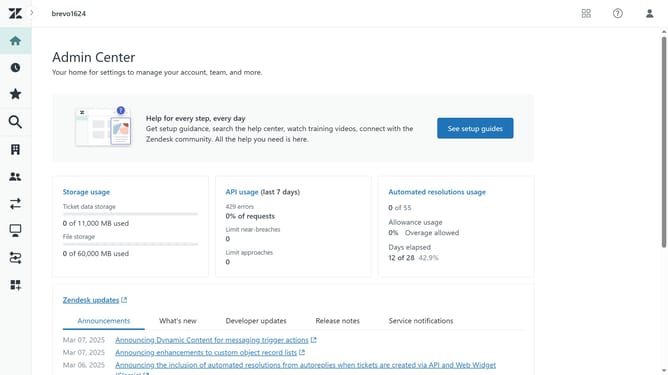
- First in Admin Center, click on "Objects and rules" in the left sidebar
- Then click on "Triggers" under Business rules
- Next click on the "Ticket" tab in the triggers section
- Click on the name of the trigger that you want to edit
- Modify the name, description and category as needed
- Scroll down and make the necessary changes for the trigger conditions
- Click on "Add condition" button to add a new one
- Modify the action or click on "Add action" button in the actions section to add a new one
- Finally, once done click the "Save" button to save the changes
Why should you edit a ticket trigger in Zendesk
Zendesk is a powerhouse platform designed to enhance customer service experiences efficiently.
Editing a ticket trigger in Zendesk is integral for customizing automated responses and streamlining communication.
This feature allows businesses to tailor workflows to meet specific requirements, ensuring that every customer interaction aligns with organizational objectives.
By refining these triggers, you can enhance response accuracy and speed, significantly boosting customer satisfaction and team productivity.
Last update