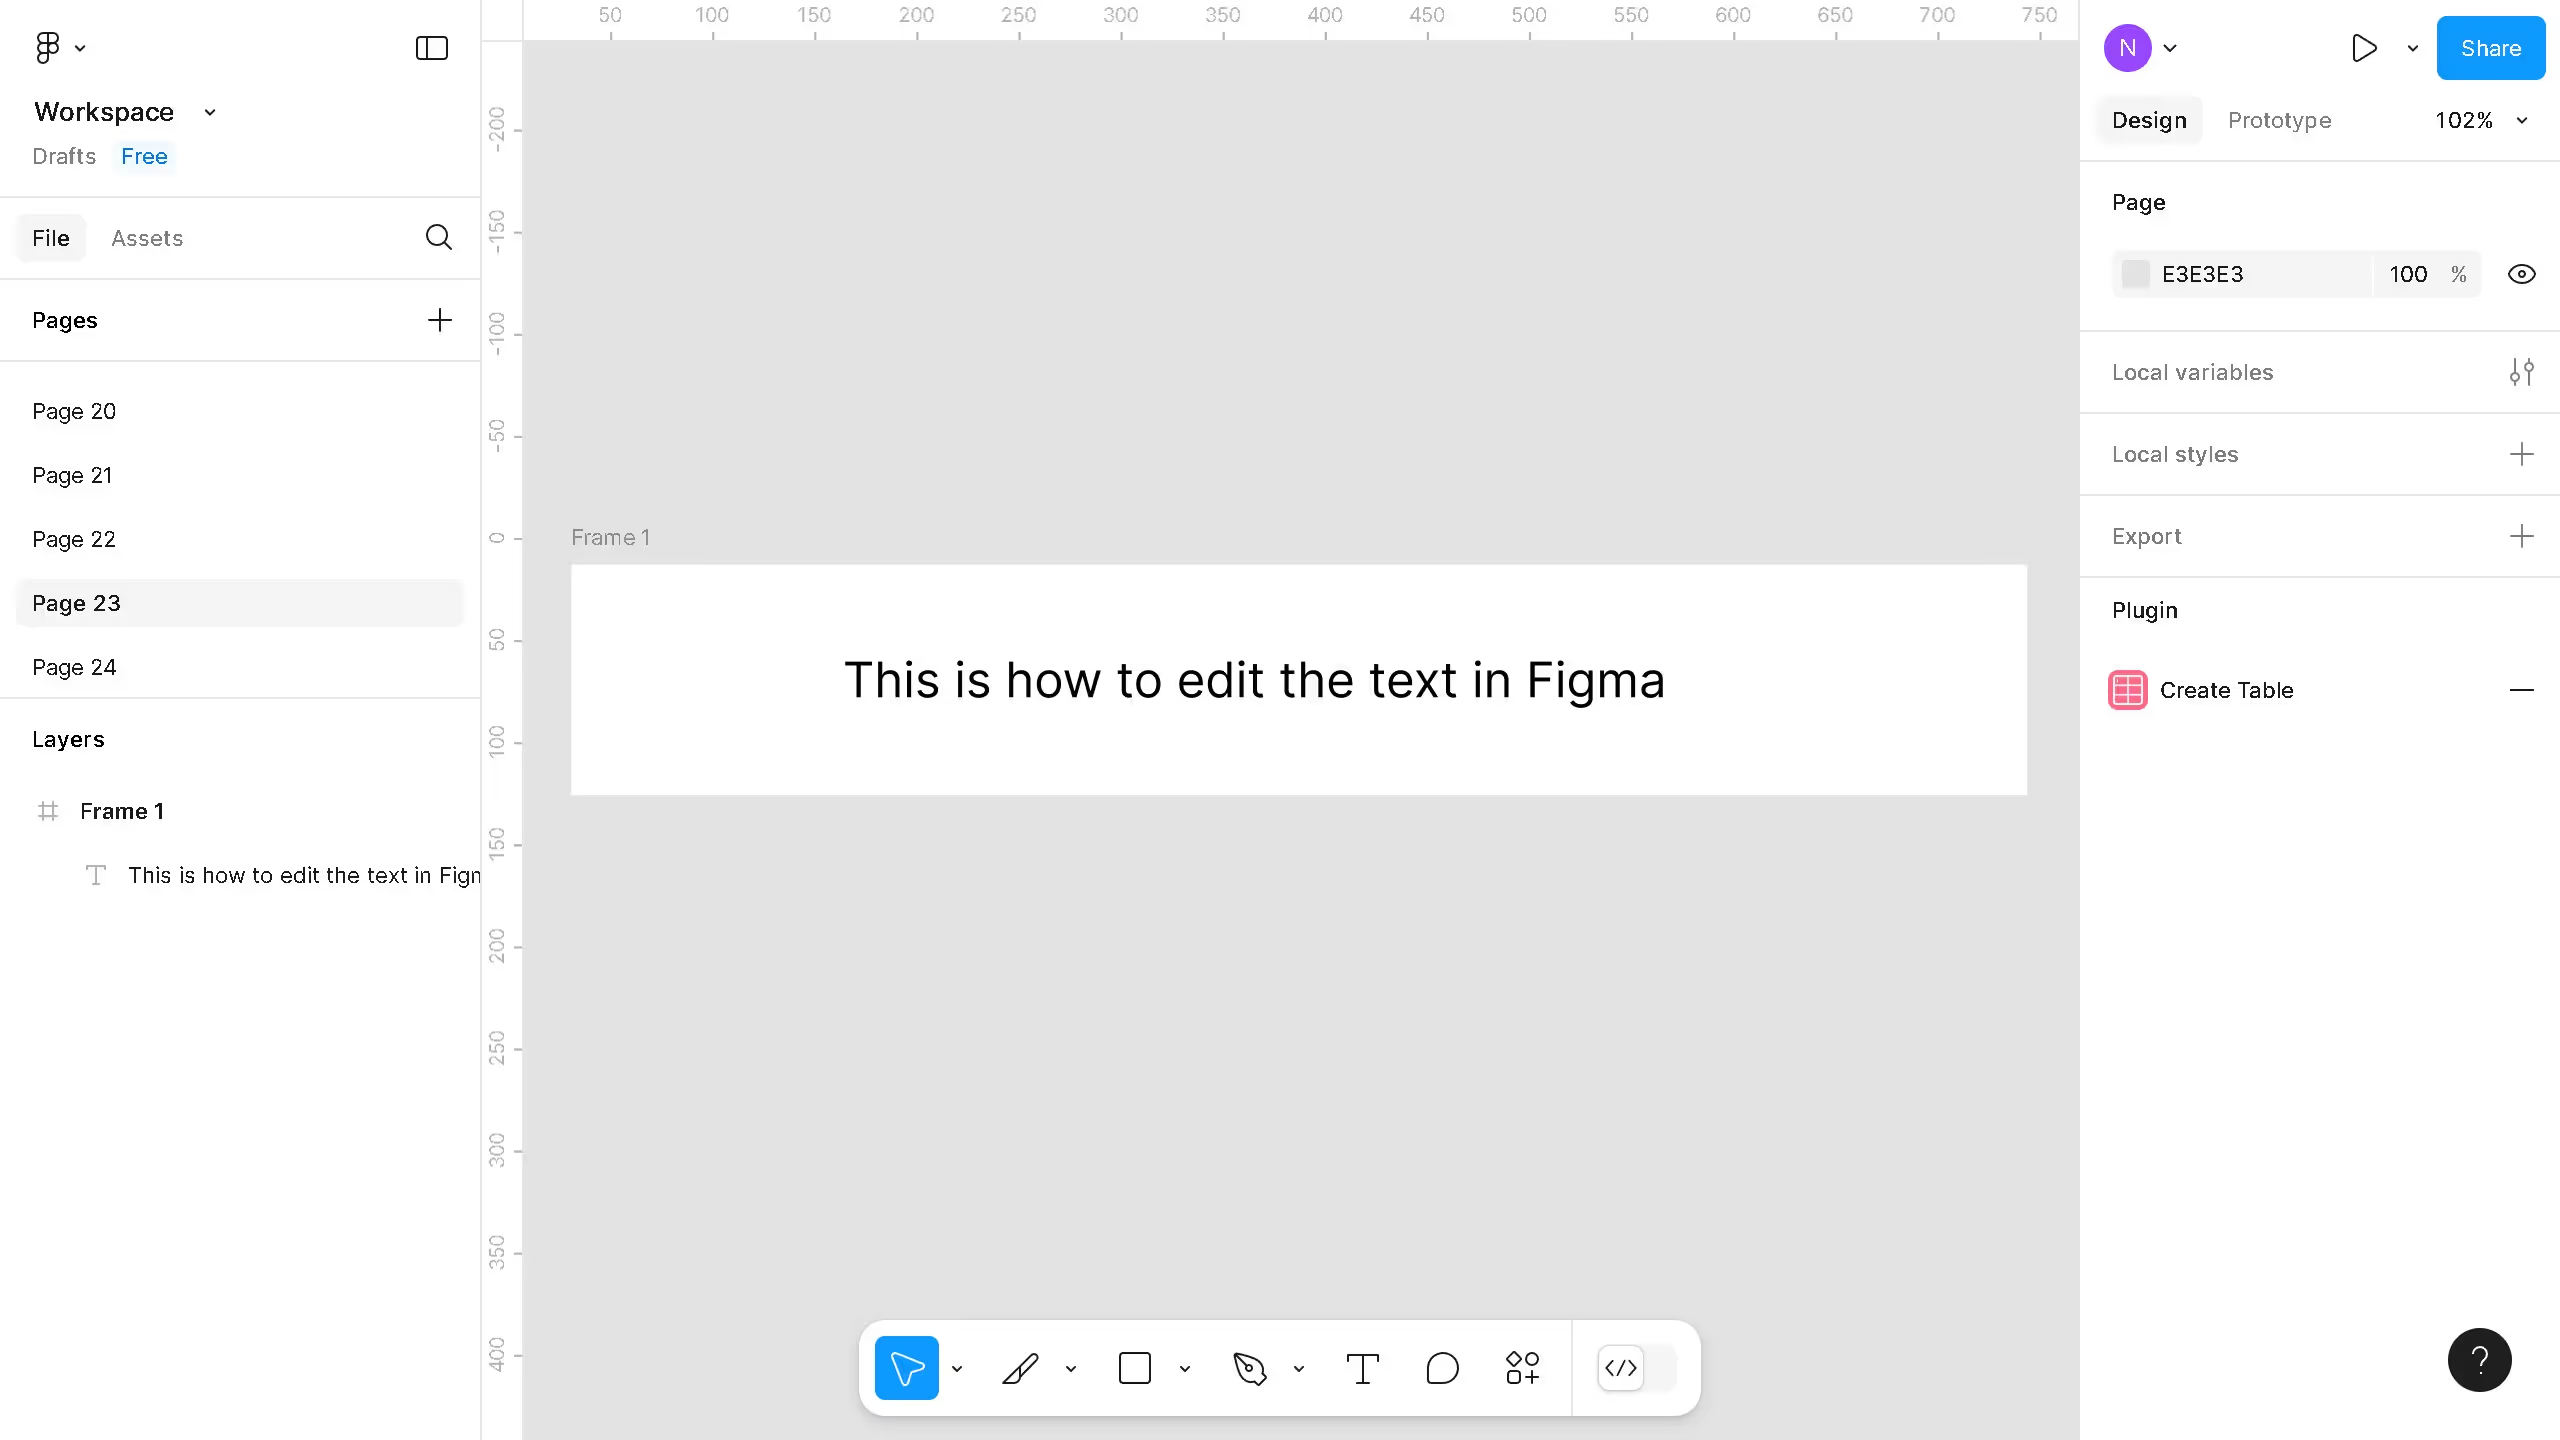
Figma is a collaborative interface design tool that brings ideas to life in the digital world.
Creating a prototype in Figma offers a dynamic way to visualize and interact with your design concepts before development. By leveraging Figma’s intuitive features, such as drag-and-drop components, interactive links, and seamless transitions, users can efficiently simulate real-world user experiences.
This process not only aids in identifying design flaws early but also enhances team collaboration, ensuring that everyone is aligned from the onset.
Ultimately, prototyping in Figma streamlines the design process, saving time and resources while fostering creativity and innovation.


