Create your own interactive guide with Guideflow
How it works
Here is a simple step-by-step guide on how to create a flow in Figma:
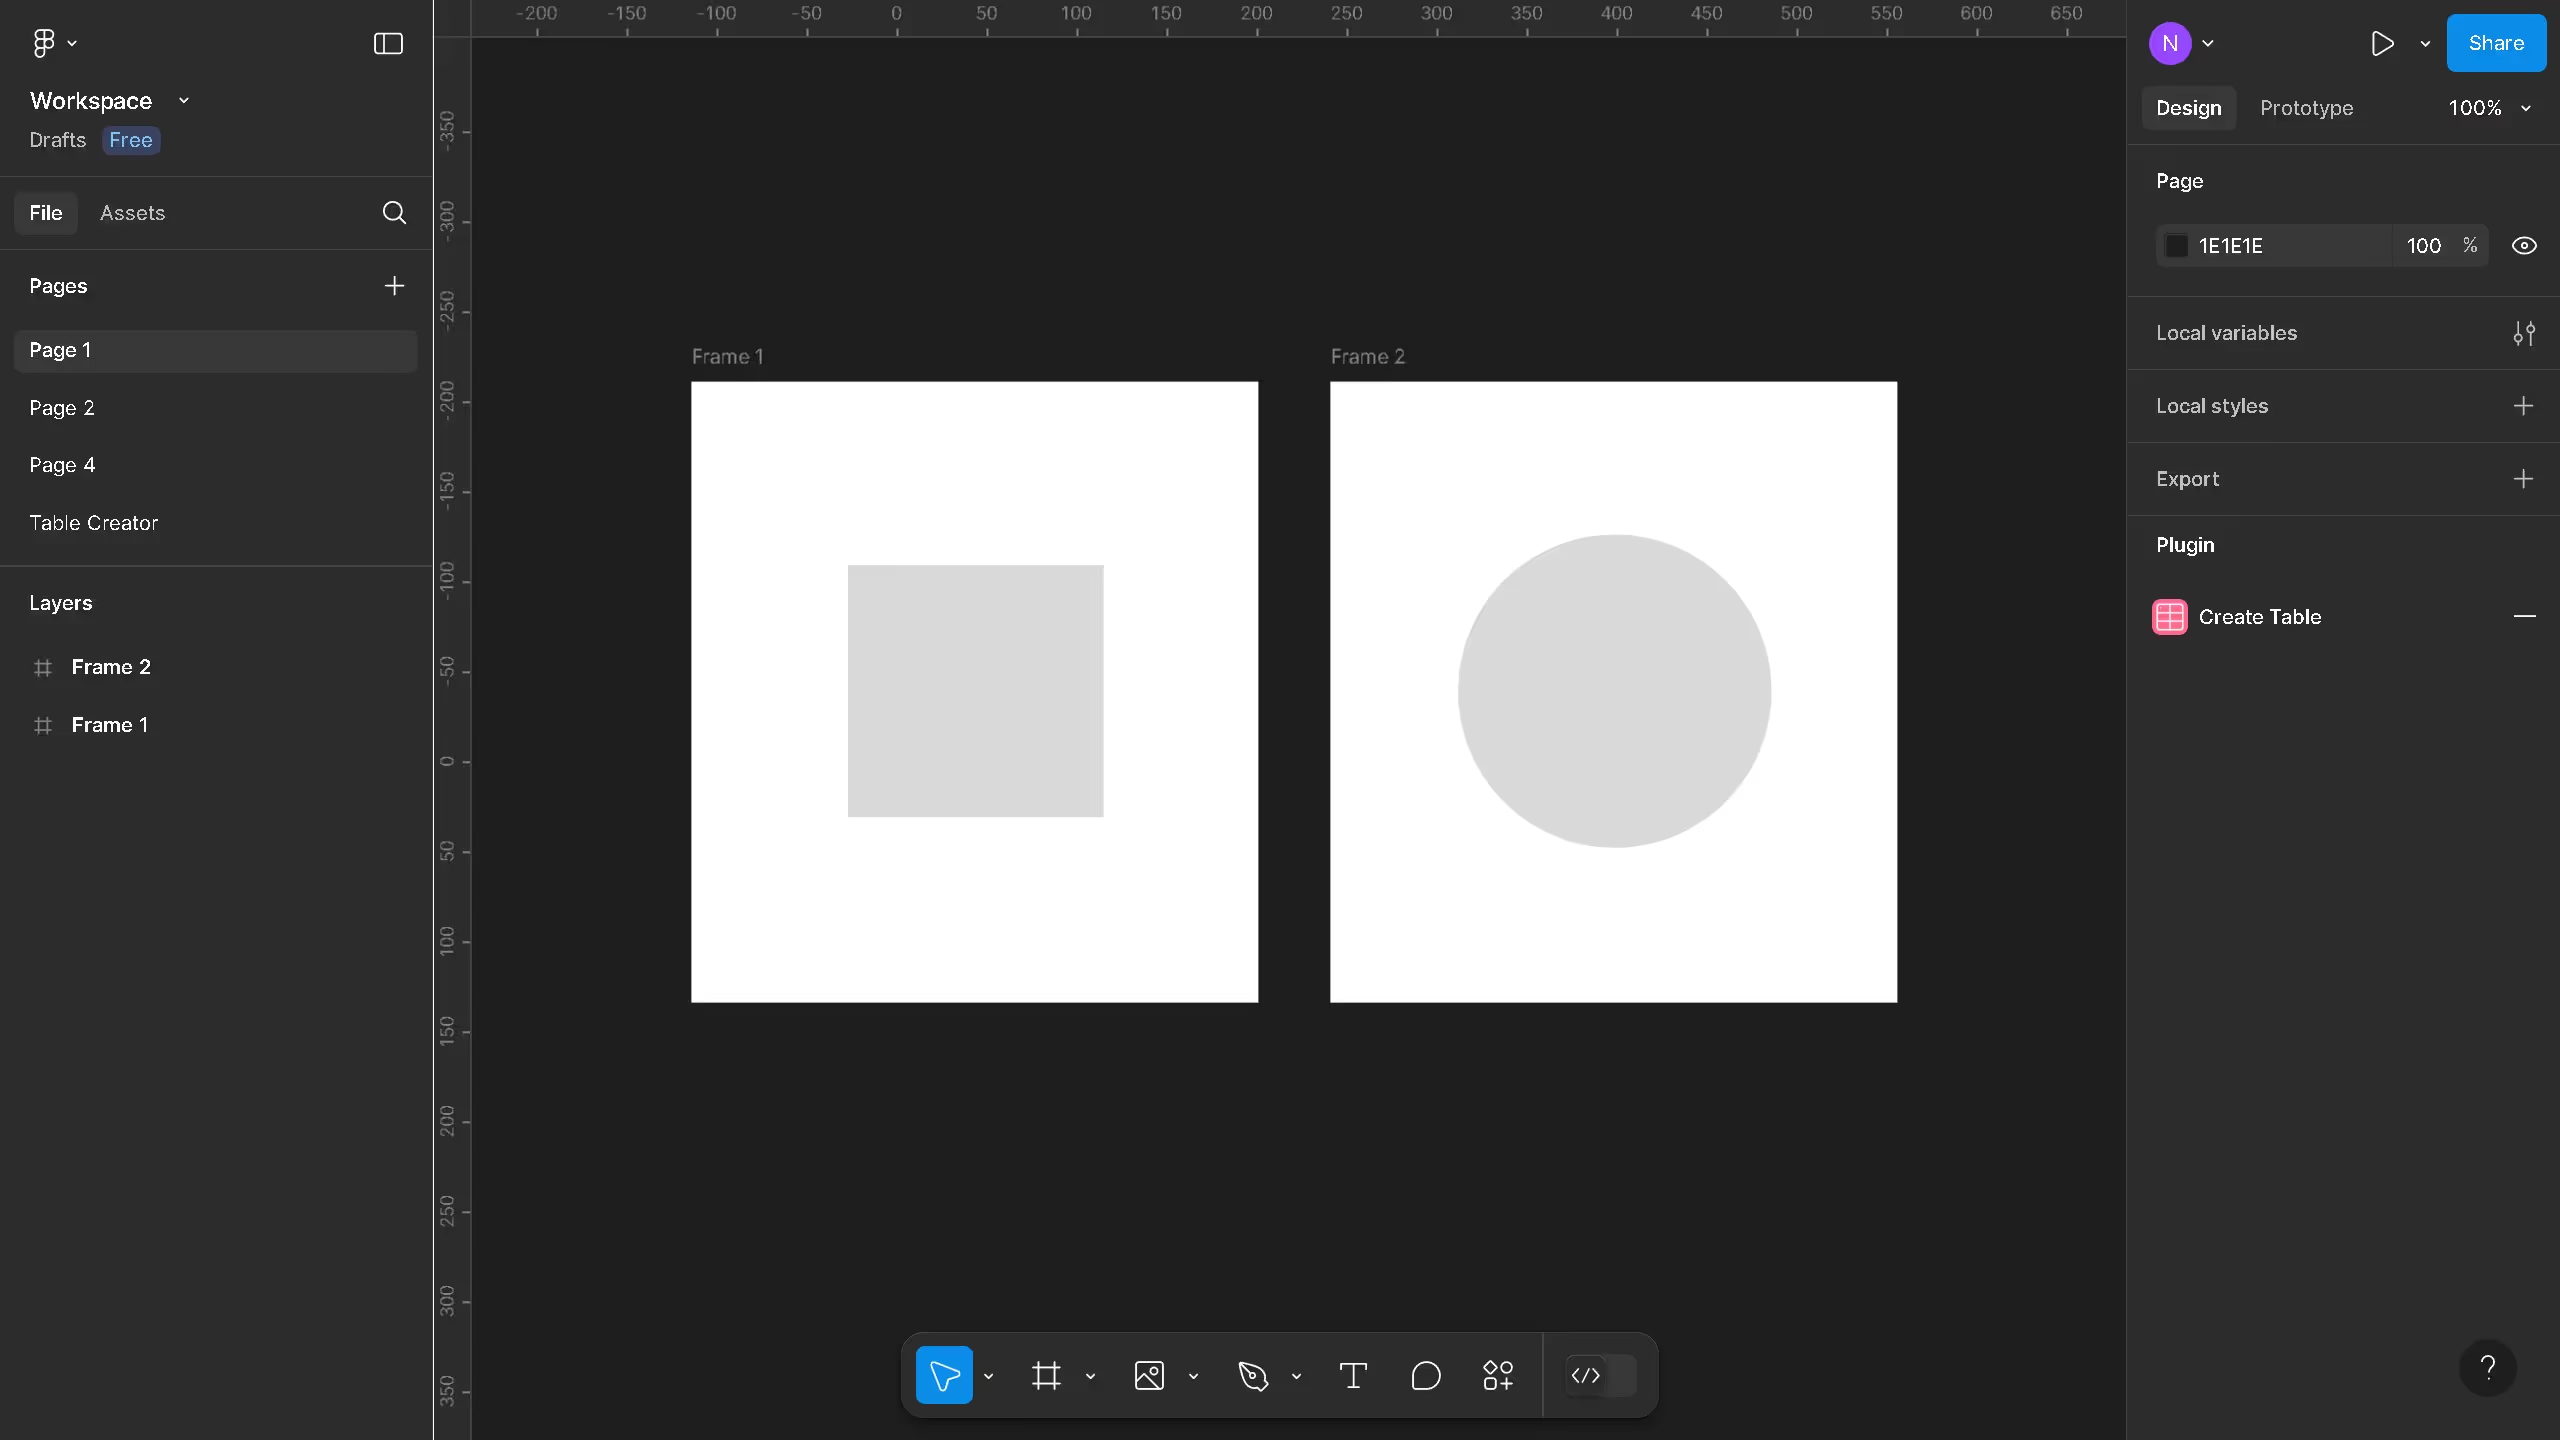
1. First, click on the frame in the layers panel to create your flow
2. Then click on the "Prototype" tab in the top right menu
3. Next, click on the "Interactions" icon in the right sidebar corner
4. In the interaction panel, click on "None" under Action dropdown
5. Select "Navigate to" from the Action dropdown menu
6. Next, click on the Destination dropdown arrow
7. Select "Frame 2" as the destination frame
8. After that, click on the play button in the top right toolbar to preview
9. Finally, click on the previewed frame to test the interaction
Why should you use this feature?
Figma is a powerful design tool that simplifies the creation and collaboration of stunning digital interfaces.
Creating a flow in Figma allows designers to visually map out their ideas, ensuring a seamless user experience as you connect screens with ease. This feature enables designers to establish clear connections between screens and user actions, making it easy to visualize the overall user journey.
Using flows in Figma enhances project communication and helps teams work more efficiently by providing a clear blueprint for design intentions. This can lead to faster feedback and iteration cycles, ultimately improving the quality of the final product.

Built to impress
Why leading companies build with Guideflow