Create your own interactive guide with Guideflow
How it works
Here is a step-by-step guide on how to connect Intercom to Framer:
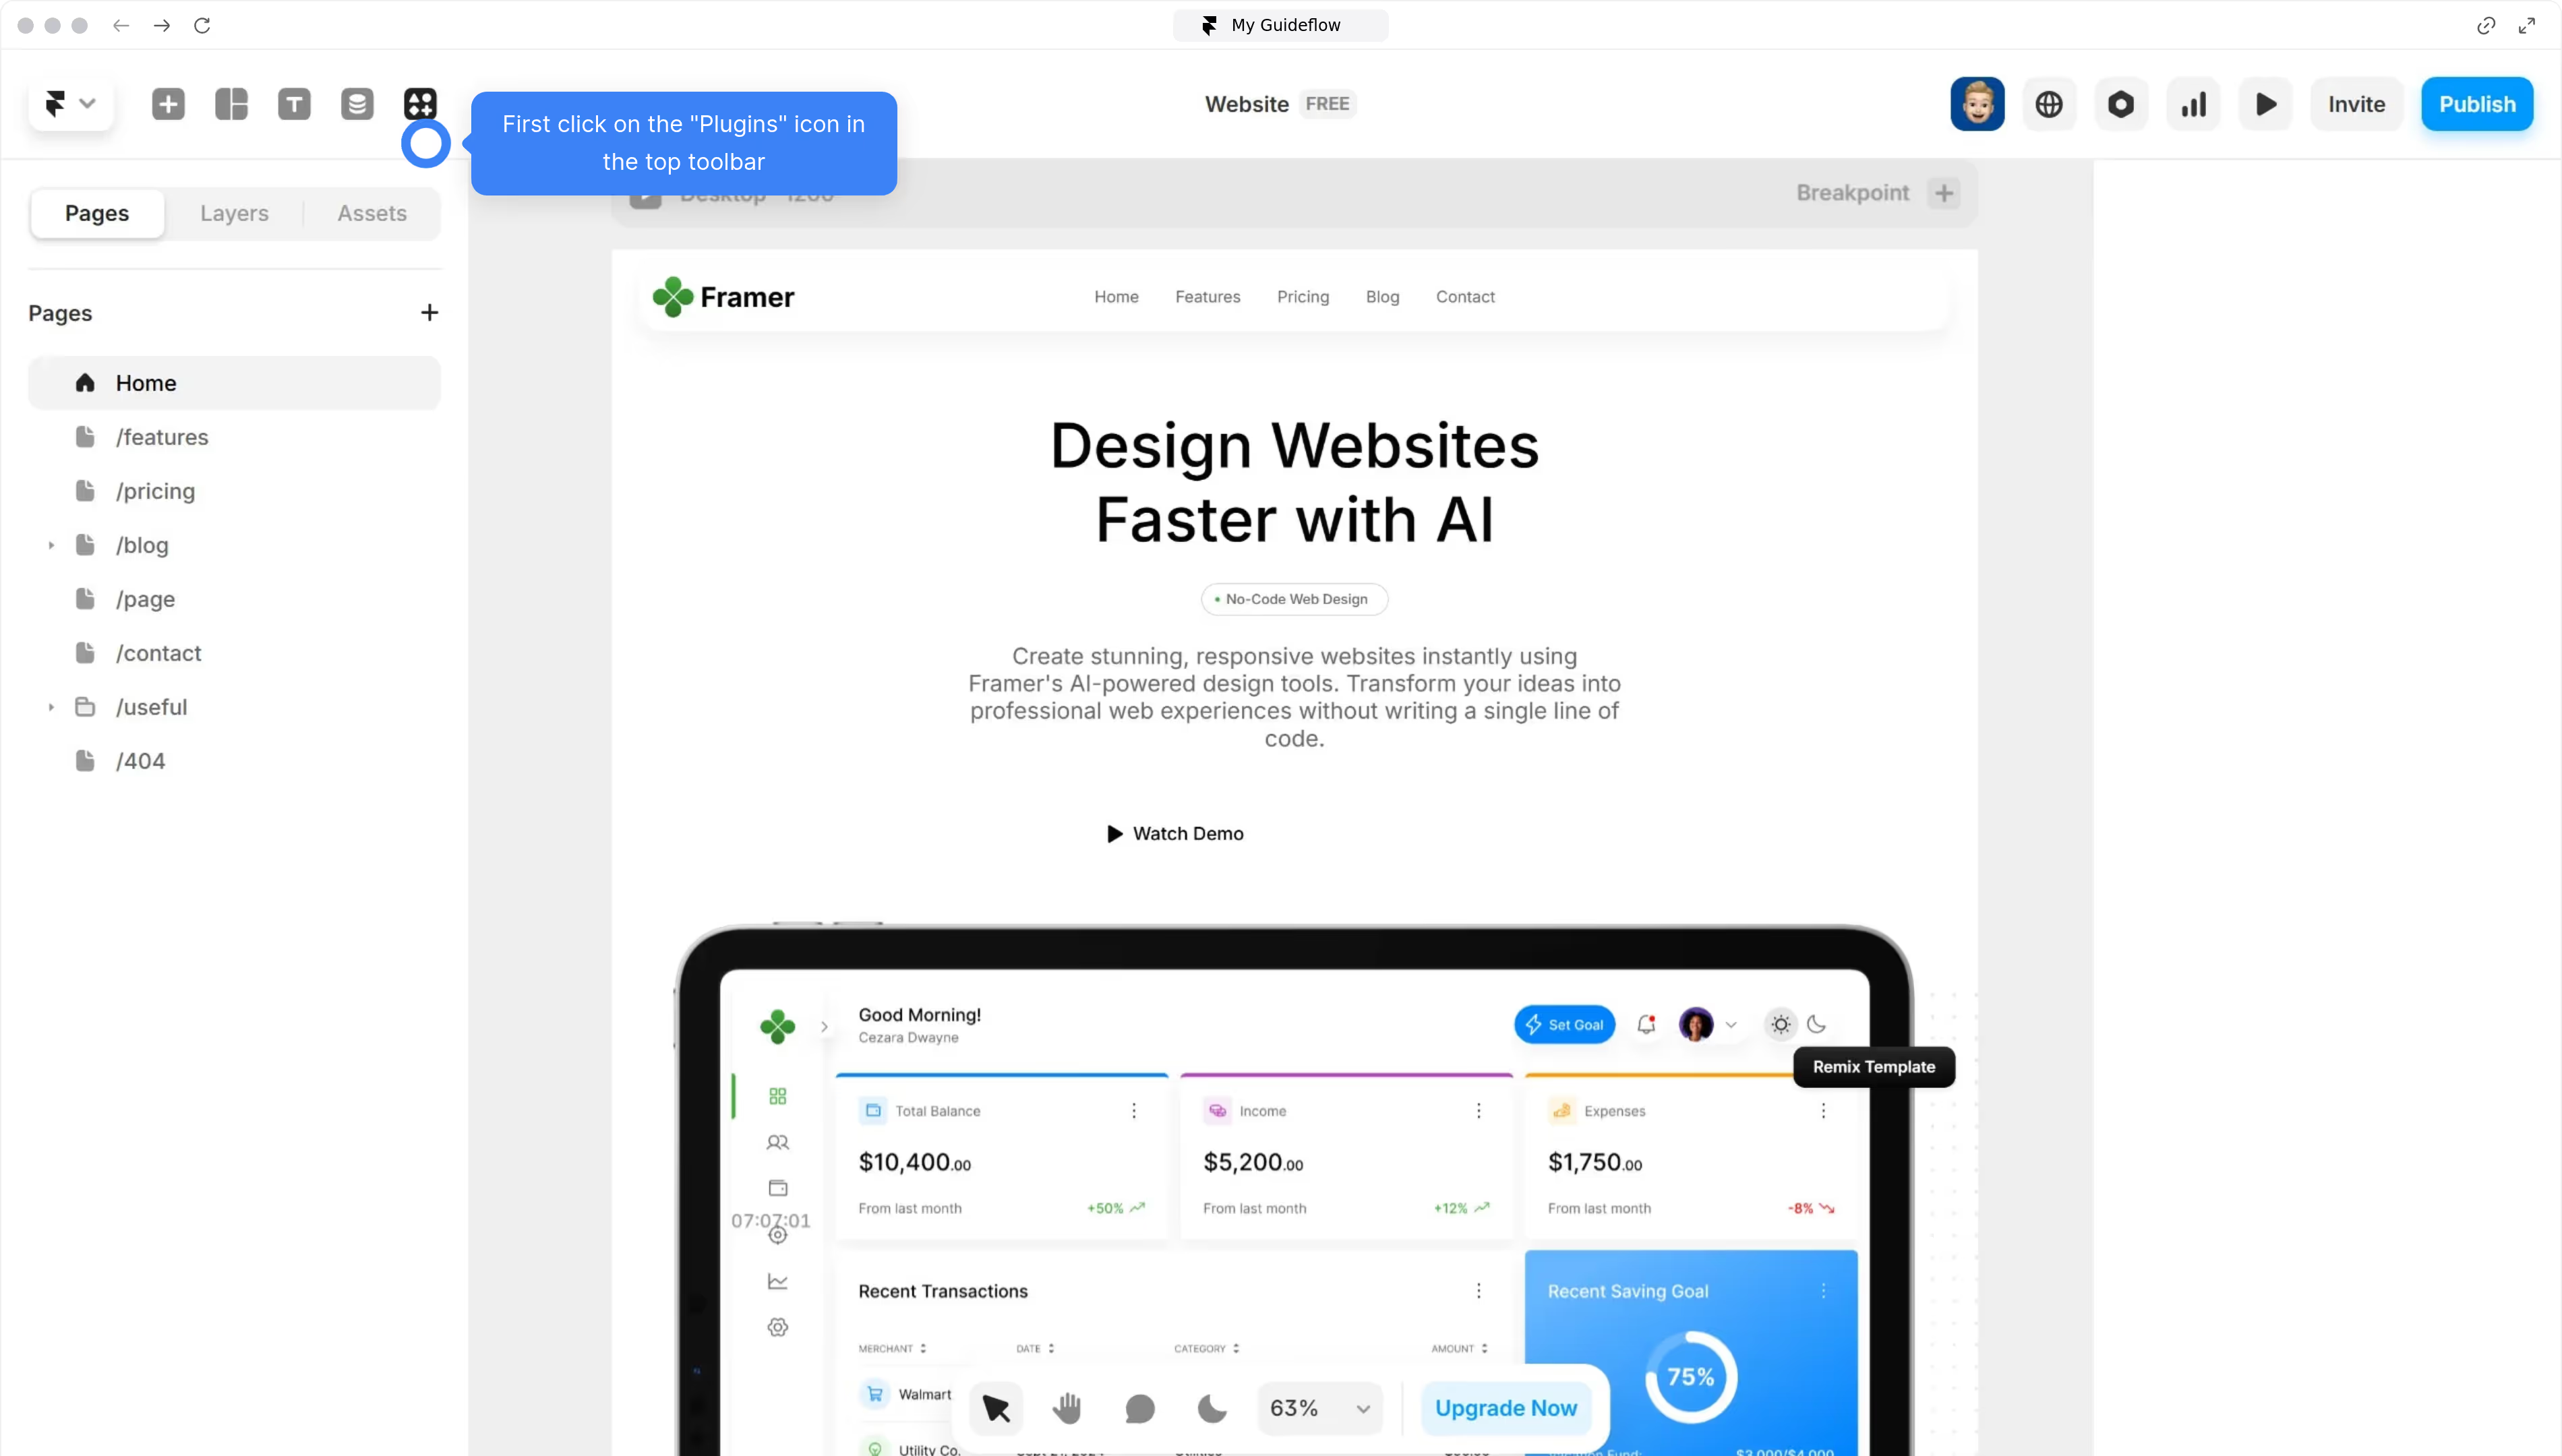
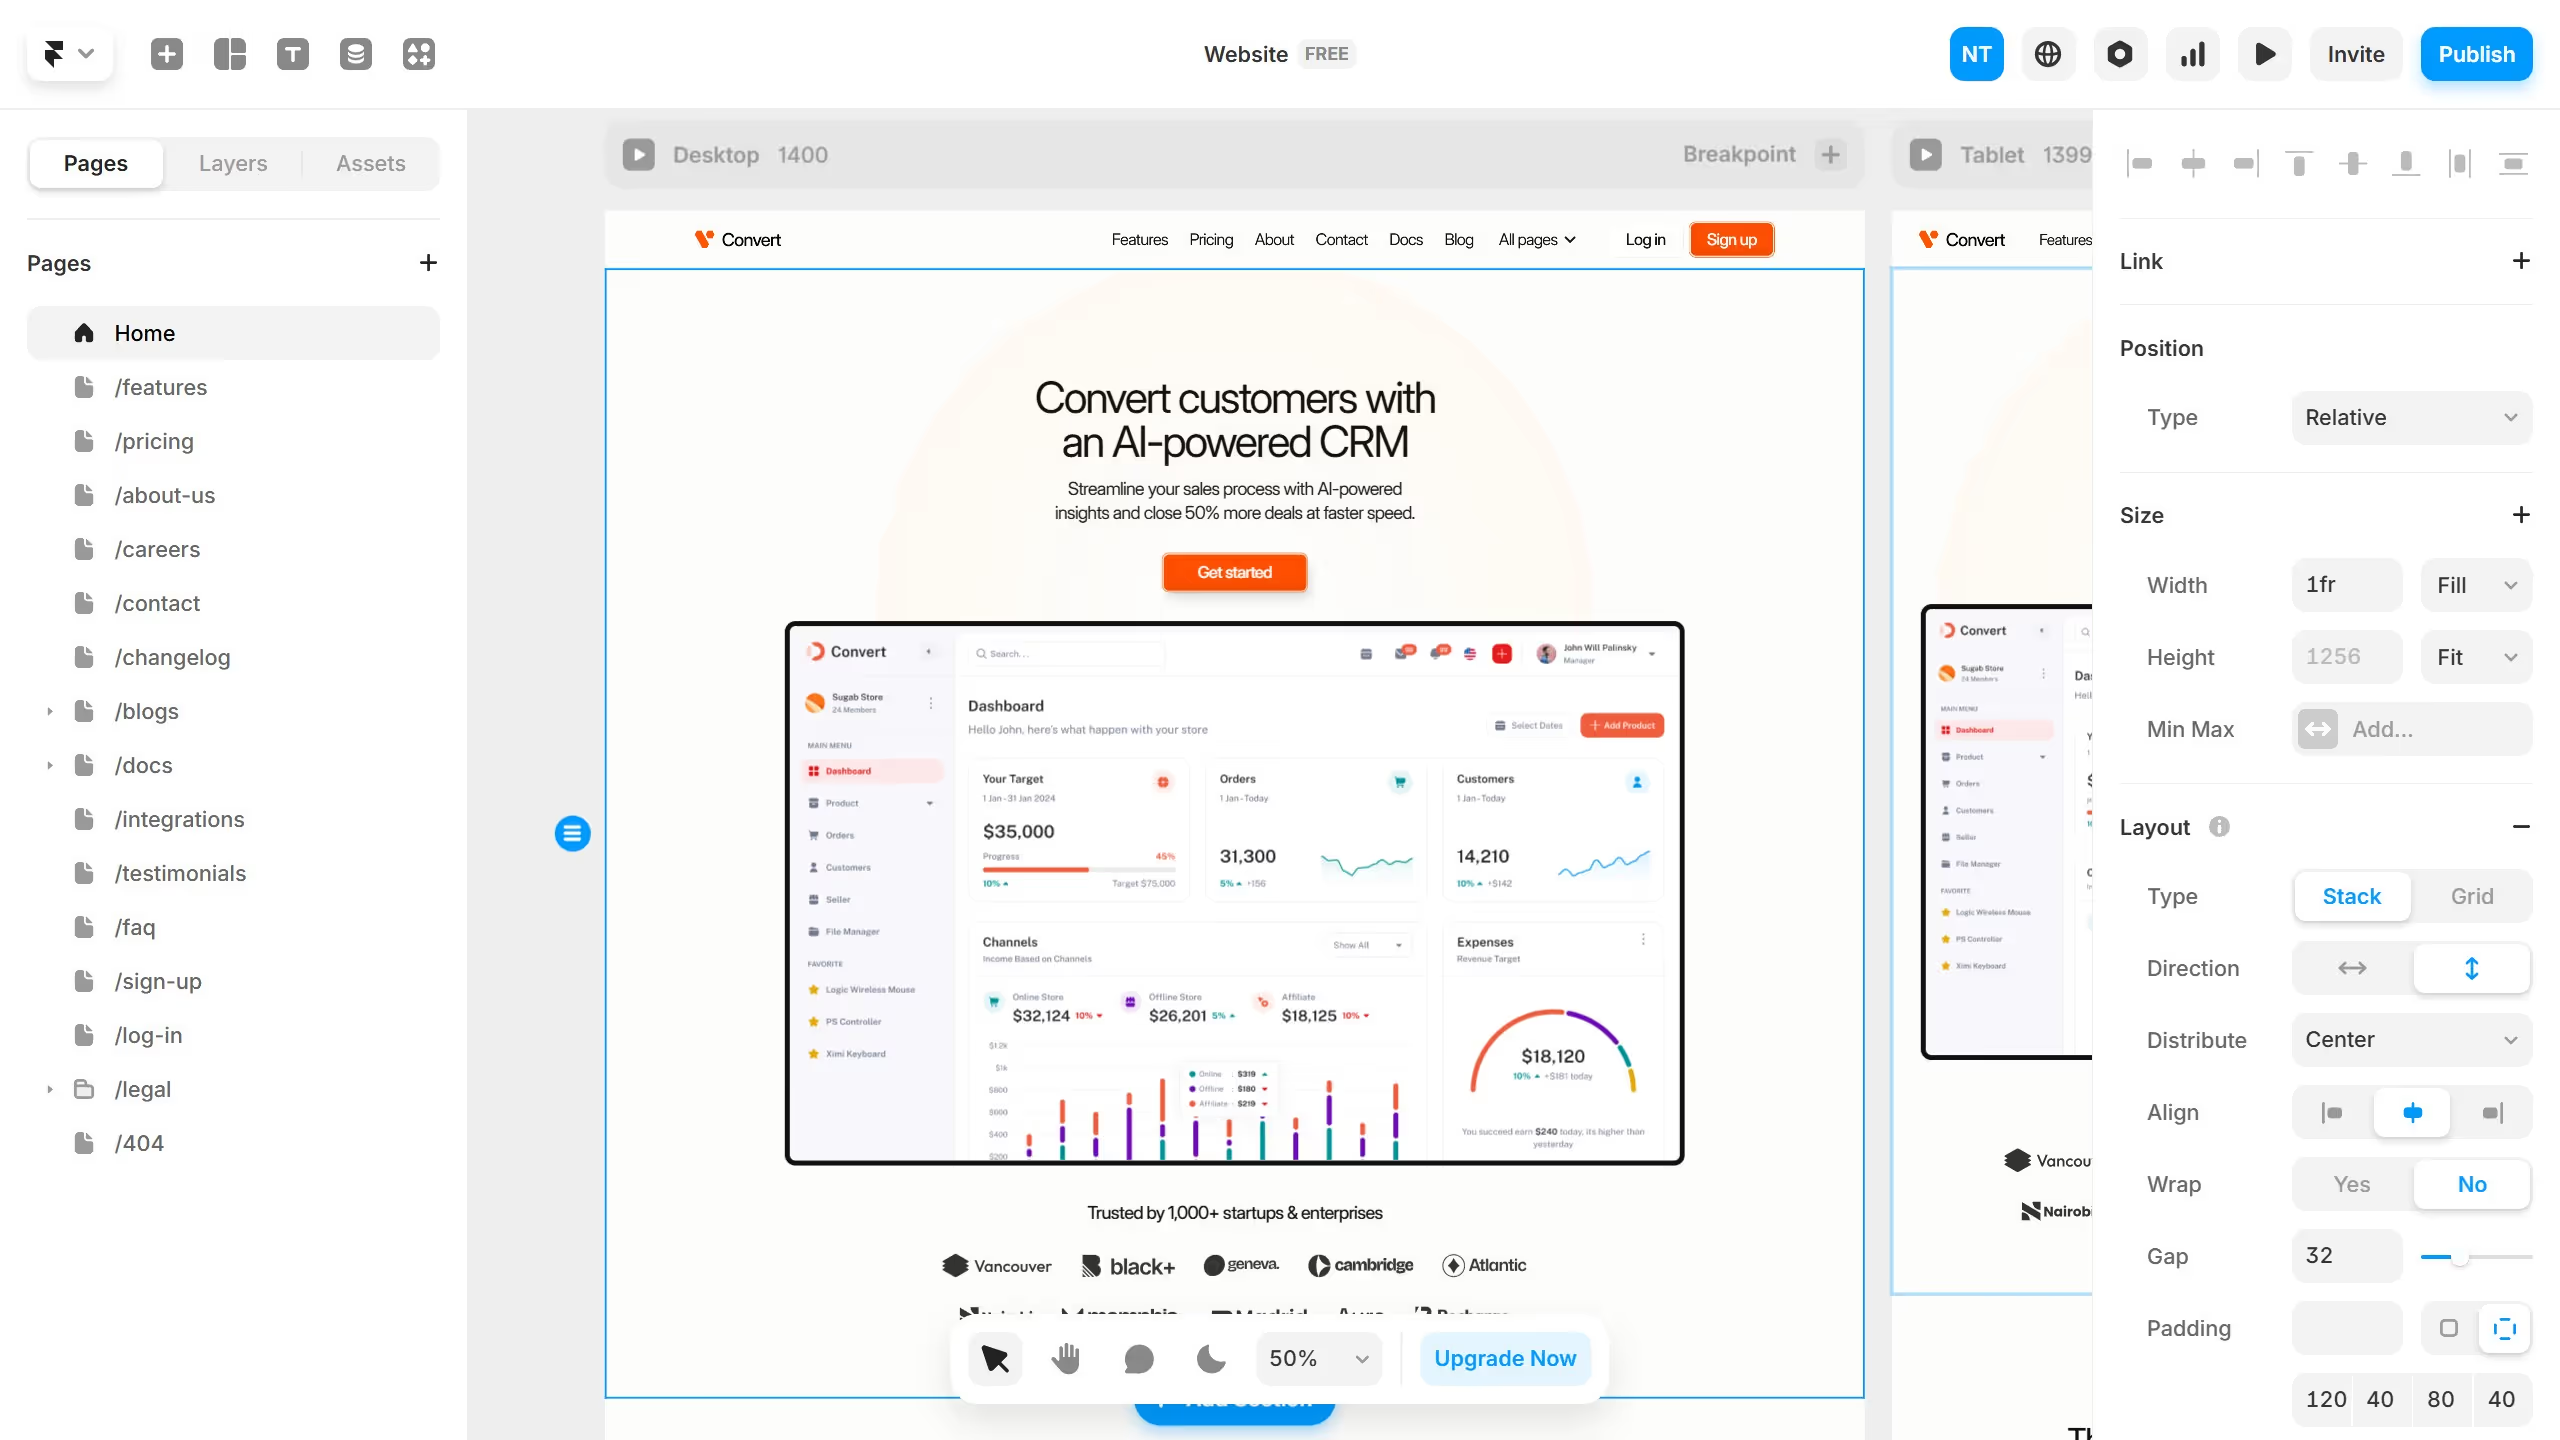
1. First, open your Framer project and click on the "+" button at the top left
2. Locate the "Forms" section and drag the Intercom component onto your canvas
3. Your Intercom is added. Connect it to your account to activate it
4. Log in to your Intercom account and Navigate to "Settings"
5. Next click on "Workspace" and select "General" from the dropdown menu
6. Then copy the App ID by clicking on the "Copy" button
7. Return to your Framer project. In the right sidebar, find the "ID" field under the Intercom section
8. Next paste your Workspace ID into this field
9. It’s now connected, preview or publish your site to see the Messenger in action
10. You should see a "blue Intercom chatbot" icon appear at the bottom of your site
11. Click on the chatbot to open it
12. Type a message or question and hit Send
13. By default, Intercom’s chatbot will respond first
14. Return to your Intercom dashboard to see the message you sent. This confirms your Framer project is now connected
Why should you use this feature?
Framer is a powerful tool designed for creating interactive and visually compelling website designs.
Connecting Intercom to Framer allows you to seamlessly integrate dynamic communication features directly into your design projects. This connection enables real-time chat and support functionalities that enrich user experience.
By bringing these interactive elements into your Framer-built sites, you foster engagement and ensure users receive immediate assistance, ultimately enhancing satisfaction and retention.
Built to impress
Why leading companies build with Guideflow