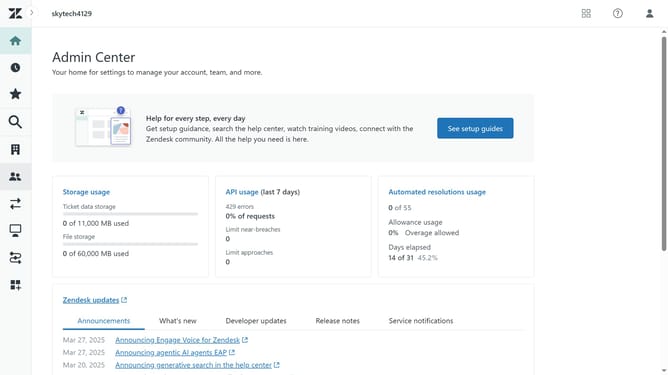
How to configure the notification routing method for your account in Zendesk Chat
Here is how to configure the notification routing method for your account in zendesk chat
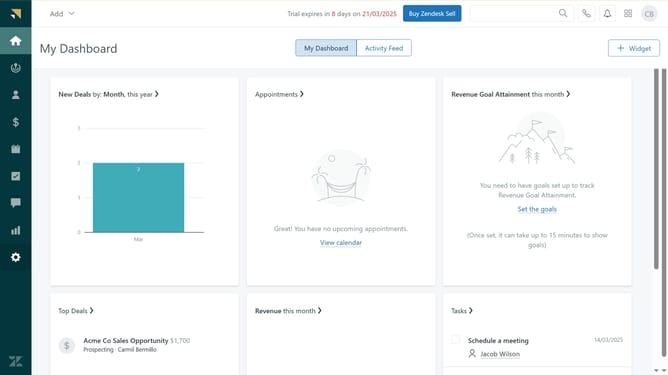
- First in your dashboard, click on "Settings" in the left sidebar
- Then click on "Routing" option in the Settings menu
- Locate the "Chat routing" section on the Routing page
- Next choose your preferred routing method from the available options. Broadcast, notifies all agents and requires an agent to click Serve Request to respond
- Assigned, which evenly distributes requests by notifying only one agent at a time
- Finally, click on "Save changes" button at the bottom of the page to apply the settings
Why should you configure the notification routing method for your account in Zendesk Chat
Zendesk Chat is a powerful tool designed to enhance customer interactions through seamless communication.
Configuring the notification routing method in Zendesk Chat empowers your team by ensuring that notifications are efficiently directed to the right people, minimizing response times.
By tailoring notification routes, businesses can prioritize customer conversations, ensuring that clients receive timely responses, ultimately enhancing customer satisfaction and team productivity.
This feature allows your team to manage workloads better, keeping communication organized and efficient, strengthening the overall customer experience.
Last update