How to add your company logo in Calendly
Here is how to add your company logo in calendly
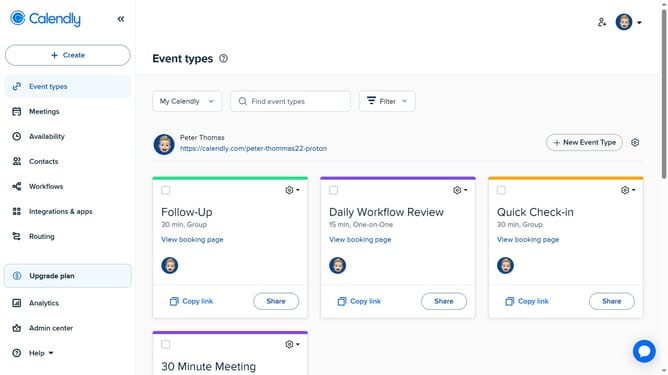
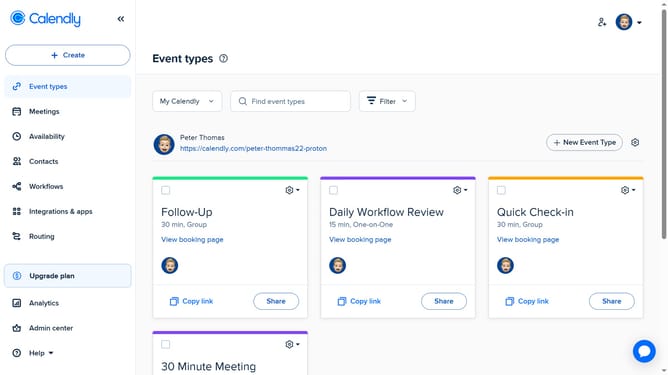
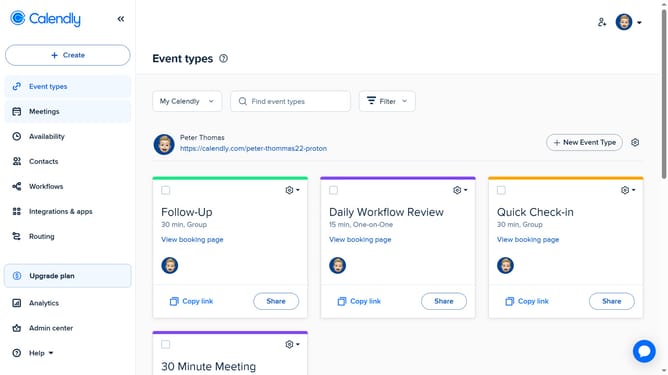
- First click on your profile picture in the top-right corner of the header
- Next click on "Branding" in the account settings menu
- In the logo section, click on "Upload image" button and select your logo file from your computer
- Adjust or crop the logo as needed
- Then click the "Apply" button to confirm the image crop
- Next select the checkbox labeled “Apply to all users in your organization” to apply the same logo across all users and teams
- Then make sure to enable Calendly branding across your account
- Finally click the "Save Changes" button to apply the branding changes
Why should you add your company logo in Calendly
Calendly is an intuitive scheduling platform designed to streamline appointment bookings with ease.
Adding your company logo to Calendly is an excellent way to personalize your scheduling experience and enhance brand recognition.
This feature not only reinforces your brand's identity but also instills trust and professionalism among your clients and partners.
Easily incorporating your logo showcases your organization's presence, making every calendaring interaction feel uniquely yours.
Last update