How to set up a routing form in Calendly
Here is how to set up a routing form in calendly
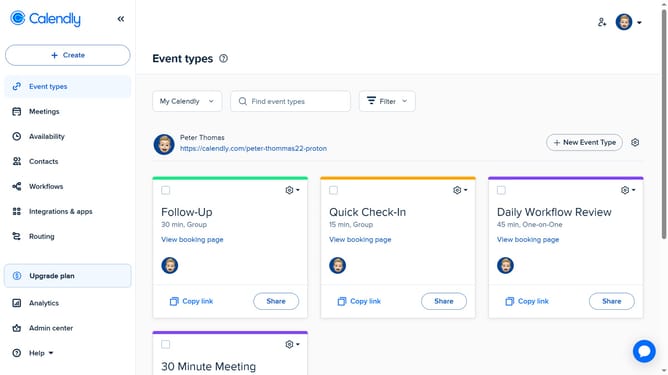
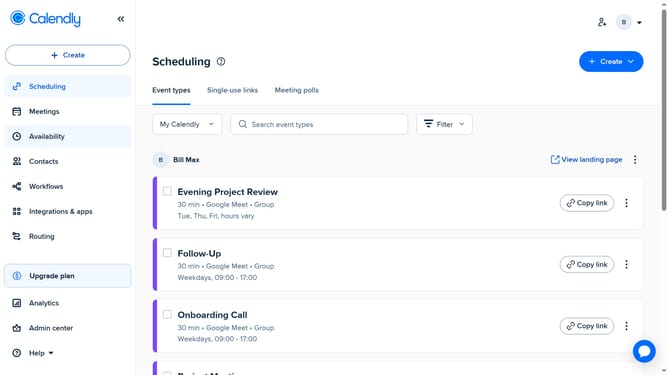
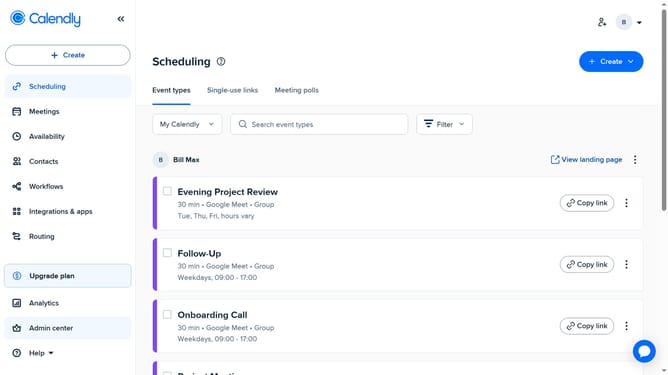
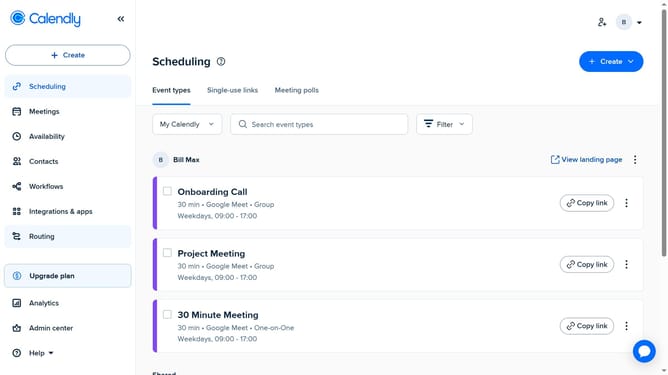
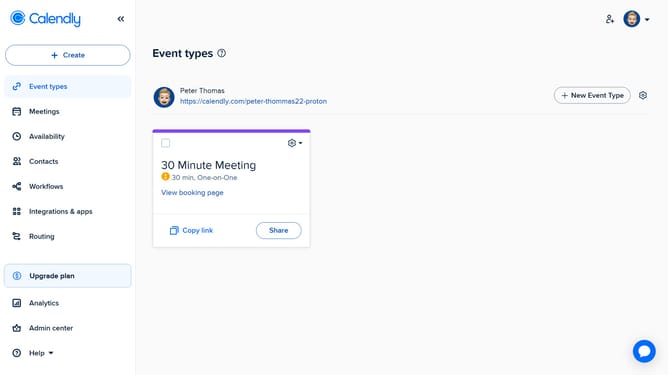
- First click on the "Routing" option in the left sidebar menu
- Next click on the "New routing form" button in the main content area
- Select the "Create new form" button on the form creation page
- Click in the routing form name input field to enter a name
- Then click the "Create form" button
- Click on the "Add a question" button to begin adding form questions
- Click the "Save" button after configuring the question
- To add more questions, click "Add a question" again
- Once you're done, click the "Next" button to proceed to the next step
- From the Routing logic tab, click "Create" to add routing rules
- Next choose "Use form answers" to use answers from your Calendly form
- Then fill out the settings for your condition by selecting a question, qualifier, and answer
- Click the "Save" button to save the route configuration
- To preview the form, click "Preview Form"
- Finally click the "Publish form" button to make the form live
- Use the popup sharing options to copy the form link or embed it on your site
Why should you set up a routing form in Calendly
Calendly streamlines scheduling by automating appointment setting, which saves time and enhances productivity.
Setting up a routing form in Calendly allows you to efficiently direct invitees to the appropriate scheduling experience. This feature enhances your ability to manage multiple meeting types, ensuring that each invitee meets with the right team member or department according to their needs.
Using routing forms encourages a seamless workflow. The benefit lies in offering personalized scheduling while maintaining organization and improving the client or customer experience.
Last update