Webflow
Webflow is a no-code website builder with powerful CMS and design customization.
Industry
Website
Share this article:

How to add a link to an image in Webflow?

Create your own interactive guide with Guideflow

How it works

Here is a step-by-step guide on how to add a link to an image in Webflow:

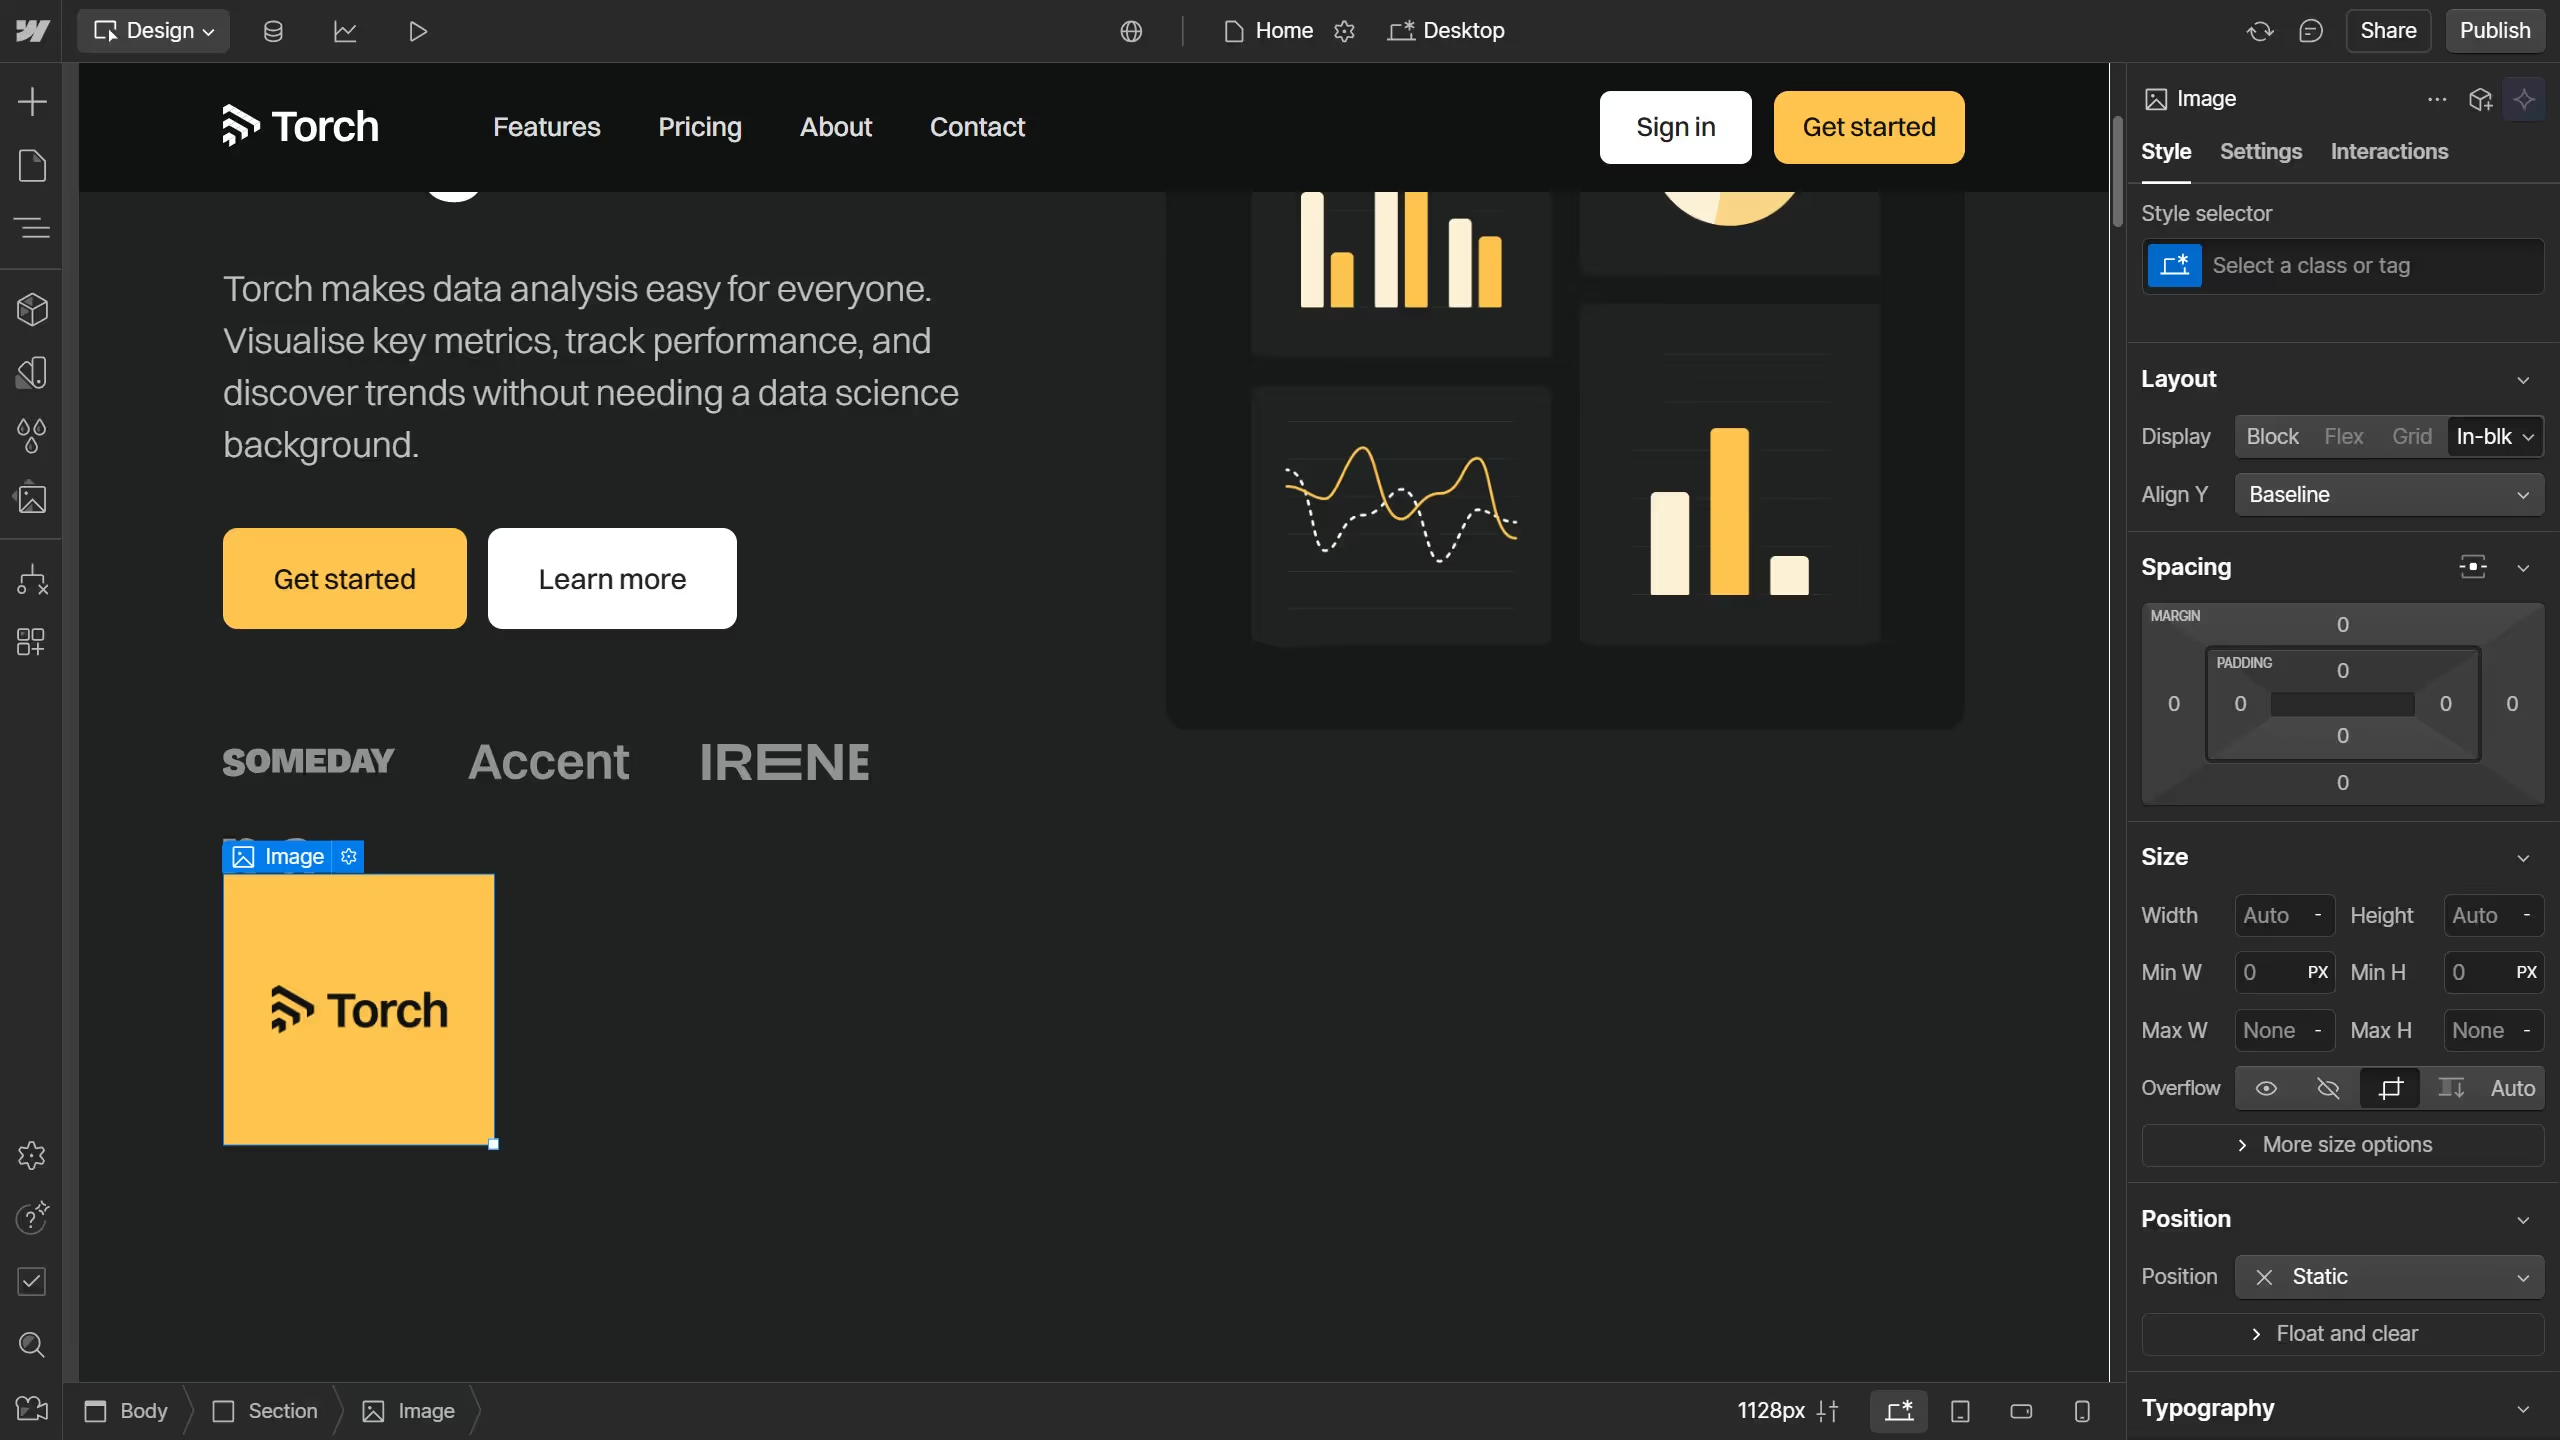
1. First select the image you want to add a link on

2. Then click on the "Add Elements" button in the left sidebar

3. Scroll down to find the "Link Block", then drag and drop it next to the image

4. Now you have your "Link Block"

5. Then click on the "Navigator" button in the left sidebar

6. When the Navigator panel is opened, ensure that the image is nested inside the "Link Block"

7. Then, if that's not the case, move the "Link Block" to nest the image inside it

8. Select the "Link Block" and navigate to the "Settings" tab in the right sidebar

9. In the "Link setting" section, find the URL field

10. Enter the URL you want the image to link to

11. Preview your changes to test the link

12. While in preview mode click, on the image and you'll see that it redirects you to the URL you specified.

Why should you use this feature?

Webflow is a powerful web design tool that enables seamless and creative site-building without coding.

Adding a link to an image in Webflow enhances user interactivity, making visuals not just attractive but functional. Whether it's guiding visitors to a relevant page or highlighting a featured product, linking images offers a fluid user experience.

This feature boosts engagement and navigation, as linked images can act as intuitive guideposts, enhancing the overall aesthetic and functionality of a website.


A cursor points to a button labeled "James."

Create your first demo in less than 30 seconds.