Here is how to center an image in webflow
- First click on "Add Elements" in the left sidebar
- Scroll down to find the "Div Block" element, then click and drag it to your desired location
- Now you have your Div block on your page
- Select an image from your assets or upload a new one
- Place your image inside the Div Block
- Click on the "Navigator" button in the left sidebar
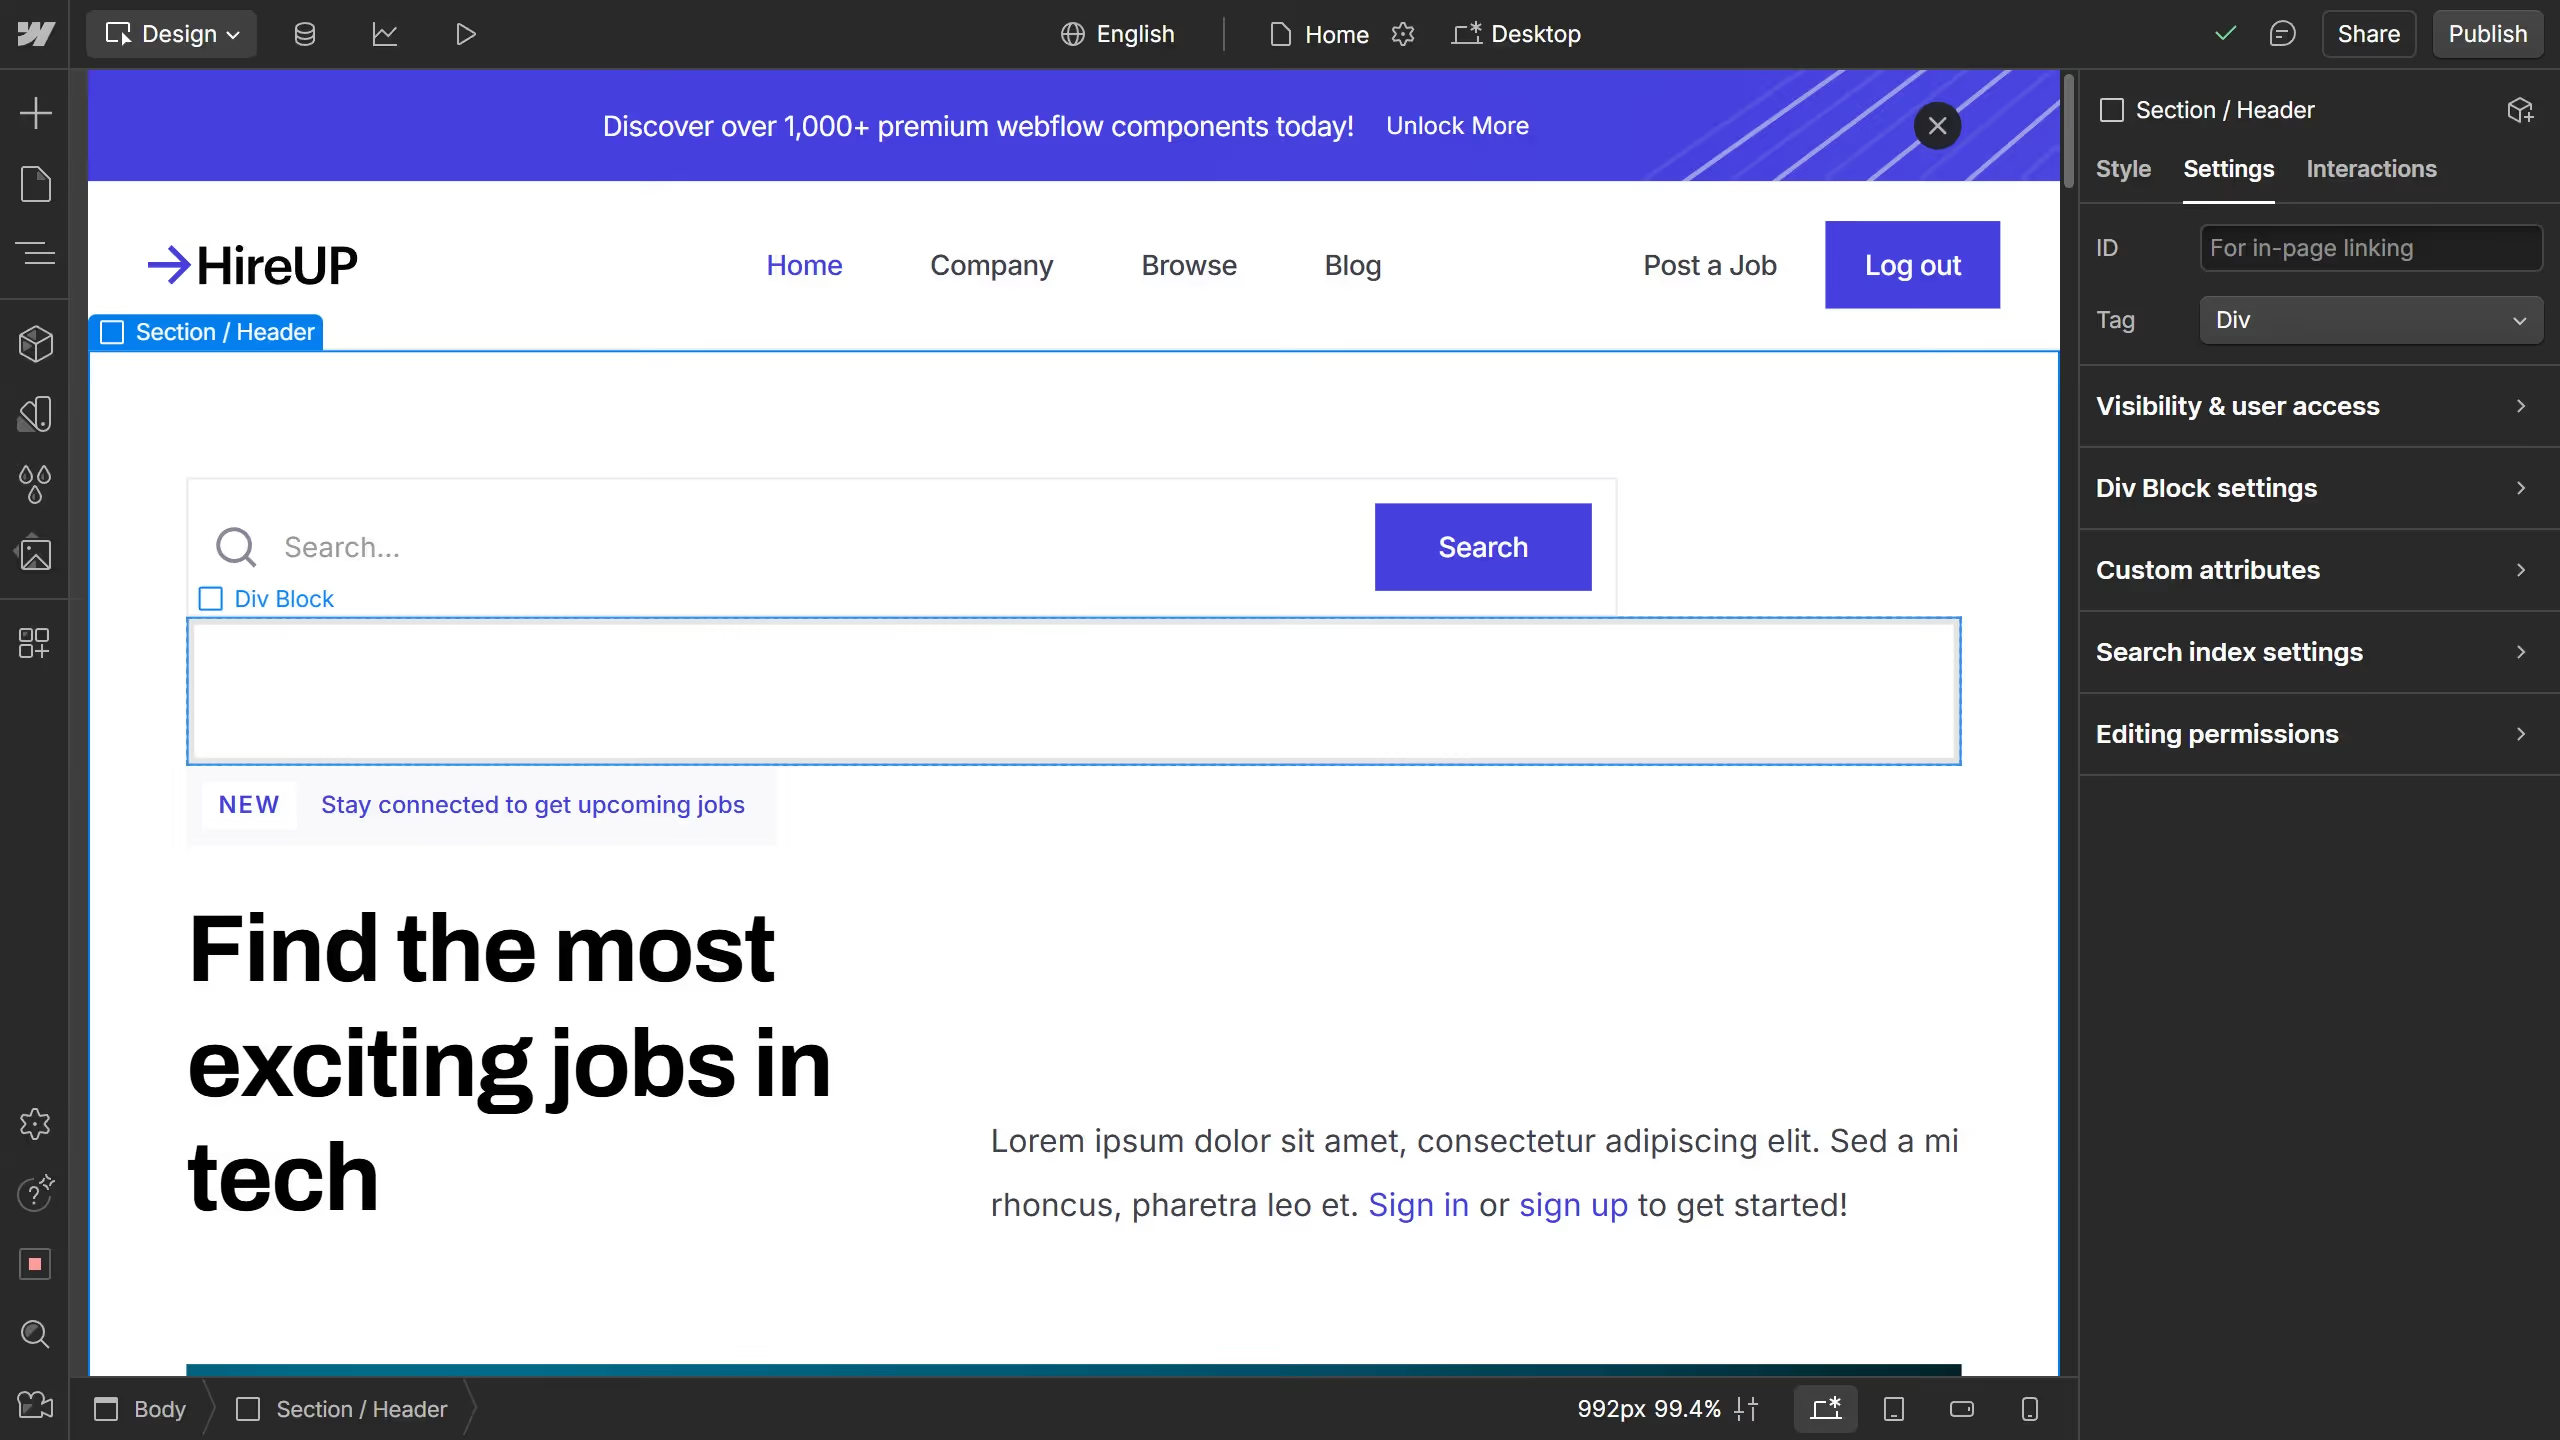
- In the Navigator, select the Div Block to activate its settings.
- Next, go to the "Style" panel in the right sidebar and locate the "Layout" section
- Set the Display option to "Flex"
- Then, go to the "Align" section
- Then click in the middle of the square to center the element selected
- Now your image is perfectly centered