How to add a draft article in Zendesk Guide Admin
Here is how to add a draft article in zendesk guide admin
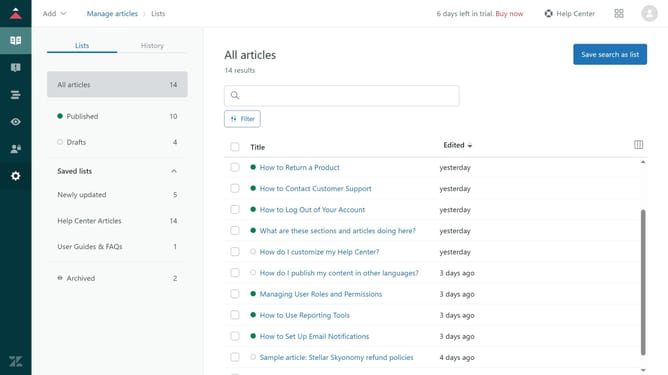
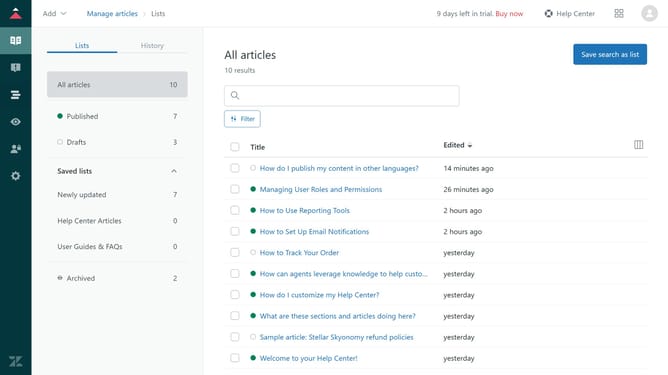
- First in Zendesk Guide, click on the "Add" dropdown button in the top navigation bar
- Select "Article" from the dropdown menu
- Click on the "Title" field in the article editor
- Enter a title for the article in the "Title" field
- Then write the content of your article in the text area provided
- Use the text editor and toolbar to add headings, bullet points, images, and links for better readability
- Next, in the "Management permissions" section, select who has permission to access this article
- Click the "Manage sections" button in the Placement section
- Choose a section for the article in the section selection dialog
- Click the "OK" button to confirm the section selection
- Click on "Agents and admins" in the Visible to dropdown
- Select your preferred option from the "Visibility" settings
- Finally, click the "Save" button to save the article
- Your article is now successfully saved as draft and still available for further editing before publishing
Why should you add a draft article in Zendesk Guide Admin
Zendesk is a comprehensive customer support platform designed to enhance customer relationships.
The feature of adding a draft article in Zendesk Guide Admin allows for meticulous content preparation before publication.
By crafting articles in draft mode, teams can collaborate, edit, and perfect information without affecting the live help center content.
This ensures that when articles are published, they offer the most accurate and beneficial insights to users, enhancing their overall support experience.
Last update