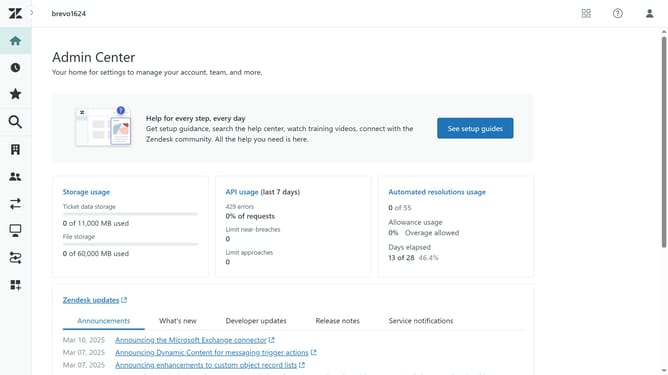
How to integrate Zendesk with Gmail
Here is how to integrate zendesk with gmail
- First log into your Zapier account, click on "Create" and select "Zaps" to begin
- Then, click on "Trigger" to begin the setup process
- Search for "Zendesk" and select it as your Trigger App
- Click on "Sign in" to sign into your Zendesk account
- Provide all the necessary details related to your Zendesk account
- Then click on "Yes, Continue to Zendesk" to authorize access
- Click on "Choose an event" dropdown to select trigger
- Choose the trigger event that fits your needs from the trigger options
- Click "Continue" to proceed with configuration
- Click on "Choose value" dropdown to select organization
- Click "Test trigger" to verify the setup
- Click "Continue with selected record" to proceed
- Now, search for "Gmail" and select it as your Action App
- Choose an Action event
- Next sign in to your Gmail account
- Fill in and customize the required fields as prompted
- Click "Test step" to verify the Gmail integration
- Finally click "Publish" to activate the Zap and complete the integration
Why should you integrate Zendesk with Gmail
Zendesk is designed to enhance customer service by providing seamless communication solutions.
Integrating Zendesk with Gmail streamlines communication by harnessing Zendesk's support features directly within your email interface.
This integration allows customer service teams to efficiently manage queries and tickets without switching between platforms, boosting productivity and ensuring timely responses.
By leveraging the power of both platforms, businesses can improve customer satisfaction and team performance effectively.
Last update