How to mark a newly-created category or section as a draft in Zendesk Guide Admin
Here is how to mark a newly-created category or section as a draft in zendesk guide admin
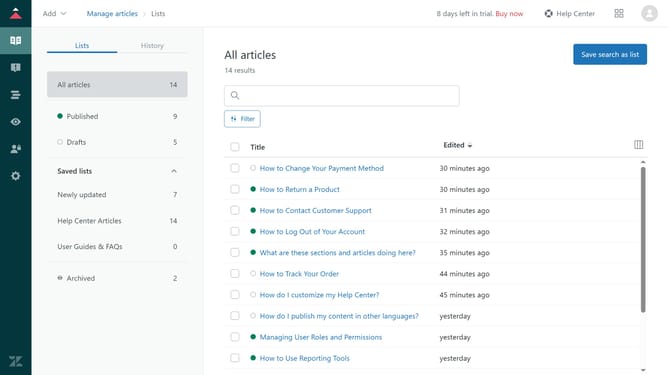
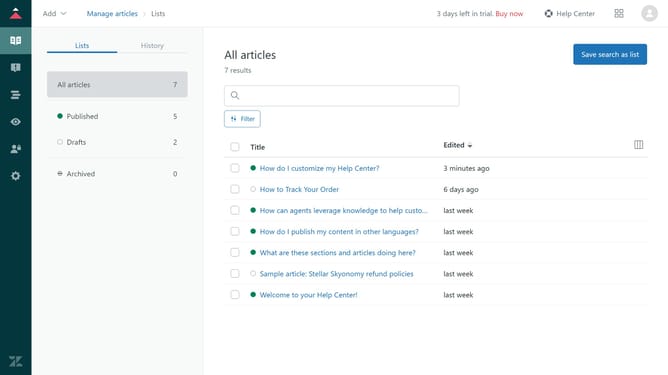
- First in Guide admin, click on the "Add" dropdown button in the top menu bar
- Then click on "Category" or "section" option in the dropdown menu
- Next enter your category or section name, in the name field
- Enter a brief description in the description text field if needed
- Click on the "Add" button in the top-right corner to create the category or section
- Then click on "Mark as draft" checkbox in the left sidebar
- Finally, click on the "Update" button to apply the changes
Why should you mark a newly-created category or section as a draft in Zendesk Guide Admin
Zendesk is a powerful tool designed to enhance customer service and support experiences.
In Zendesk Guide Admin, marking a newly-created category or section as a draft can be invaluable. This feature enables you to refine content in a private workspace, ensuring only polished information becomes publicly accessible.
By using this draft feature, you can collaborate more effectively, prevent incomplete information dissemination, and maintain a consistent, high-quality customer service portal.
Last update