Miro
Miro is an online collaborative whiteboard for brainstorming and team workflows.
Website
Industry
Collaboration
Share this article:

How to add a cover image to the board information card in Miro

Here is how to add a cover image to the board information card in miro

  1. First click the board you want to update from the dashboard
  2. Next click the more options button (three dots) in the top header bar
  3. Click on "Board" from the dropdown menu
  4. Click "Details" option from the expanded menu
  5. Then click on "Change thumbnail" in the information panel
  6. In the thumbnail selector dialog, click on "Select board area" option
  7. Then select your desired area of the board to use as thumbnail
  8. Another option is to click on "Upload" and upload a new image from your device

Create your own interactive guide with Guideflow

Why should you add a cover image to the board information card in Miro

Miro is a versatile online collaborative whiteboard platform designed to enhance creativity and teamwork.

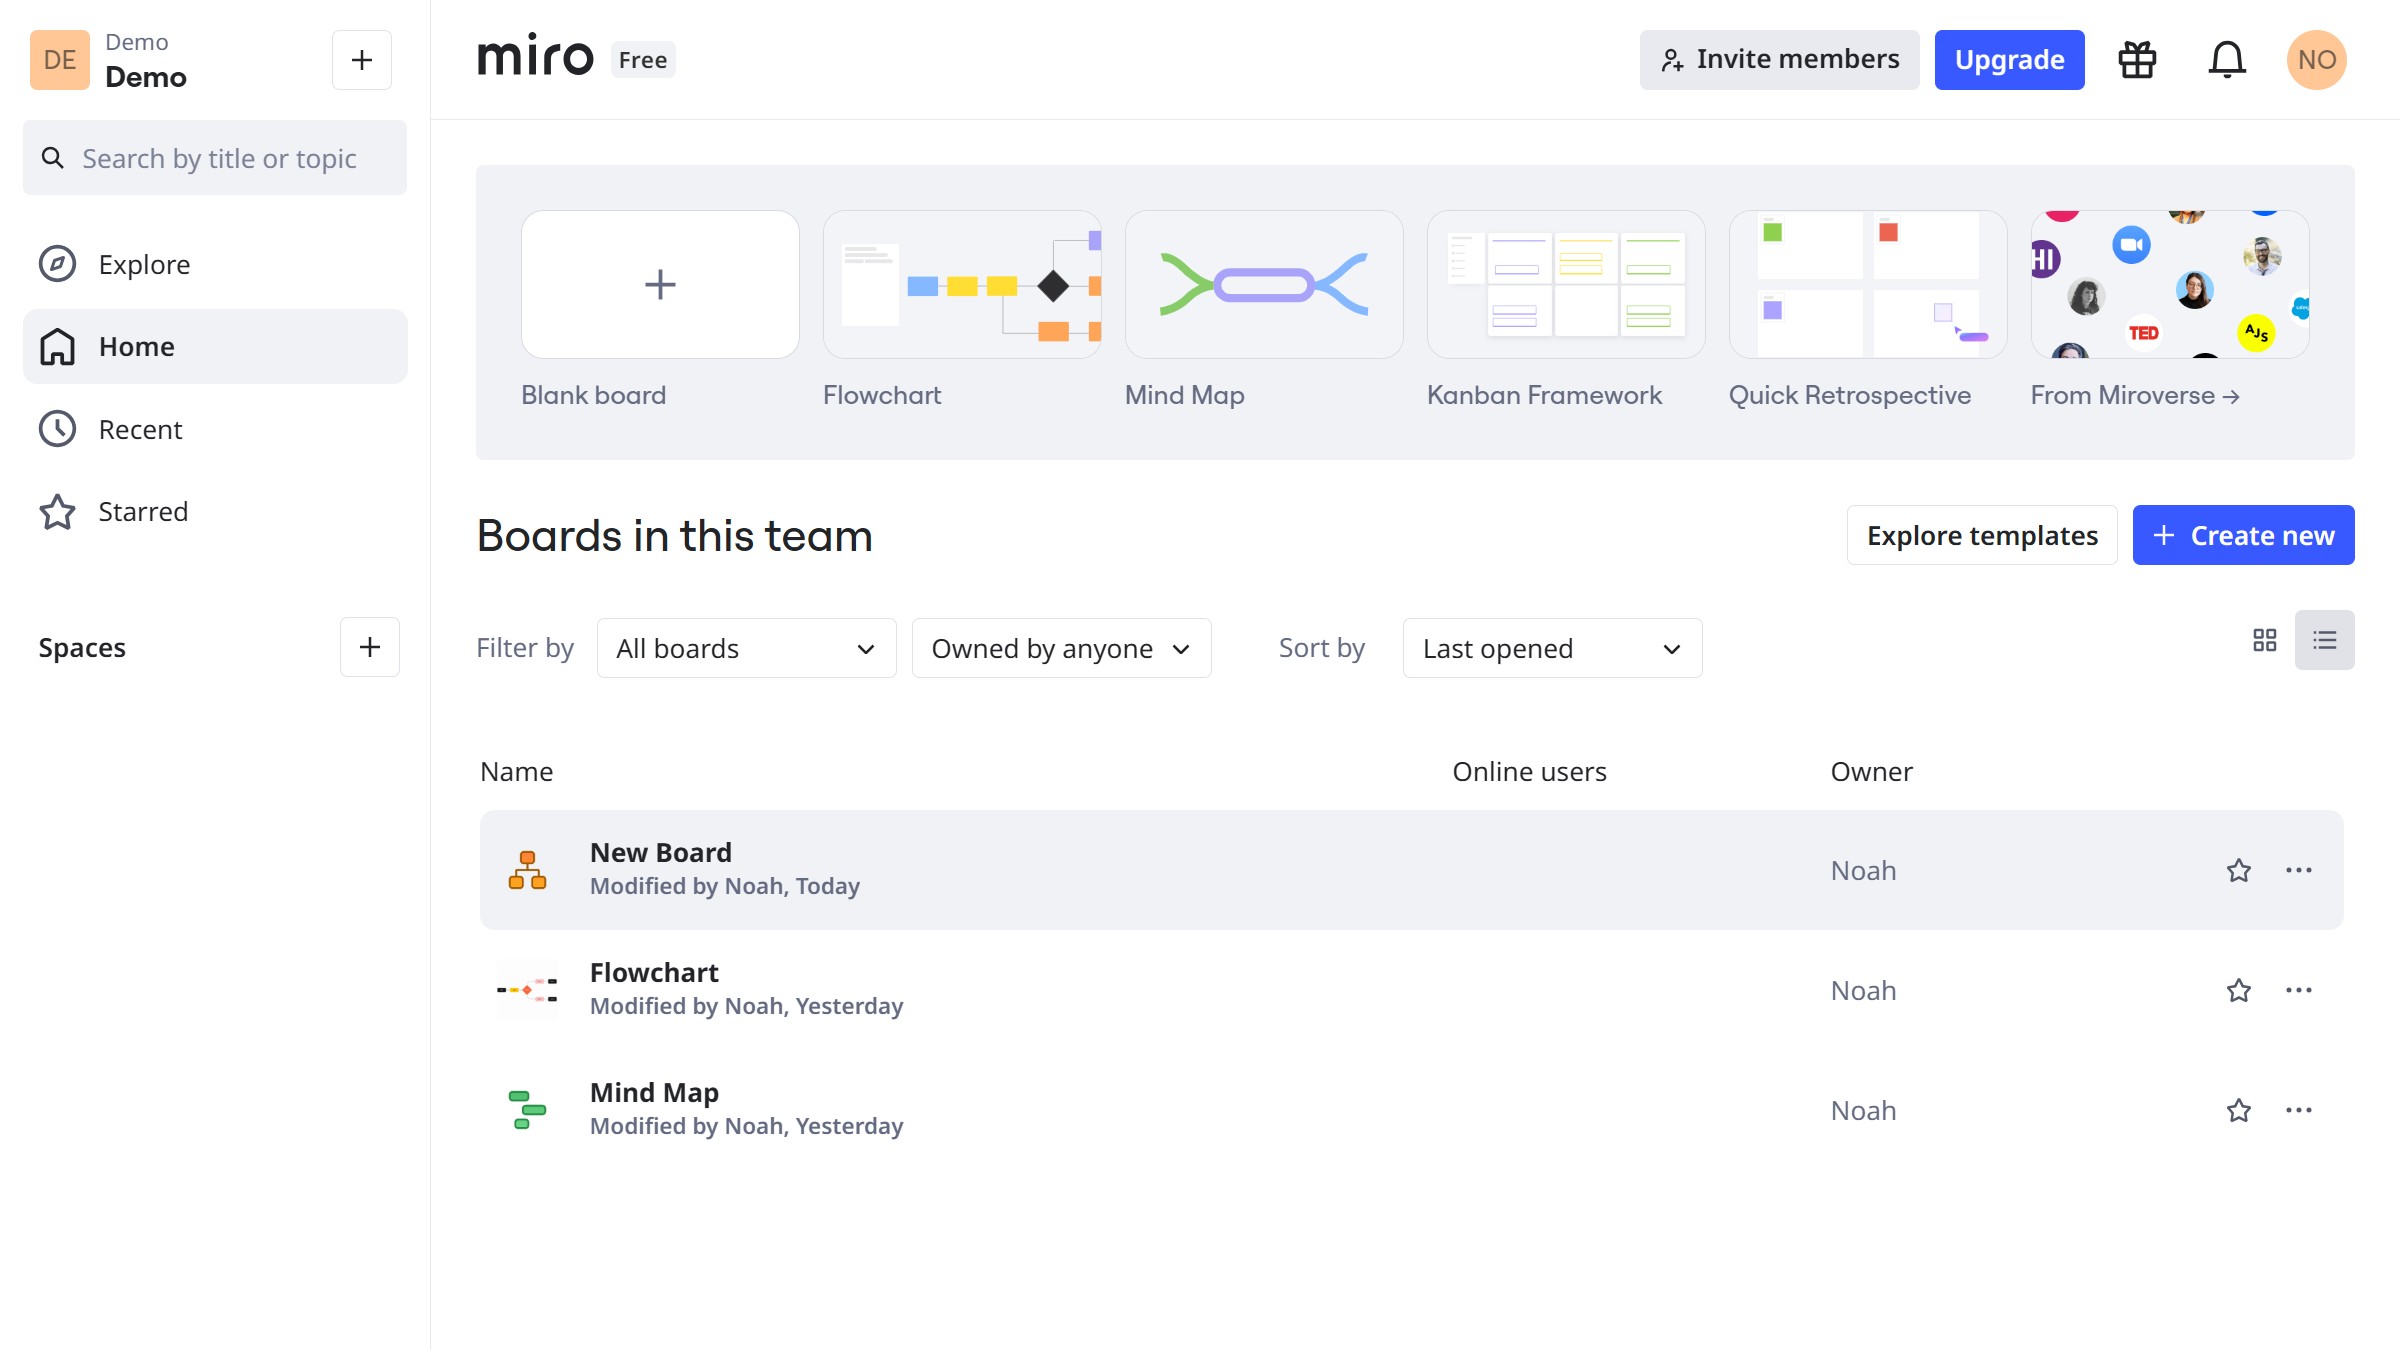
One of Miro's notable features is the ability to add a cover image to the board information card. This feature allows users to personalize their boards, making them easily identifiable and visually appealing.

Utilizing a cover image helps in quickly recognizing board topics, fostering a more intuitive navigation experience. Moreover, it adds a personal touch that can inspire creativity and enhance the user's connection with the project.

Ultimately, this feature streamlines collaboration by providing visual cues that align with your team’s goals.

Last update
July 1, 2026
Cursor MariaA cursor points to a button labeled "James."

Create your first demo in less than 30 seconds.