How to upload your company logo in Calendly
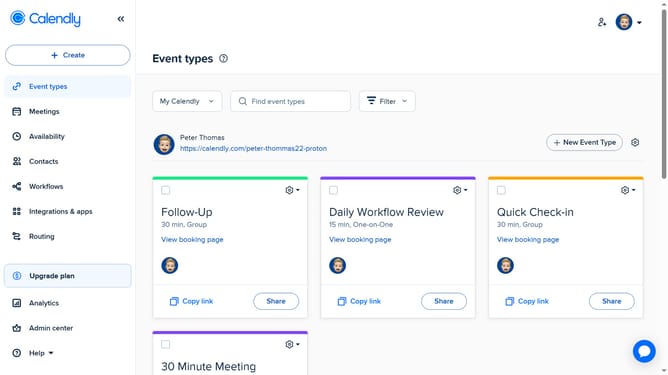
Here is how to upload your company logo in calendly
- First click on your profile picture in the top-right corner of the header
- Next click on "Branding" in the account settings menu
- In the logo section, click on "Upload image" button and select your logo file from your computer
- Adjust or crop the logo as needed
- Then click the "Apply" button to confirm the image crop
- Next select the checkbox labeled “Apply to all users in your organization” to apply the same logo across all users and teams
- Then make sure to enable Calendly branding across your account
- Finally click the "Save Changes" button to apply the branding changes
Why should you upload your company logo in Calendly
Calendly is a powerful scheduling tool designed to simplify appointment management and enhance productivity.
One of Calendly's standout features is the ability to upload your company logo. This allows businesses to infuse their branding seamlessly into every scheduling interaction.
By showcasing your company logo, you create a personalized and professional appearance, ensuring your brand remains at the forefront of communication.
Integrating your logo helps reinforce brand identity and fosters trust with clients and partners, elevating your overall professional image.
Last update