How to turn on omnichannel routing in Zendesk
Here is how to turn on omnichannel routing in zendesk
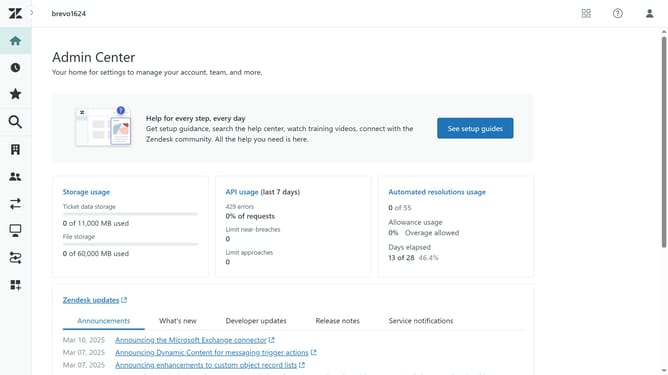
- First in Admin center, click the "Objects and rules" in the left sidebar
- Then click on "Routing configuration" under Omnichannel routing section
- In the Routing configuration page, click on the "Set up omnichannel routing" button in the top right
- Next click on "Turn on omnichannel routing" checkbox in the Manage settings page
- Once enabled, configure your routing according to your needs
- Finally, click the "Save" button at the bottom of the page
Why should you turn on omnichannel routing in Zendesk
Zendesk is a comprehensive customer service platform designed to enhance user experience and streamline support operations.
Turning on omnichannel routing in Zendesk ensures that customer inquiries are seamlessly routed to the right agents, across all communication channels.
This feature optimizes workload distribution, ensuring no agent is overwhelmed, while customers receive timely and efficient support.
Businesses benefit from increased productivity, improved customer satisfaction, and a more cohesive support team dynamic.
Last update