How to set limits and buffers for your event in Calendly
Here is how to set limits and buffers for your event in calendly
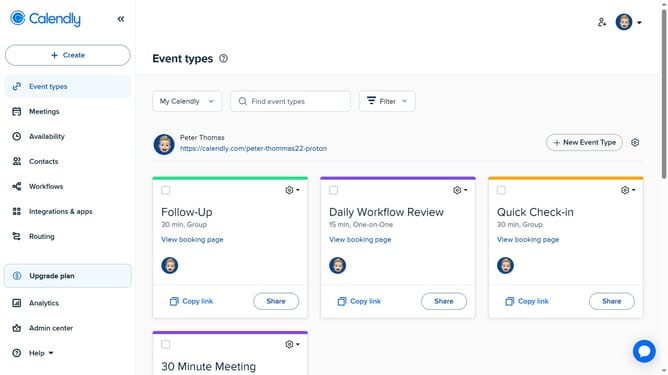
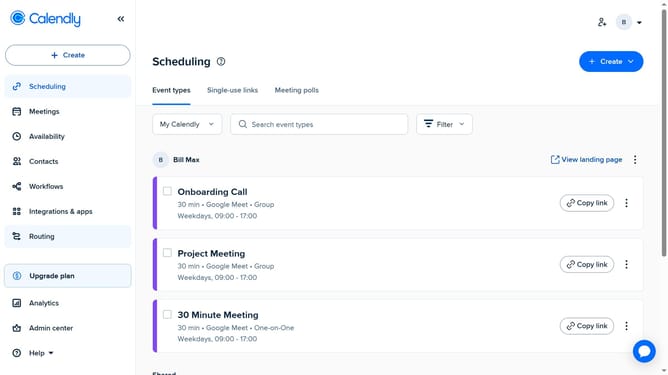
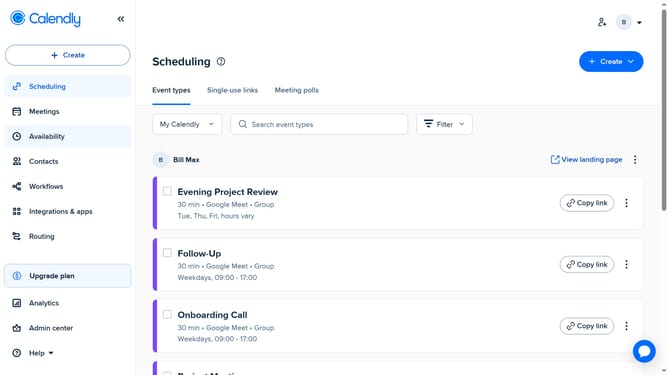
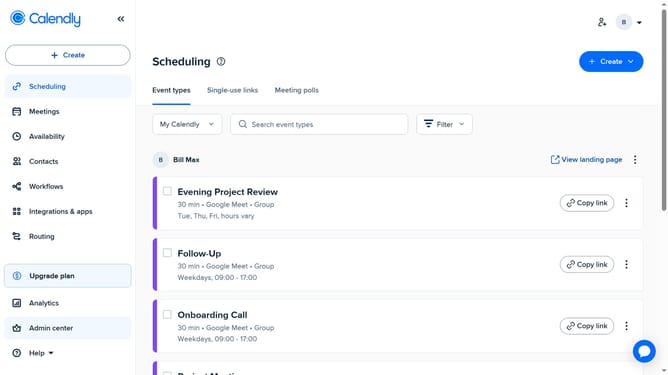
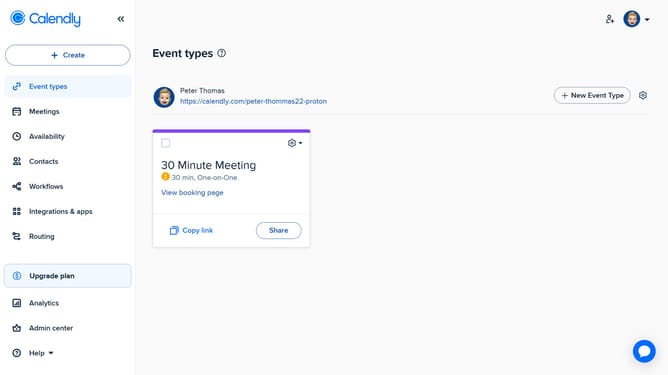
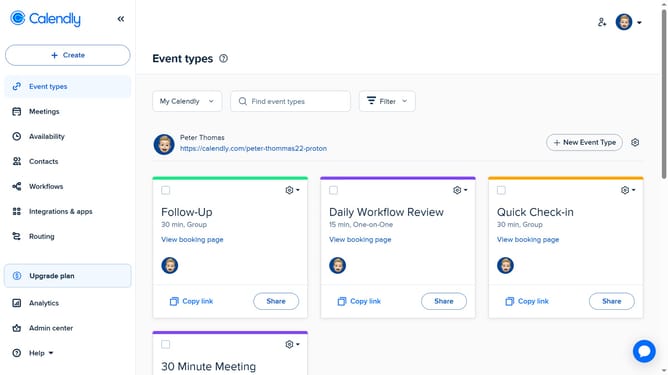
- First click on "Event types" in the left sidebar menu
- Locate and click the event type you want to update to open its settings
- Next click on the "More options" button in the event settings panel
- Click on the "Limits and buffers" section in the settings sidebar
- Under "Event Buffers", click on the "Set buffer time" button
- Then add time before or after your event to prevent back-to-back bookings
- In the max meetings section, click the "Set limit" to add limit
- Then set the maximum number of events you want to allow per day, week or Month
- Finally once you're done, click the "Save changes" button to apply all settings
Why should you set limits and buffers for your event in Calendly
Calendly simplifies scheduling by seamlessly coordinating meetings and appointments.
A standout feature is the ability to set limits and buffers for your events, offering control over your calendar.
This feature prevents back-to-back bookings by adding necessary time buffers, ensuring you have prep or rest time between meetings.
By limiting event frequency and duration, you maintain productivity without overcommitting yourself, keeping a balanced schedule.
Last update