How to create a routing form in Calendly
Here is how to create a routing form in calendly
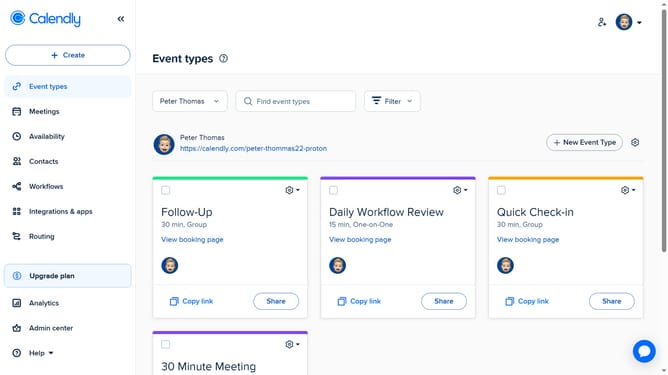
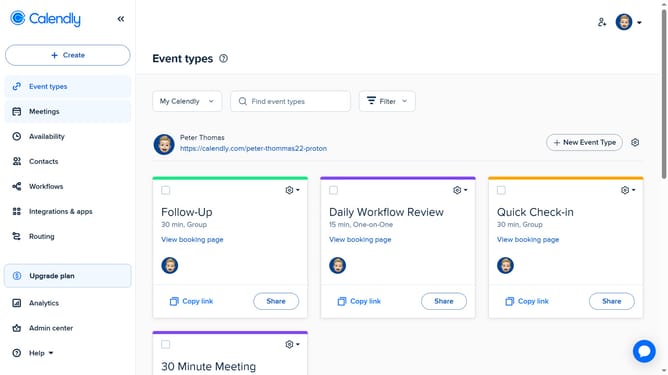
- First click on the "Routing" option in the left sidebar menu
- Next click on the "New routing form" button in the main content area
- Select the "Create new form" button on the form creation page
- Click in the routing form name input field to enter a name
- Then click the "Create form" button
- Click on the "Add a question" button to begin adding form questions
- Click the "Save" button after configuring the question
- To add more questions, click "Add a question" again
- Once you're done, click the "Next" button to proceed to the next step
- From the Routing logic tab, click "Create" to add routing rules
- Next choose "Use form answers" to use answers from your Calendly form
- Then fill out the settings for your condition by selecting a question, qualifier, and answer
- Click the "Save" button to save the route configuration
- To preview the form, click "Preview Form"
- Finally click the "Publish form" button to make the form live
- Use the popup sharing options to copy the form link or embed it on your site
Why should you create a routing form in Calendly
Calendly is a powerful scheduling software designed to streamline appointment bookings with ease.
Creating a routing form in Calendly enhances your scheduling process by ensuring clients are directed to the right service or team member effortlessly. This feature organizes client interactions by prompting them with a set of customizable questions.
Using routing forms in Calendly not only saves time but also ensures a seamless customer experience, empowering businesses to handle inquiries efficiently, prioritize tasks, and improve overall productivity.
Last update