How to set date-specific hours in Calendly
Here is how to set date-specific hours in calendly
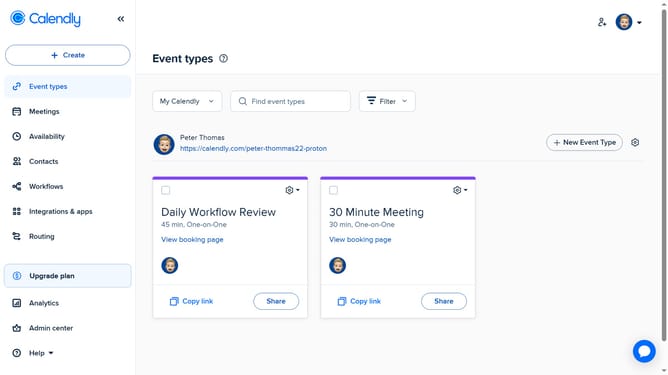
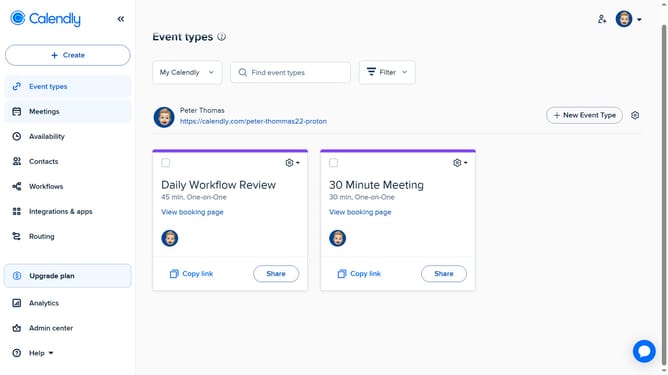
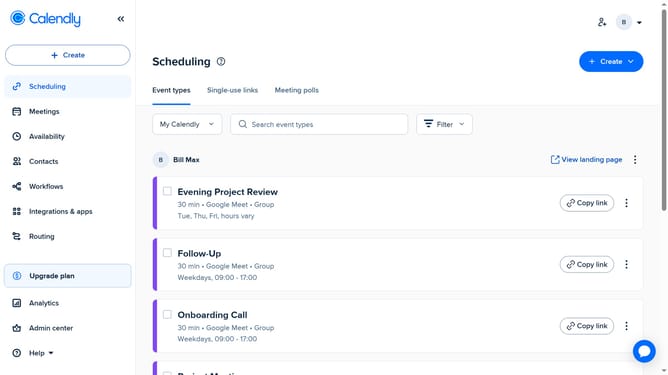
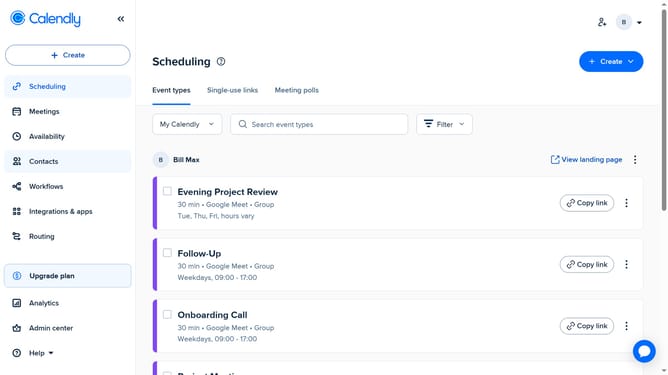
- First navigate to "Availability" in the left sidebar menu
- In the Schedule tab, click on the "Hours" button located in the Date-specific hours section
- Choose the specific date you want to set hours for
- Then set your start and end times for that date
- Finally click the "Apply" button to save the selected time slot
- Your date-specific hours are now set for the selected date and repeat for any additional dates as needed
Why should you set date-specific hours in Calendly
Calendly is a powerful scheduling tool designed to simplify the process of setting up meetings and appointments with ease.
One of its standout features is the ability to set date-specific hours, offering unmatched flexibility and precision.
By using this feature, users can customize availability for specific dates, ensuring their calendar accurately reflects their unique schedule without the hassle of manual adjustments.
This functionality boosts productivity, enhances time management, and ultimately provides a more personalized booking experience for users and clients alike.
Last update