How to send a scheduled workflow in Intercom
Here is how to send a scheduled workflow in intercom
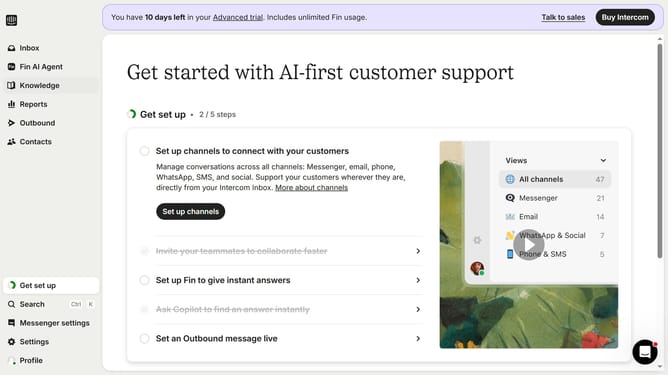
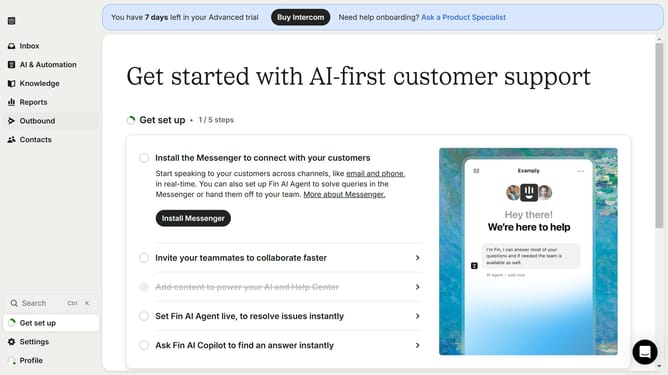
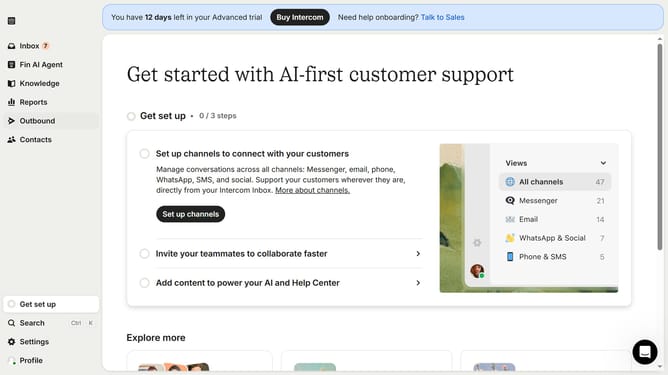
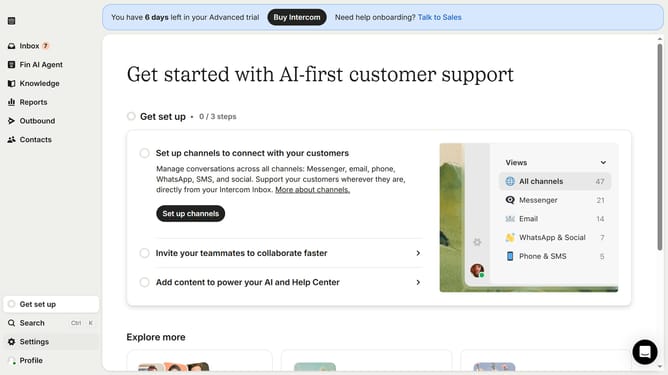
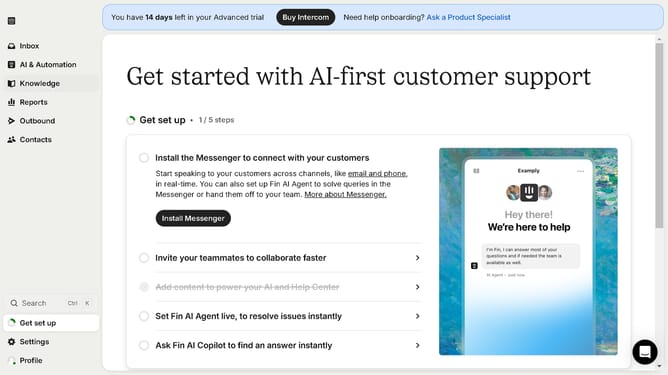
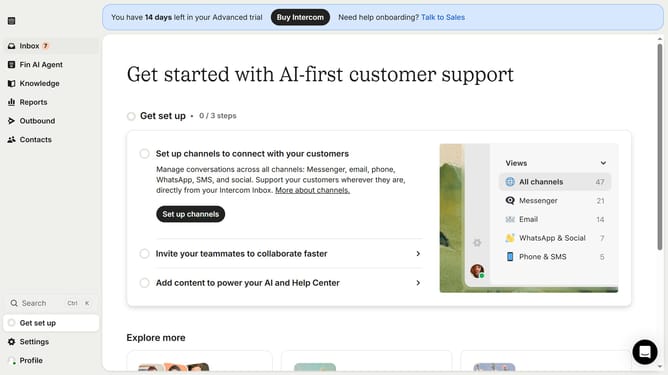
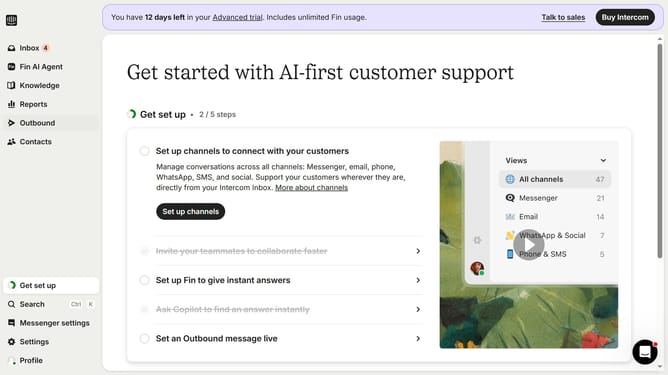
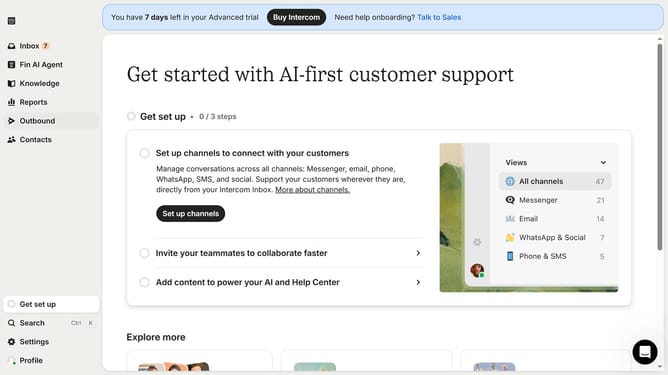
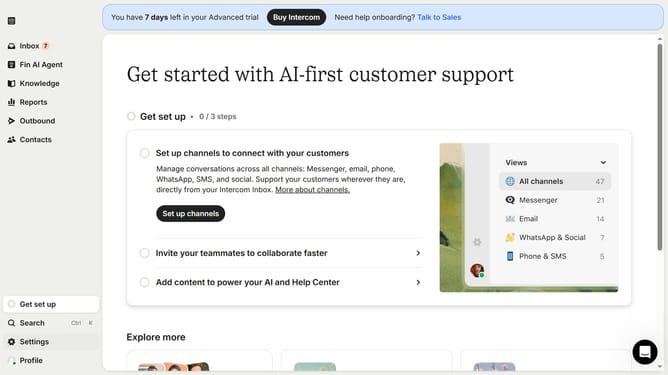
- First click on the "Outbound" option in the left sidebar
- Then click on the "New message" button in the top-right corner of the Messages screen
- Next click on the "Workflow" template option in the template selection modal
- Then, click on the "Scheduling" toggle to enable it
- Next select "Custom date" in the Start sending section of the form
- Finally select the date and time you want to send the workflow in the custom date picker
Why should you send a scheduled workflow in Intercom
Intercom is a versatile platform designed to enhance customer communication through personalized engagement.
The ability to send a scheduled workflow in Intercom empowers businesses to automate their customer interactions, providing timely and relevant messages at the perfect moment.
This feature ensures consistent communication, freeing up time for teams to focus on strategic tasks while maintaining a seamless customer experience.
Scheduling workflows not only optimizes operations but also enhances customer satisfaction by ensuring messages are delivered when they're most impactful.
Last update