How to manage border radius of a pie chart page in Looker Studio
Here is how to manage border radius of a pie chart page in looker studio
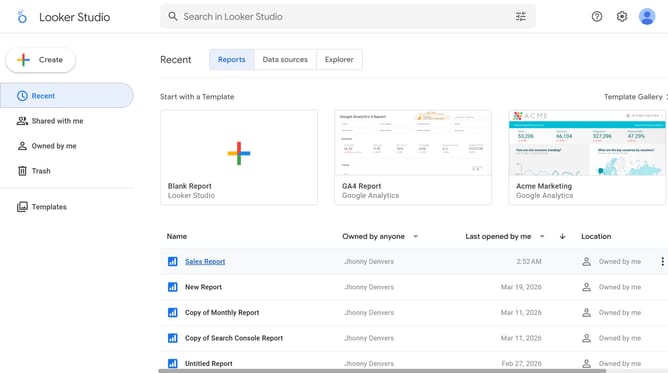
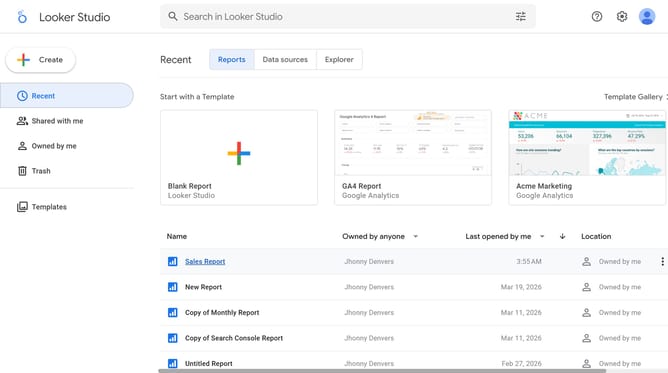
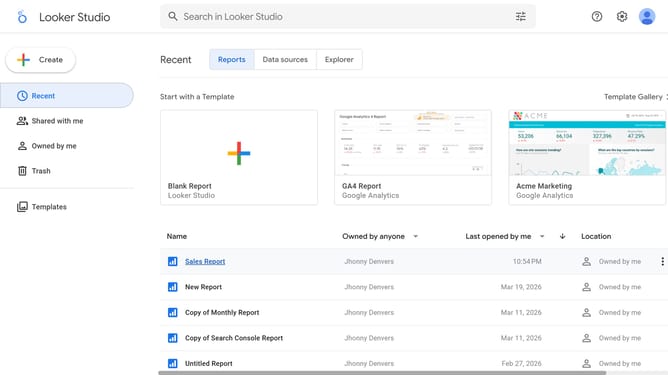
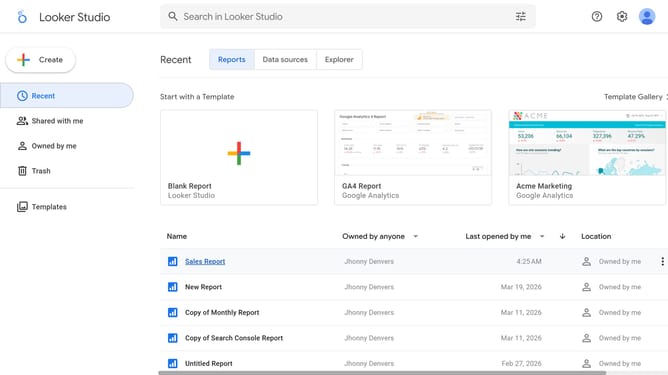
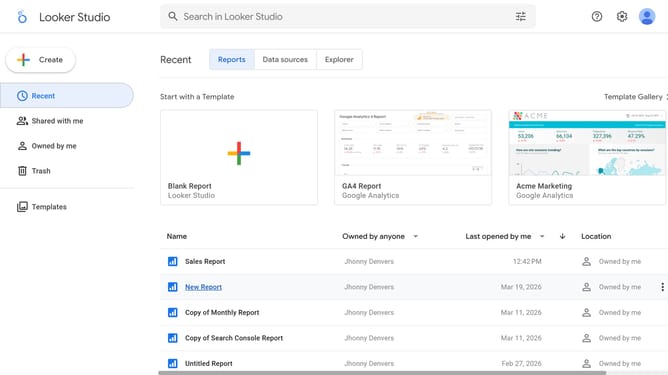
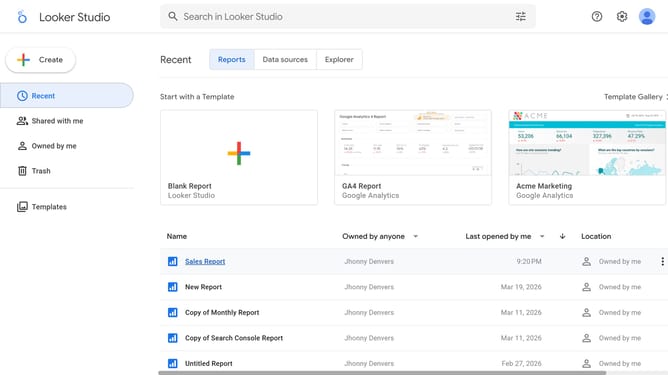
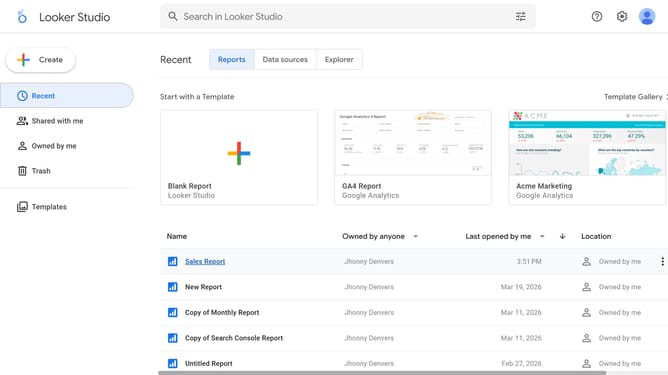
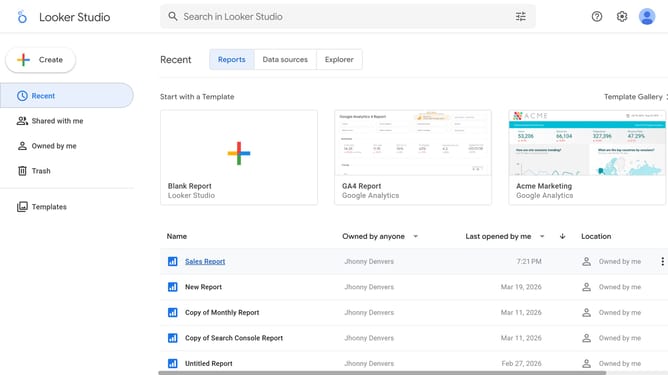
- First click on the file name from the reports list to open it
- Then click on "Edit" button in the top toolbar
- Next click on "Manage pages" option in the page navigation toolbar
- Next click on the page name in the right sidebar
- Next click on "Show properties" button above the pie chart
- Then click on "Border radius" dropdown in the Style tab of the Pie chart properties panel
- Finally select an option from the Border radius dropdown menu
Why should you manage border radius of a pie chart page in Looker Studio
Looker Studio is a dynamic platform designed to transform your data into informative and visually appealing reports and dashboards.
One of its sleek features includes the ability to manage the border radius of a pie chart page, allowing you to customize the visual edge of your charts.
Utilizing this feature can enhance the aesthetic quality of your charts, making them align better with your design preferences and corporate branding.
By smoothing the edges, the pie chart becomes more visually engaging and easier on the eyes, leading to a more professional and polished final report.
Last update