How to manage border color of a pie chart page in Looker Studio
Here is how to manage border color of a pie chart page in looker studio
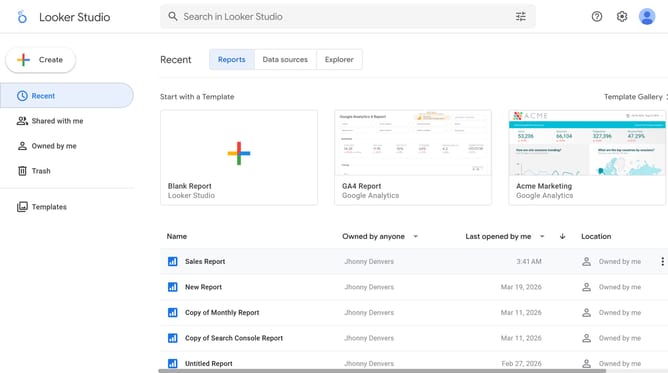
- First click on the file name from the reports list to open it
- Then click on the "Edit" button in the top toolbar to enter edit mode
- Next click on "Manage pages" option in the page navigation toolbar
- Next click on the page name in the right sidebar
- Next click on the "Show properties" button above the pie chart
- Then click on "Border color" dropdown in the Style tab of pie chart properties panel
- Finally select a color from the color picker palette to apply it as the border color
Why should you manage border color of a pie chart page in Looker Studio
Looker Studio is your go-to tool for crafting insightful and interactive data visualizations.
Managing the border color of a pie chart page in Looker Studio is an intuitive feature that enhances the overall aesthetic of your data presentations.
This feature allows you to customize visuals to align seamlessly with your brand identity, ensuring that your data storytelling is both compelling and visually cohesive.
By adjusting border colors, you create clear visual separations that emphasize distinct data segments, making interpretations more intuitive for your audience.
Last update