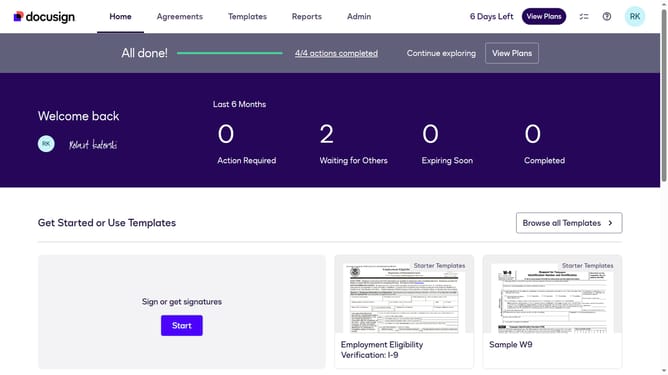
How to include recipient details in webhook payloads in DocuSign
Here is how to include recipient details in webhook payloads in docusign
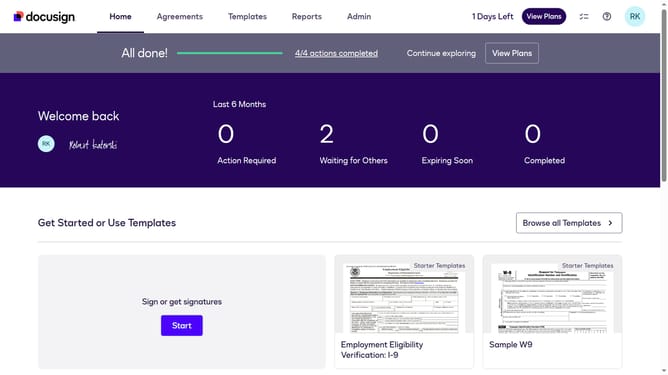
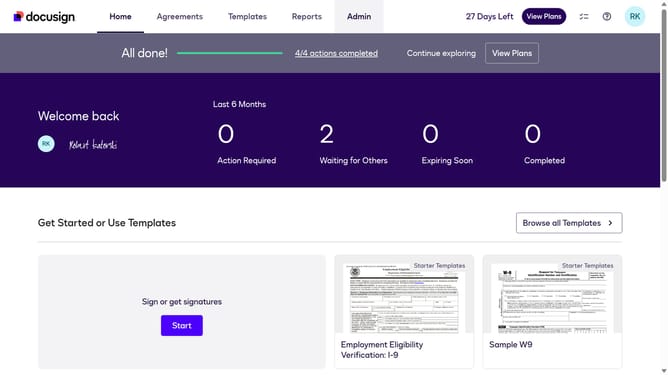
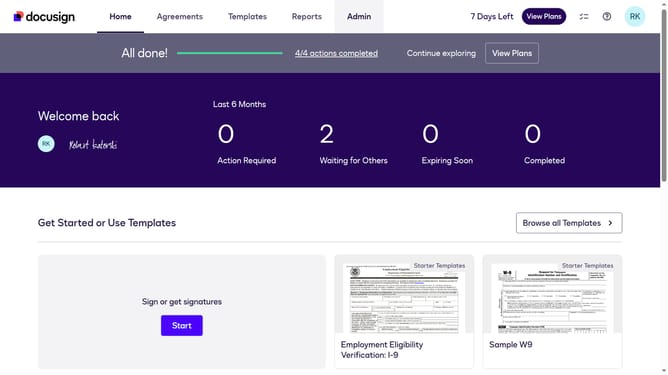
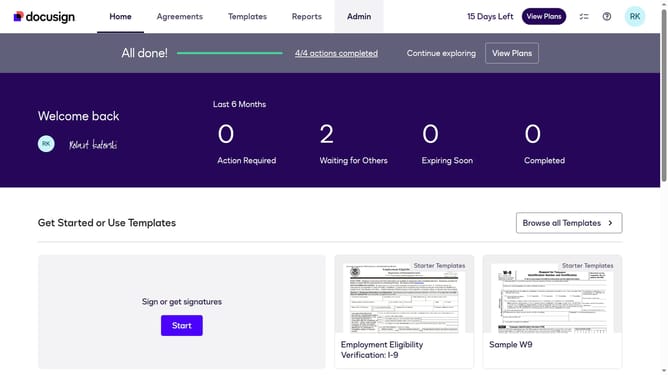
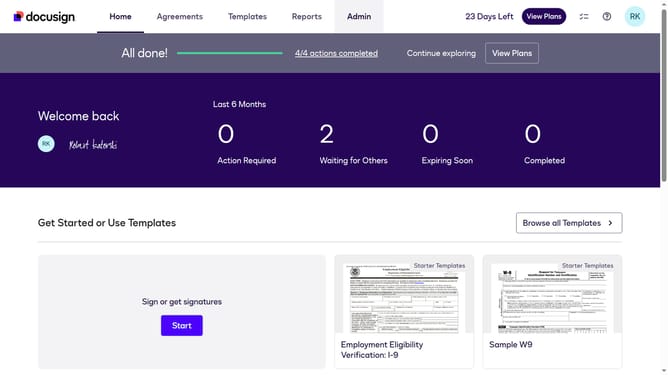
- First click on the "Admin" link in the top navigation menu
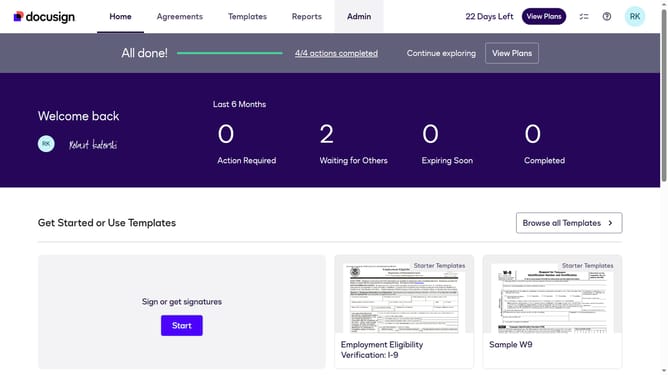
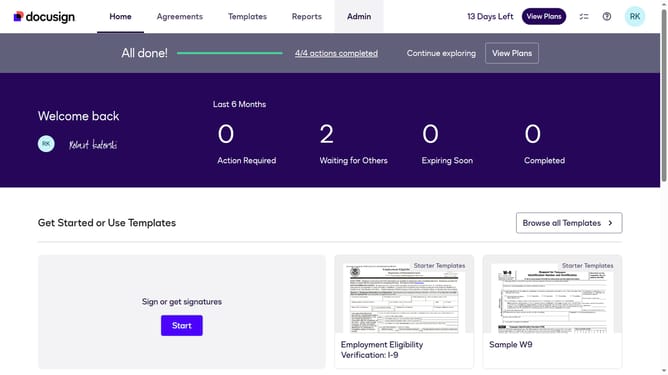
- Then click on the scroll down button to view more content on the Admin page
- Next click on the "Connect" link in the left sidebar under the INTEGRATIONS section
- Then click on the "Actions" dropdown button next to a custom configuration in the configurations table
- Next click on the "Edit" option from the Actions dropdown menu
- Then scroll down the page to view the Trigger Events section
- Next click on the "Envelope and Recipients" dropdown button to expand it
- Then scroll down and click the Include Data dropdown button
- Next check the "Recipients" checkbox to include it
- Then scroll down to the bottom of the page to view the save button
- Finally click on the "Save Configuration" button to save the changes
Why should you include recipient details in webhook payloads in DocuSign
DocuSign is a powerful tool that enables easy electronic agreement management, streamlining the signature process for businesses worldwide.
Including recipient details in webhook payloads within DocuSign elevates your transactional efficiency by providing real-time updates on document status linked to specific recipients.
This feature enhances tracking accuracy and ensures that the right information is at your fingertips, promoting seamless communication and accountability across all parties involved.
Utilizing this feature reduces errors and enhances operational transparency, making document management even more effective.
Last update