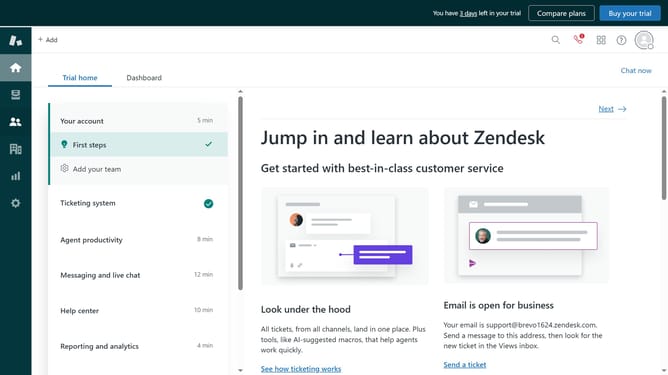
How to escalate a ticket in Zendesk
Here is how to escalate a ticket in zendesk
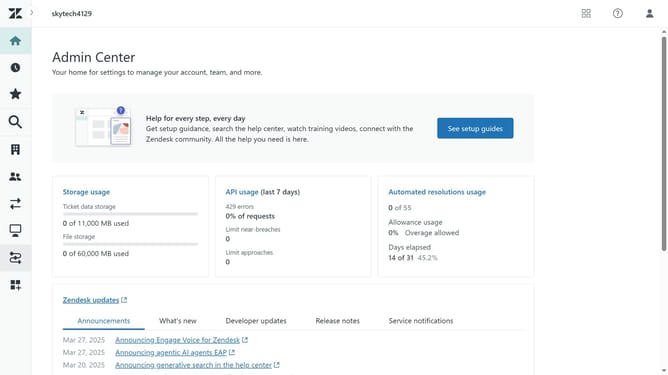
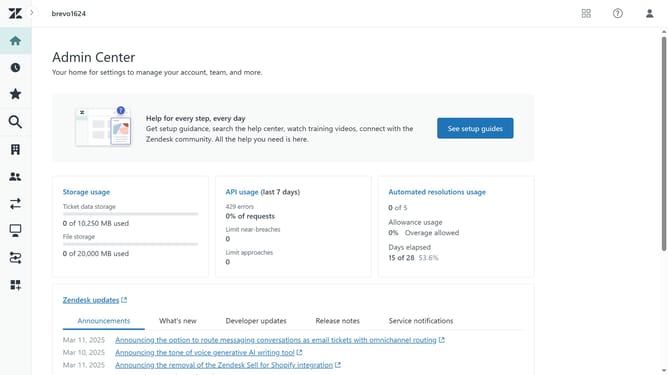
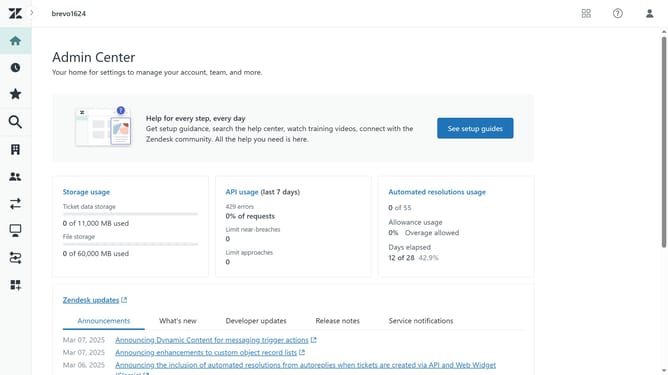
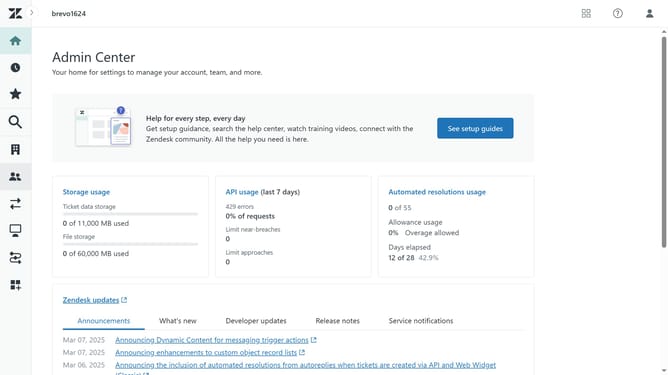
- First in the Admin Center, click on the "Workspaces" item in the left sidebar
- Then click on "Macros" under Agent tools section
- Next click on "Create macro" button in the top-right corner
- Enter the name of the macro in the Macro name field
- Provide a brief description in the Description field
- Adjust the privacy settings as needed
- Then click on "Add action" button in the Actions section
- Select "Group" from the action type dropdown menu
- Choose the appropriate agent group for escalations
- Click on "Add action" button again to add another action
- Select "Priority" from the action type dropdown menu
- Next make the priority "High"
- Click "Add Action" once more
- Select "Status category" in the action type dropdown
- Then choose "Open"
- Finally click on "Create" button to save the macro
- The macro will be successfully created and activated. Agents can now use it to escalate tickets efficiently
Why should you escalate a ticket in Zendesk
Zendesk is a versatile platform designed to simplify customer service and engagement.
Escalating a ticket in Zendesk is a key feature that ensures complex issues receive the attention they deserve from the right team members. By utilizing this feature, support teams can prioritize urgent matters efficiently, leading to faster resolution times.
This capability not only enhances customer satisfaction by providing timely solutions but also optimizes workflow management within support teams. Proper ticket escalation fosters better communication and collaboration, making Zendesk an essential tool for dynamic customer-service operations.
Last update