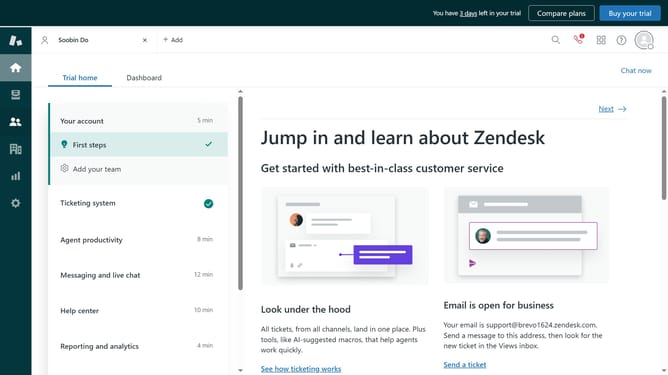
How to create an article in Zendesk Guide Admin
Here is how to create an article in zendesk guide admin
- First in Zendesk Guide, click on the "Add" dropdown button in the top navigation bar
- Select "Article" from the dropdown menu
- Click on the "Title" field in the article editor
- Enter a title for the article in the "Title" field
- Then write the content of your article in the text area provided
- Use the text editor and toolbar to add headings, bullet points, images, and links for better readability
- Next, in the "Management permissions" section, select who has permission to access this article
- Click the "Manage sections" button in the Placement section
- Choose a section for the article in the section selection dialog
- Click the "OK" button to confirm the section selection
- Click on "Agents and admins" in the Visible to dropdown
- Select your preferred option from the "Visibility" settings
- Finally, click the "Save" button to save the article
- Your article is now created and saved, ready to be published
Why should you create an article in Zendesk Guide Admin
Zendesk is a powerful platform designed to enhance customer service experiences.
The feature to create an article in Zendesk Guide Admin helps streamline the process of building a comprehensive knowledge base.
By empowering users to craft easy-to-understand articles, it ensures that customers can quickly find the information they need, thus reducing support ticket volumes.
Utilizing this feature facilitates efficient information dissemination, fostering an environment of self-service and enhancing customer satisfaction.
Last update