How to delete a deletion schedule in Zendesk
Here is how to delete a deletion schedule in zendesk
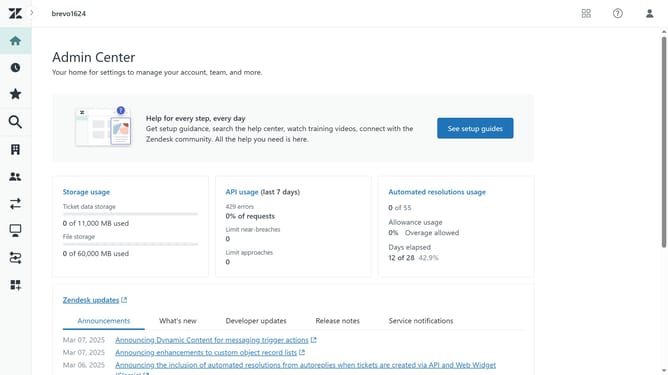
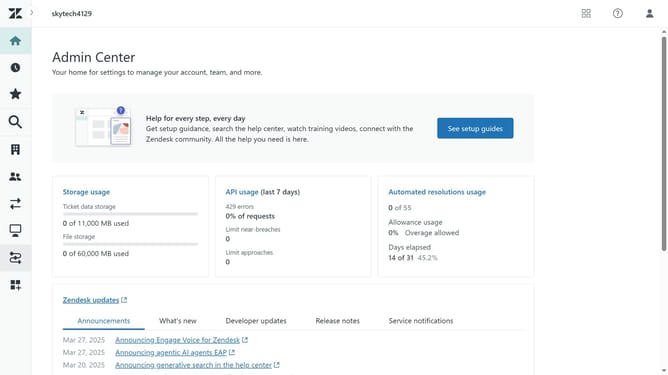
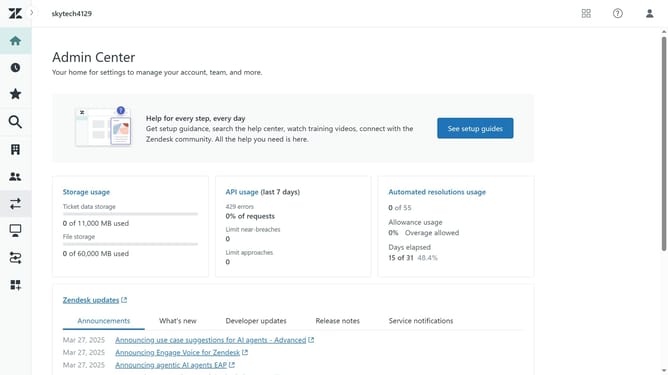
- First in the Admin Center, click on "Account" button in the left sidebar
- Then click on "Deletion schedules" option under the Security section
- Select the deletion schedule you want to delete from the deletion schedules table
- Next click on the options menu (three dots) next to it
- Select "Delete" option from the dropdown menu
- Finally, in the confirmation dialog click on "Delete schedule" button to confirm the deletion
Why should you delete a deletion schedule in Zendesk
Zendesk is a comprehensive customer service platform designed to enhance communication and streamline support operations.
The ability to delete a deletion schedule in Zendesk provides flexibility and control over how data retention is managed.
By deleting a scheduled deletion, users ensure that crucial information remains accessible when needed, preventing the accidental loss of essential data.
This feature supports dynamic decision-making and data management, reinforcing Zendesk's emphasis on user empowerment and operational efficiency.
Last update