How to create an email sequence in Zendesk Sell
Here is how to create an email sequence in zendesk sell
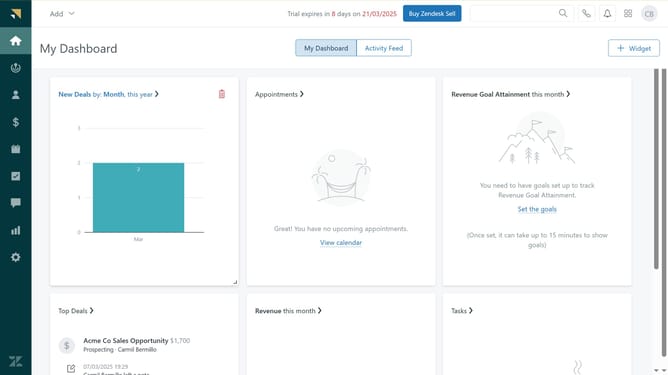
- First in Zendesk sell, click on the "Settings" icon in the left sidebar
- Then click on "Sequences" under Business rules section
- Next click on "Add sequence" button
- Click on "Add step" button to begin the setup
- Select "Automated email" from the dropdown menu
- Choose the email template that you want to use for this step
- Click on "Select" button to confirm the template choice
- Specify when you want the email to be delivered
- Select the checkbox for "Add an unsubscribe link to all emails in this sequence"
- Next choose the language you want to use for the unsubscribe message
- Once done with the set up, click on "Save sequence" button
- Enter the sequence name in the "Name your sequence" dialog
- Finally, click "Save" to finalize the sequence creation
Why should you create an email sequence in Zendesk Sell
Zendesk is a powerful platform designed to enhance customer relationships and streamline communications.
Creating an email sequence in Zendesk Sell enables users to automate their outreach, ensuring consistent engagement with prospects.
This feature helps maintain a proactive communication strategy, leading to increased response rates and improved conversion opportunities.
Utilizing automated sequences not only saves time but also ensures timely follow-ups, enhancing the overall sales process efficiency.
Last update