How to integrate email parser with Zendesk
Here is how to integrate email parser with zendesk
- First log into your Zapier account, click on "Create" and select "Zaps" to begin
- Then, click on "Trigger" to begin the setup process
- In the app selection menu, click on the "Email Parser" option under Popular built-in tools
- CLick "Sign in", log into your active Email Parser account and click "Authorize" to grant the required permissions
- Click on the trigger event dropdown
- Select the trigger event that fits your needs for the integration
- Then click the "Continue" button to proceed with the setup
- Fill in the required fields as needed
- Click the "Test trigger" button to test your email trigger setup
- After successful test, click "Continue" to move forward
- Now, search for "Zendesk" and select it as your Action App
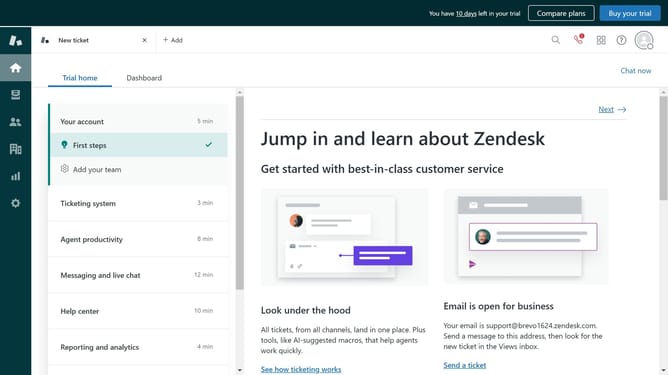
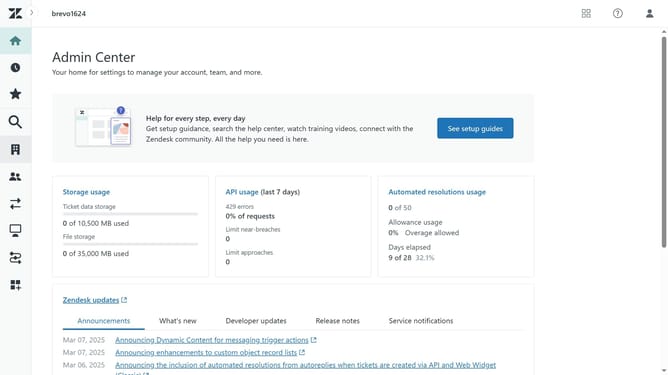
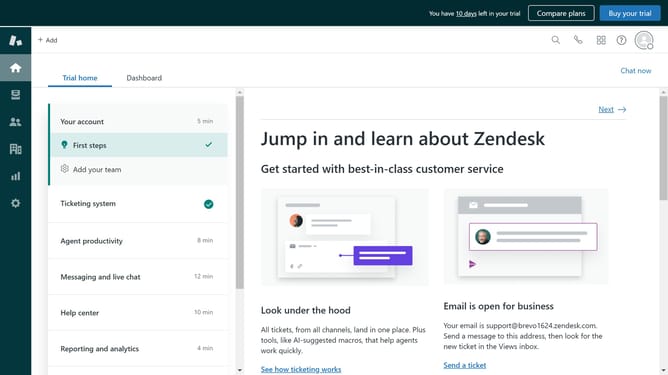
- Next sign in to your Zendesk account
- Choose an Action event
- Fill in and customize the required fields as prompted
- Click "Test step" to check everything is working
- Finally, click "Publish" to complete the integration
Why should you integrate email parser with Zendesk
Zendesk is a powerful customer service platform designed to enhance customer interactions and streamline support operations.
Integrating an email parser with Zendesk allows for automated data extraction from incoming emails, enhancing efficiency and minimizing manual errors. This feature seamlessly translates unstructured email content into organized support tickets, making it easier for support teams to prioritize and address customer issues promptly.
With this integration, businesses can boost productivity by automating routine tasks, enabling customer service agents to focus on delivering top-notch support. It also ensures no critical customer information is overlooked, fostering improved customer satisfaction.
Last update