How to create a list view in Salesforce
Here is how to create a list view in salesforce
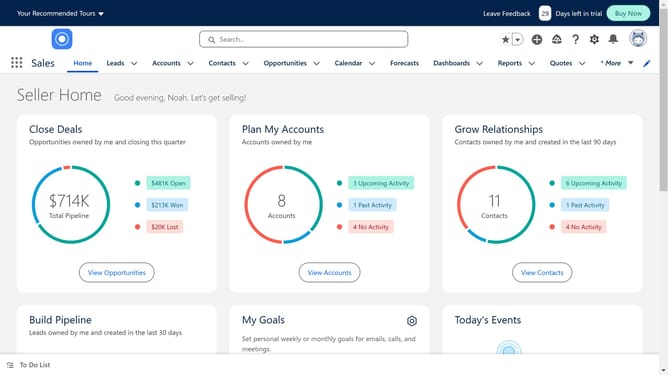
- First click on the "Contacts" tab in the top navigation menu
- Then click the gear icon at the top of the list view
- Select "New" from the List View Controls dropdown menu
- Click in the "List Name" text field
- Make sure to turn on the option "All users can see this list view"
- Click on the "Save" button in the New List View dialog
- Click on the "Add Filter" button in the Filters panel
- Enter the parameters (via field, operator and values) you want to set for the list view
- Click on the "Done" button in the filter dialog
- Click on the "Save" button to apply the filter changes
- Click on the "Settings" icon in the list view toolbar
- Click on the "Select Fields to Display" button from the drop down
- Choose the items you want to see in your list view and move them from the Available Fields to the Visible Fields
- Finally click the "Save" button in the Select Fields to Display dialog
Why should you create a list view in Salesforce
Salesforce is a powerful platform designed to efficiently manage customer relationships.
Creating a list view in Salesforce is an invaluable feature that helps users organize and display data in a customized way. By tailoring list views, you can focus on specific sets of information, such as leads or opportunities, that matter most to your workflow.
This functionality enhances productivity by allowing quick access to relevant data, leading to informed decision-making and streamlined processes. Overall, it optimizes how you interact with essential business information.
Last update