How to add borders to an element in Webflow
Here is how to add borders to an element in webflow
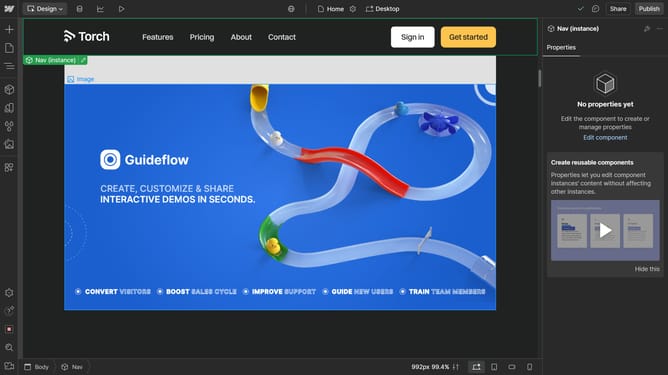
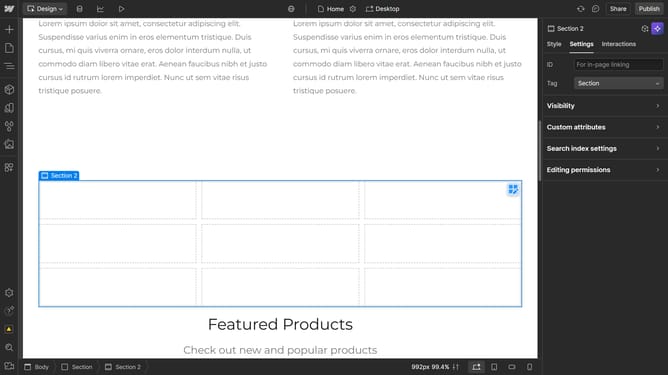
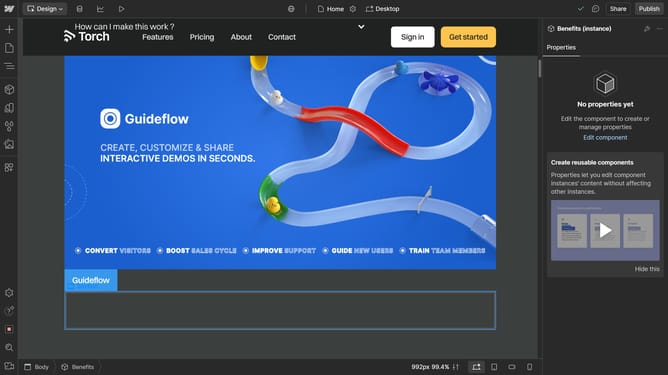
- First, select an element in the main content area
- Then click on the "Style" tab in the right sidebar
- Next click on the "Borders" section in the right sidebar's Style panel
- Then, choose your preferred border style in the Borders section
- You can also adjust the border width by modifying its value
Why should you add borders to an element in Webflow
Webflow empowers creators by fusing design, development, and hosting into a unified web-building experience.
Adding borders to an element enriches your site’s visual appeal and demarcates content effectively.
This feature enhances user experience by subtly guiding the eye to important details and improving overall design aesthetics.
Whether you aim to highlight interactions or create sleek patterns, borders are versatile design elements that bring structure and style to your web creations.
Last update