Create your own interactive guide with Guideflow
How it works
Here is a simple guide on how to add an image in Webflow:
1. First, click on the "Add Elements" in the left sidebar
2. You can scroll down or use the search bar to find the image element.
3. Next, click and drag the image element to your desired location.
4. Now, your image element is on the page
5. Click on "Replace image" button in the Image Settings panel to select a new one
6. Then select in the "Assets" panel the image you want to use to replace the previous one
7. Now you have successfully added your image
8. You can do more adjustment of the image settings such as size, position, add alt text, etc.
Why should you use this feature?
Webflow is a powerful platform designed for creating stunning websites without writing a single line of code.
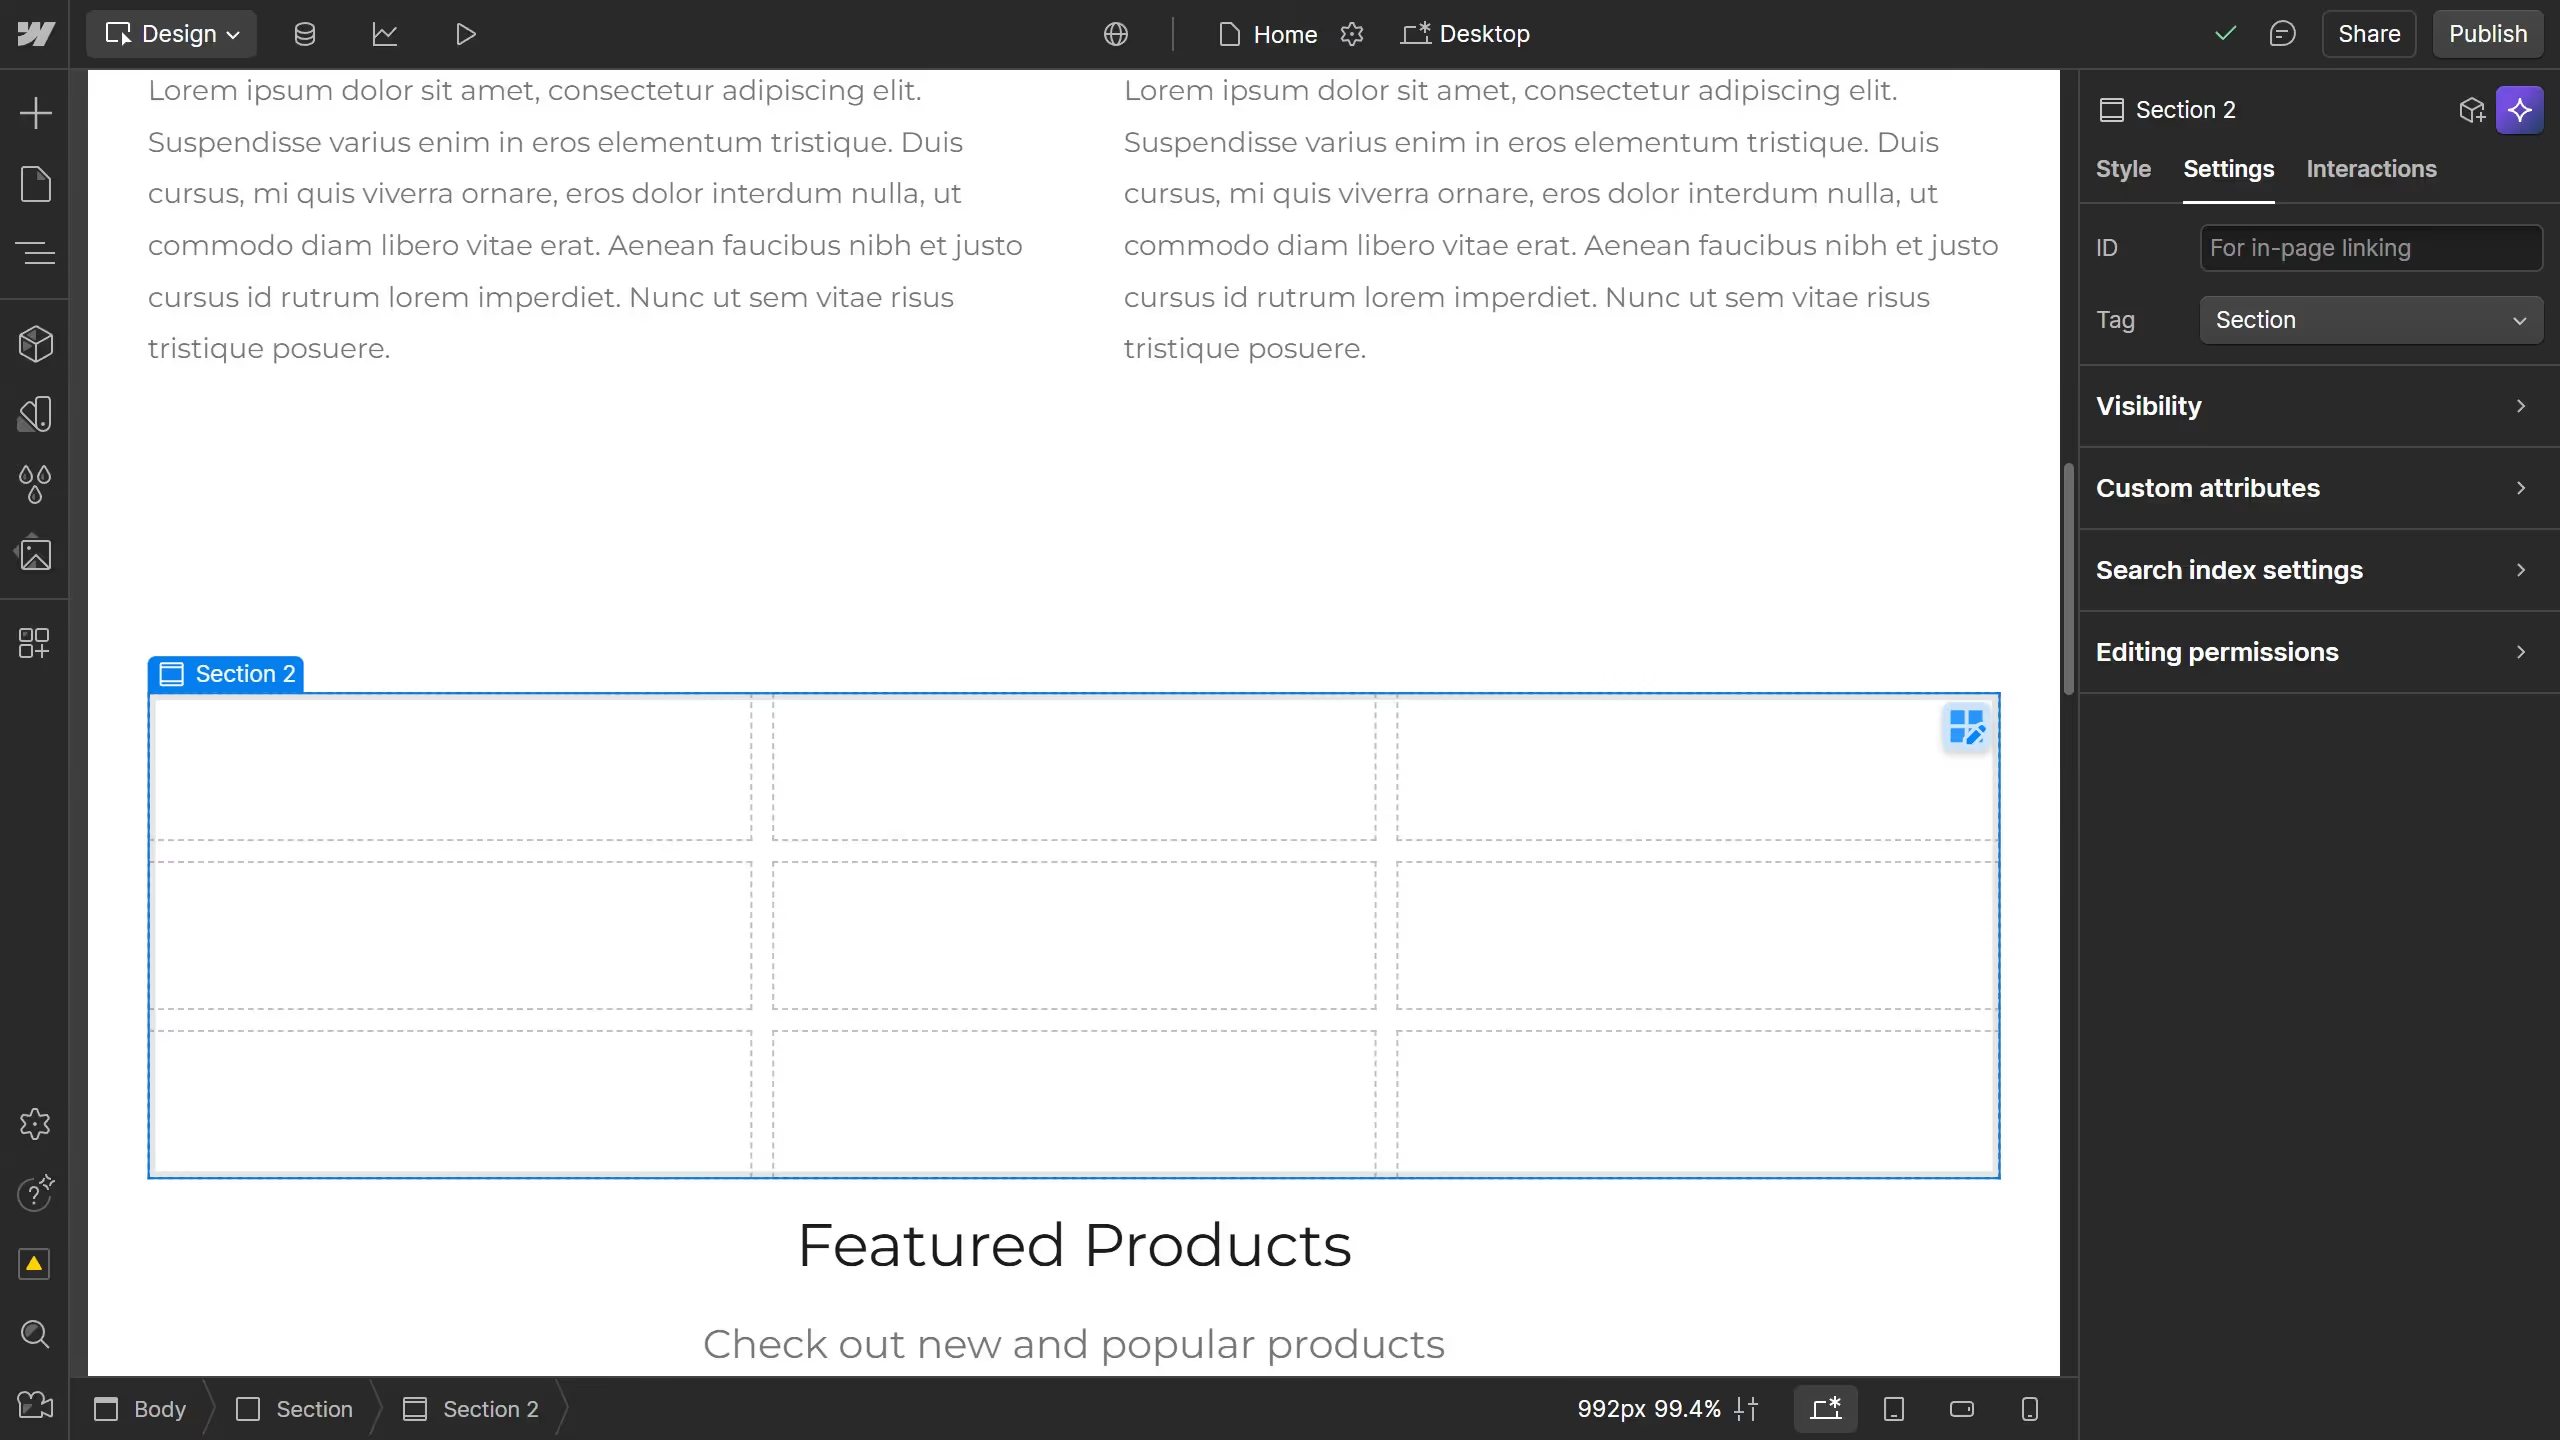
Adding an image in Webflow enhances your site's visual appeal, making it more engaging and dynamic. The platform's intuitive interface allows you to easily insert images, enabling quick customization. This feature supports various formats and automatically adjusts to ensure responsive design across all devices.
Using Webflow to add images not only improves the aesthetics but also boosts user experience, contributing to a more professional and polished online presence.
Built to impress
Why leading companies build with Guideflow


