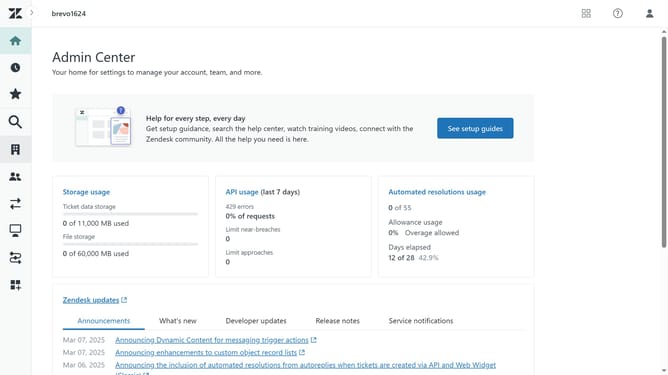
How to add a user in Zendesk Sell
Here is how to add a user in zendesk sell
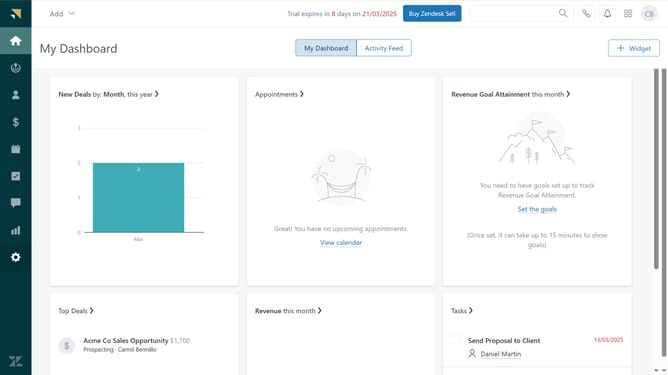
- First in Zendesk sell, click on the "Settings" icon in the left sidebar
- Then click on the "Users" under Manage section in the settings menu
- Next click the "New user" button in the top right corner
- In the modal window, enter the user's name in the "Full Name" field
- Type email address of the user in the "Email" field
- Assign pipelines to the user from the pipelines dropdown menu
- Scroll down in the permissions section, set the user's permission and access
- Finally, click the "Send invitation" button at the bottom of the form to send an email invitation to the user
- The email invitation has been sent successfully
- The user's status will be "Pending Confirmation," waiting for them to confirm their email and activate their account
Why should you add a user in Zendesk Sell
Zendesk is a versatile platform designed to enhance customer interactions and streamline sales processes.
Adding a user in Zendesk Sell is a seamless feature that empowers your team by providing the essential tools they need to efficiently manage sales tasks.
This feature cultivates collaboration within your team, offering a unified view of customer interactions and ensuring everyone stays on the same page.
By enabling easy access to shared resources and customer data, this functionality enhances productivity and optimizes team performance.
Last update