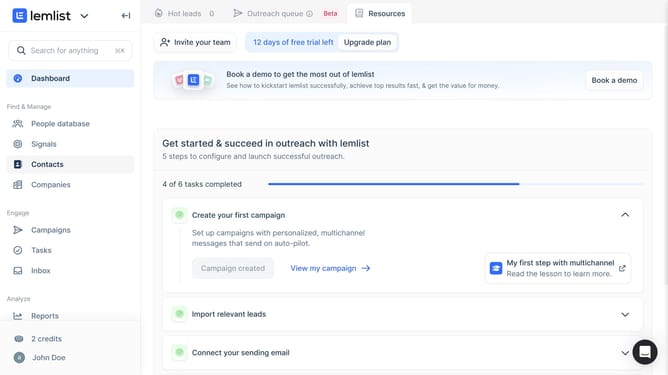
How to add a column to the leads in a campaign in Lemlist
Here is how to add a column to the leads in a campaign in lemlist
- First click on "Campaigns" in the left sidebar under the Engage section
- Then click on the campaign name from the campaigns list
- Next click on the "Lead list" tab in the top navigation bar
- Then click on the "Add" button in the top right corner of the leads table
- Next click on "Create column" option from the dropdown menu
- Finally click on the "Save" button in the "Add a new variable" dialog
Why should you add a column to the leads in a campaign in Lemlist
Lemlist is a dynamic platform designed to supercharge your email outreach campaigns.
One of its standout features is the ability to customize your campaigns by adding columns to the leads. This feature offers the flexibility to segment and personalize outreach, honing in on specific attributes of your target audience.
By incorporating additional columns, you enhance your campaign's efficiency and precision, making it easier to track lead-specific data, tailor messages, and ultimately, increase engagement rates.
This streamlined approach not only optimizes workflow but also maximizes the potential for conversion.
Last update