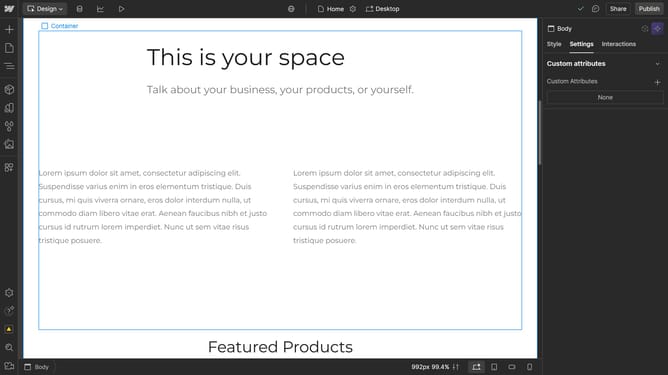
How to add a border radius to an image in Webflow
Here is how to add a border radius to an image in webflow
- First click on the "Image" element in the main content area of the page
- Then click on the "Style" tab in the right sidebar settings panel
- Next click on the "Borders" section in the right sidebar style settings
- Finally click on the "Radius" input field in the Borders settings panel to adjust the border radius value
Why should you add a border radius to an image in Webflow
Webflow is a powerful platform that empowers users to design, build, and launch visually stunning websites without needing to code.
Add a border radius to an image in Webflow to enhance the design by offering a softer, more polished appearance. This feature allows you to transform the standard rectangular image edges into smooth, rounded corners, adding a touch of elegance and visual interest.
Using border radius not only enriches the aesthetic appeal but also contributes to a modern, cohesive look across your site, capturing attention and engaging visitors effectively.
Last update