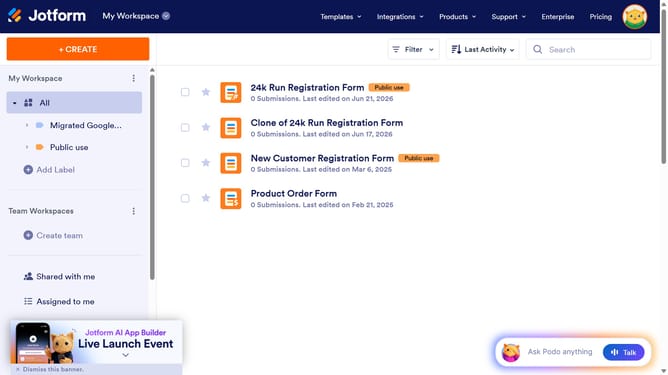
How to use Zapier with Jotform
Here is how to use zapier with jotform
- First click on the "Create" button in the top-left corner of the Zapier interface
- Then click on "Zaps" in the dropdown menu
- Click on the "Trigger" section to select the event that starts your Zap
- Select "Jotform" from the app selection menu
- In the right sidebar configuration panel, locate and select an event
- Click the "Sign in" button to connect your Jotform account
- Click the "Allow" button to authorize Zapier to access your Jotform account
- Click the "Continue" button after selecting a Trigger event
- Then select a form to use for your Zap
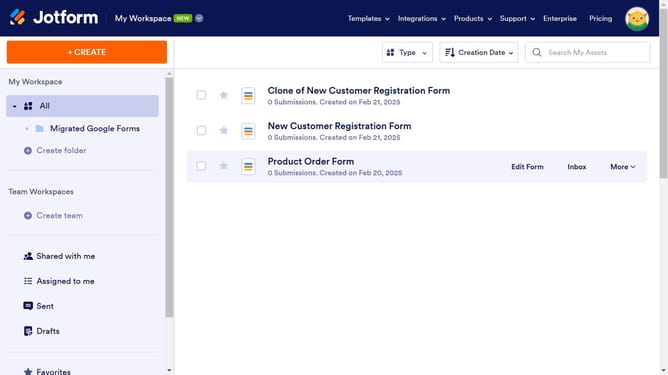
- Click the "Continue" button after selecting the Product Order Form
- Click the "Continue" button after the trigger test is complete
- Then choose what app you want to use
- Then choose an "Action event" for you Zap
- Click the "Continue" button to proceed with Google Docs setup
- Fill in the necessary details for your action
- Click the "Continue" button to move to the testing phase
- Finally, click the "Publish" button in the top-right corner to make your Zap live
Why should you use Zapier with Jotform
Jotform is a versatile online form builder that simplifies data collection and management.
By integrating Zapier with Jotform, you can automate workflows and enhance productivity effortlessly.
This synergy allows seamless data transfer between Jotform and other apps, eliminating manual data entry and reducing errors.
Leveraging this integration not only saves time but also boosts efficiency, enabling you to focus on more crucial tasks.
Last update