How to set your availability in Calendly
Here is how to set your availability in calendly
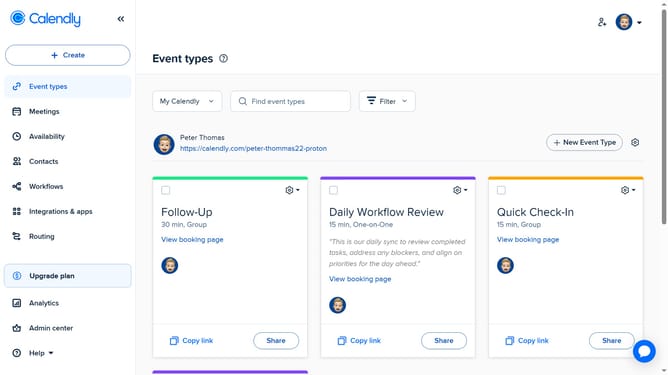
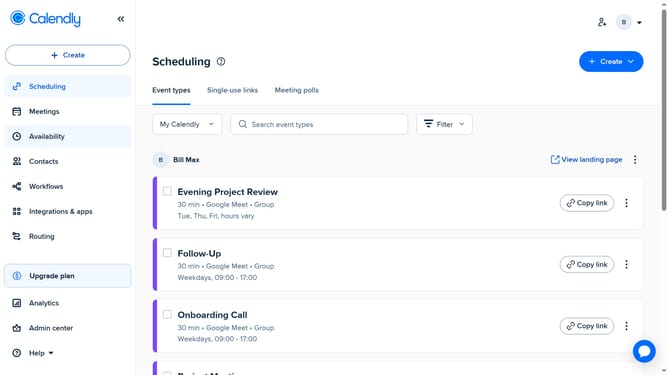
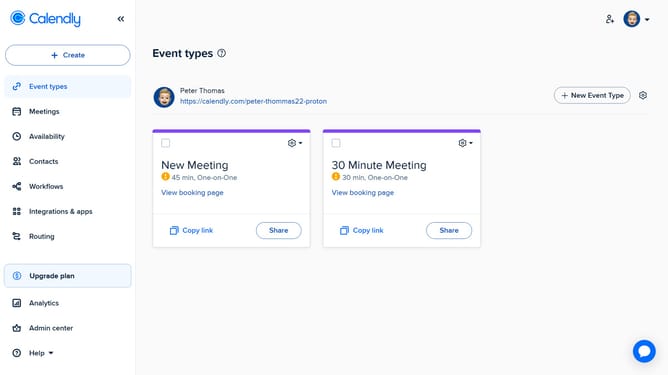
- First navigate to "Availability" in the left sidebar menu
- Click on "Schedules" tab in the top navigation bar
- Next click on "Schedule" dropdown in the schedule section
- Then click on "Create schedule" button in the dropdown menu
- Enter a name for your schedule in the schedule name input field
- Next click the "Create" button
- Then in the Weekly hours section, choose your available days and times
- Finally adjust the time zone if needed
- The new availability schedule is created and ready to be applied to event types
Why should you set your availability in Calendly
Calendly is a smart scheduling platform designed to streamline appointment bookings effortlessly.
By setting your availability in Calendly, you gain full control over your schedule, ensuring meetings align perfectly with your personal routine.
This feature not only reduces the hassle of back-and-forth emails but also maximizes productivity by allowing uninterrupted focus during non-available times.
Embrace a seamless scheduling experience that respects your time and boosts your efficiency with Calendly.
Last update