Here is how to set up an email campaign in klaviyo
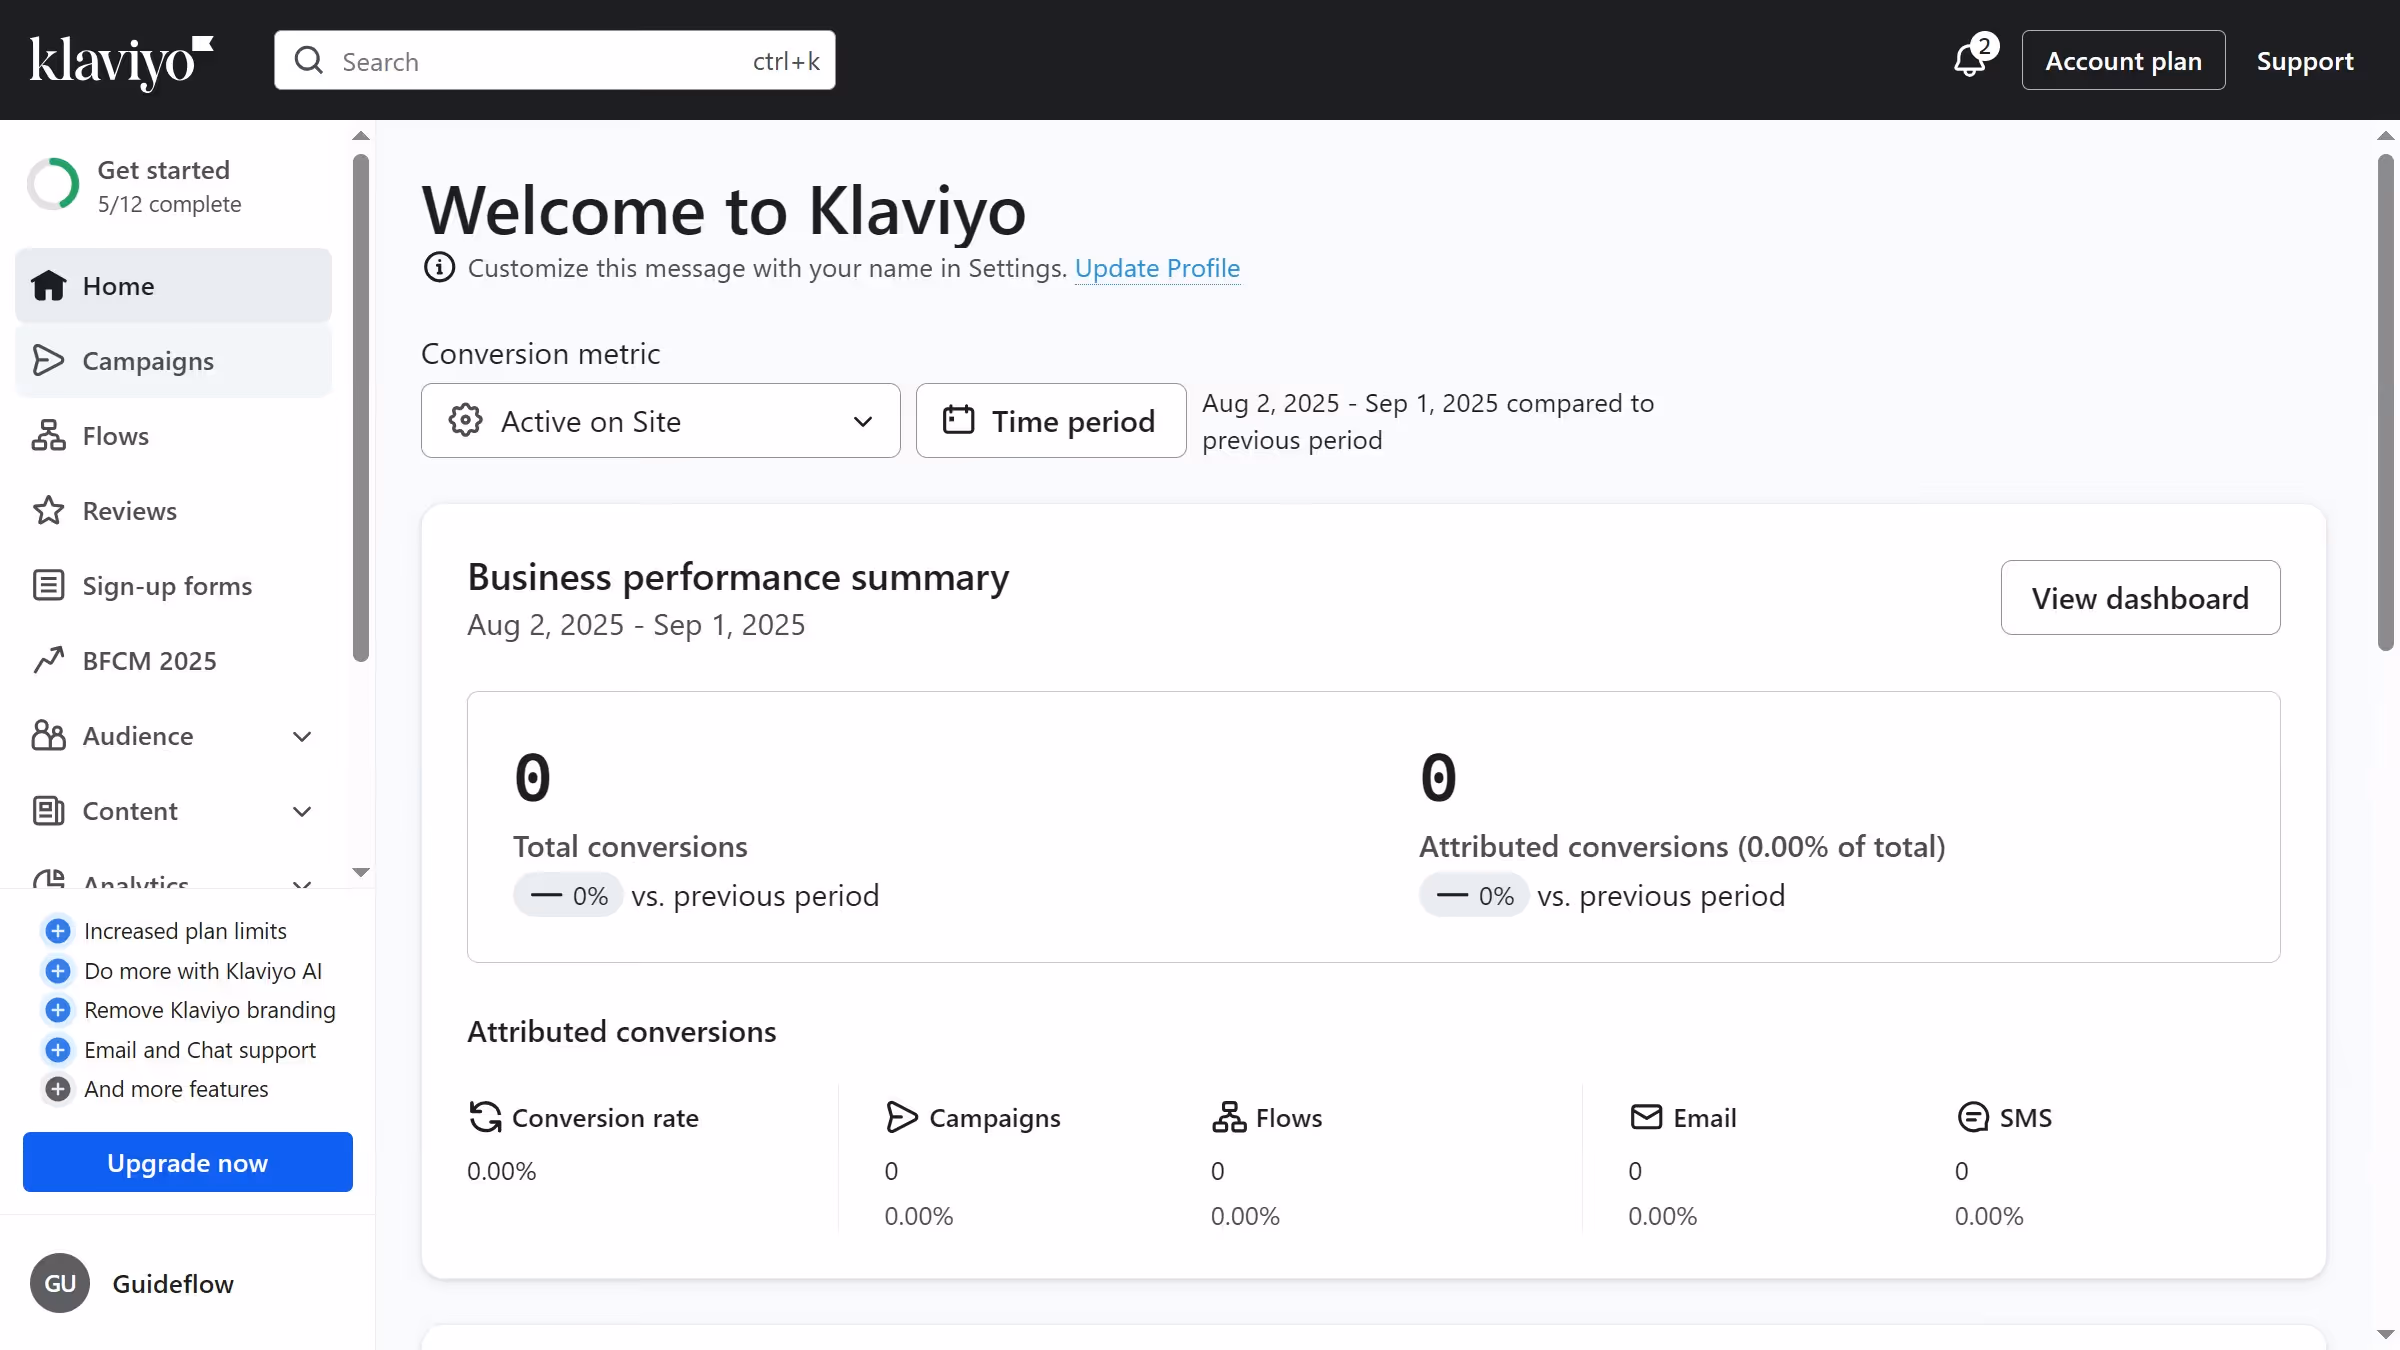
- First click on "Campaigns" in the left sidebar
- Next click on "Create campaign" button
- Enter a name for your campaign in the Campaign Name field
- Then click on "Email" option to select email campaign type
- Click "Continue" button at the bottom to proceed
- The campaign has been successfully created, and you can now begin setting it up
- Configure the audience you want to send to and define the sending details
- Click on the "Next" button to proceed
- Choose how you’d like to create your campaign content by clicking the action button
- From the dropdown, you can select "Switch to text-only editor" or "Switch to HTML editor"
- Alternatively, you can use one of your previously created templates or browse the library for drag-and-drop template options
- Select a template and click "Use Template"
- Then edit your campaign content as needed
- Next add your subject line, preview text, sender name, and sender email address
- When finished, click the "Next" button in the top-right corner
- On the review screen, fix any issues shown in the sidebar, then click "Schedule or Send" at the top of the page
- To send your campaign immediately, click the "Send Now" button
- To schedule for later, click on the "Schedule" option
- Then choose a date and time when you want the campaign to be sent
- Finally, click the "Schedule Campaign" button to complete the setup
- Your campaign has been successfully set up and will be sent immediately or at the scheduled time you selected