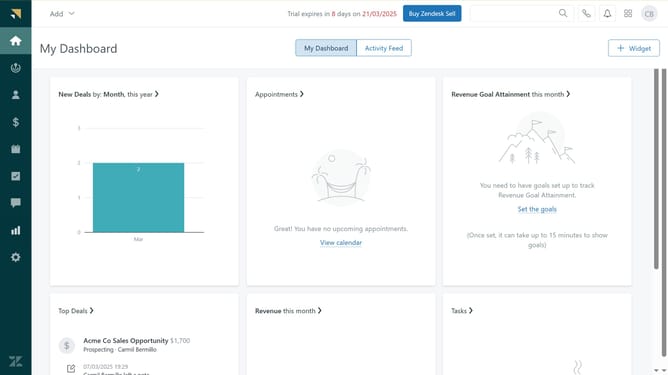
How to create an OAuth client in Zendesk
Here is how to create an oauth client in zendesk
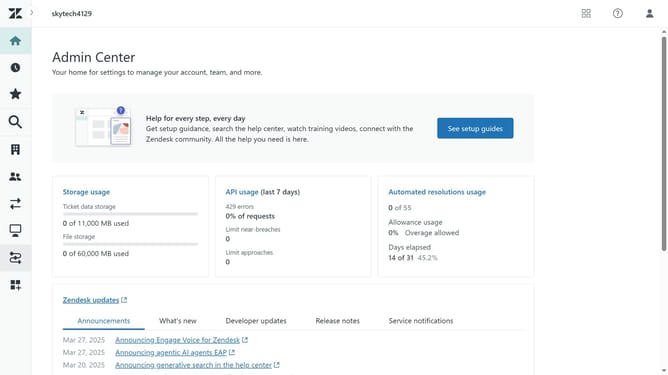
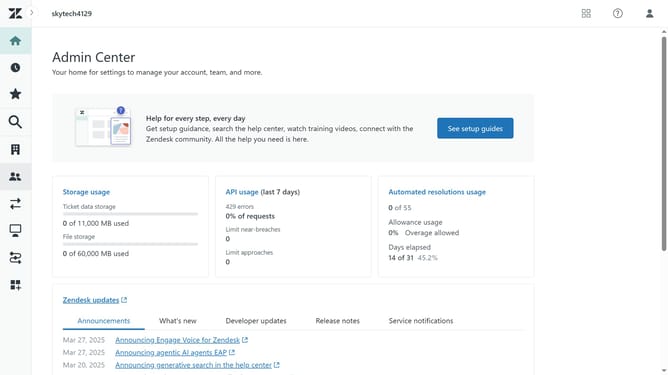
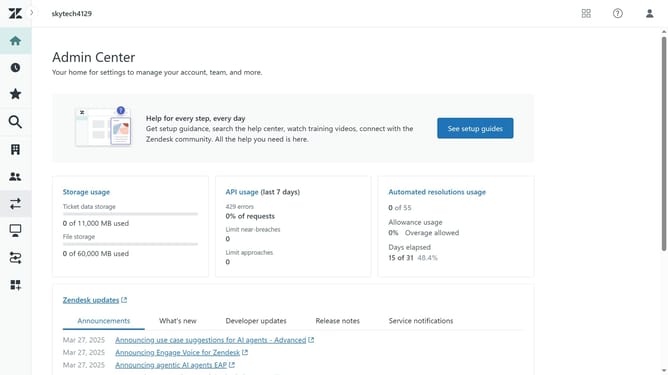
- First in Admin Center, click on "Apps and integrations" in the left sidebar
- Then click on "Zendesk API" under the APIs section
- Next click on "OAuth Clients" tab in the main content area
- Click on "Add OAuth client" button in the top right
- Enter name displayed when users grant access
- Type a brief info about the app in the Description field
- Enter the company name in the Company field
- The unique identifier will be auto-filled based on the client name
- In the Client kind options, choose Public or Confidential
- Enter absolute URLs for authorization callbacks, in the Redirect URLs field
- Then, once done click the "Save" button at the bottom of the form
- Click "OK" in the secret storage confirmation dialog to confirm the creation
- Your OAuth client has been successfully created
- Next, scroll down and find the "Secret" section
- Click the "Copy" button next to the secret token
- Finally, cick the "Save" button to complete the OAuth client setup
Why should you create an OAuth client in Zendesk
Zendesk is a dynamic platform designed to improve customer relationships by streamlining support processes.
Creating an OAuth client in Zendesk allows seamless integration with external applications, empowering businesses to enhance functionality while maintaining secure data exchanges.
This feature simplifies authentication for users, offering a streamlined experience and boosting productivity. It's an essential tool for organizations looking to connect their systems effectively, ensuring a cohesive workflow and enhanced customer service delivery.
Last update