How to create an date/time user field in Manychat
Here is how to create an date/time user field in manychat
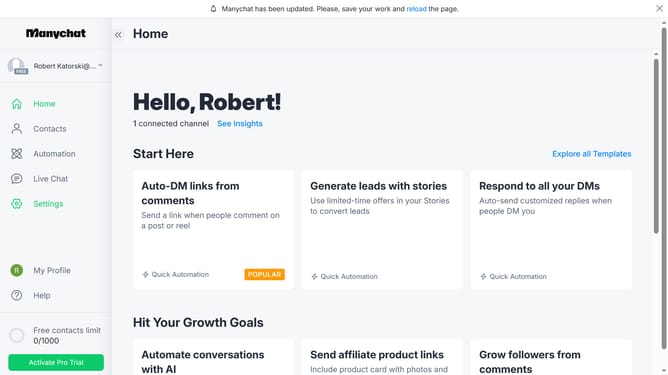
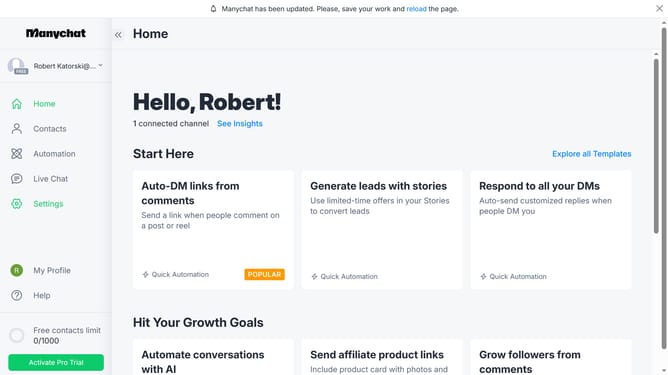
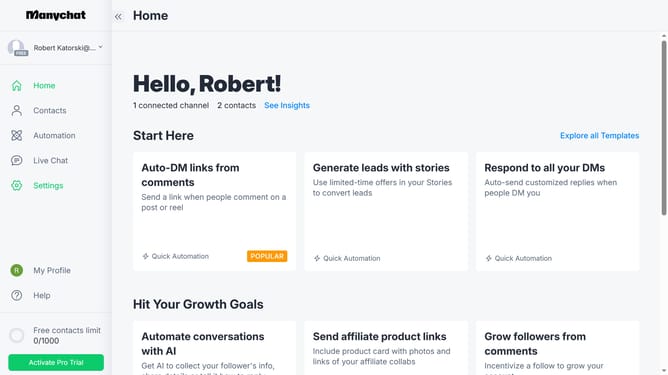
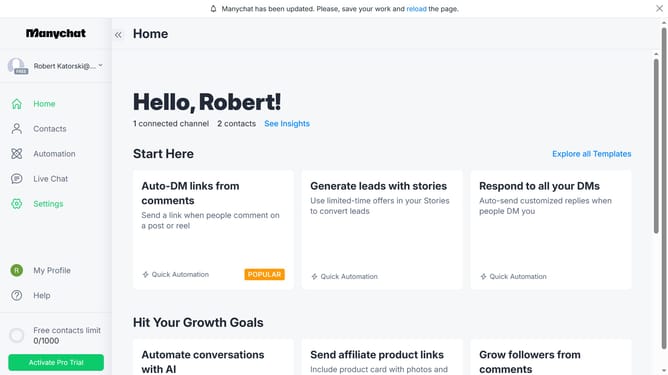
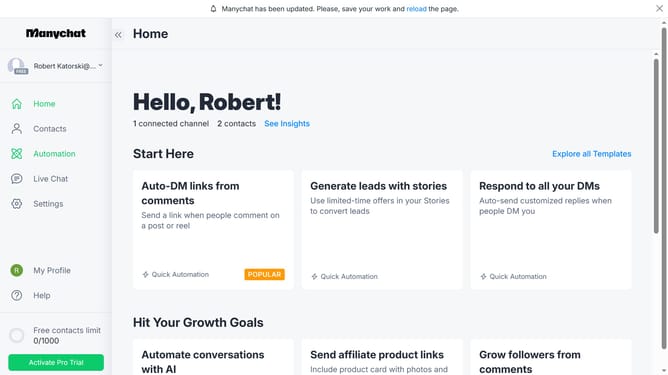
- First click on the "Settings" option in the left sidebar menu
- Then scroll down in the general settings page
- Next select "Fields" under the Automation section in the left settings menu
- Scroll up in the fields settings page
- Click on the "+ New User Field" button in the top right corner
- Next click the "Type" dropdown field in the Create New User Field dialog
- Select "Date & Time" from the type options dropdown menu
- Click on the "Name" input field in the dialog and type in the desired name for your "Date & Time" user field
- Click the "Folder" dropdown field in the form
- Select the desired folder you want to create your "Date & Time" user field from the folder options
- Finally click on the "Create" button in the bottom right of the dialog
Why should you create an date/time user field in Manychat
Manychat is a powerful platform designed to facilitate seamless communication with customers through automation.
Creating a date/time user field in Manychat empowers businesses to personalize interactions based on user-specific timelines.
This feature provides an efficient way to schedule messages, set reminders, and customize user journeys, enhancing engagement and user experience.
By utilizing date/time fields, businesses can optimize their messaging strategy, ensuring timely and relevant communication that boosts customer satisfaction and loyalty.
Last update