How to create a table in Webflow?
Here is how to create a table in webflow
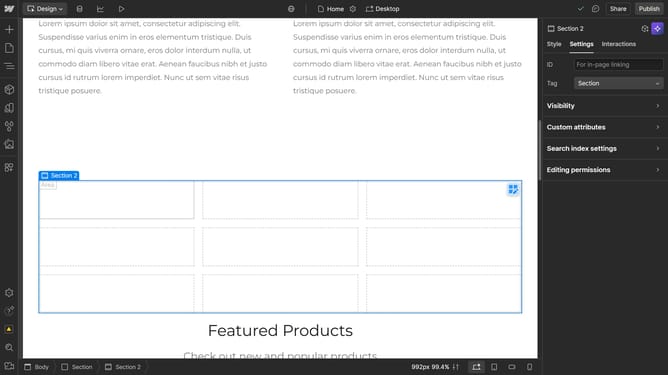
- Webflow doesn’t have a built-in table feature, but you can use Grid to create a table-like layout for your content
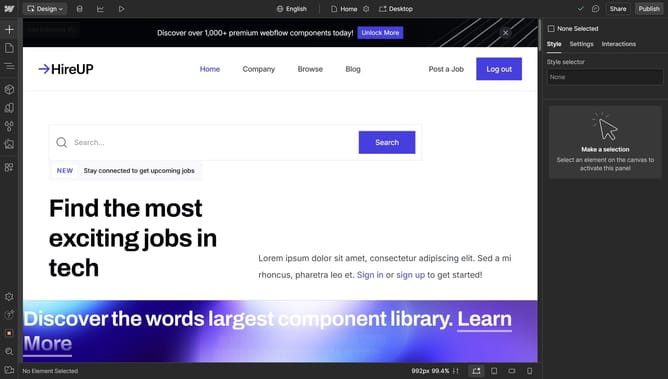
- Open the "Add Elements" panel in the left sidebar
- Next, scroll to the other section or search for "Grid," then drag it to your desired spot on the page
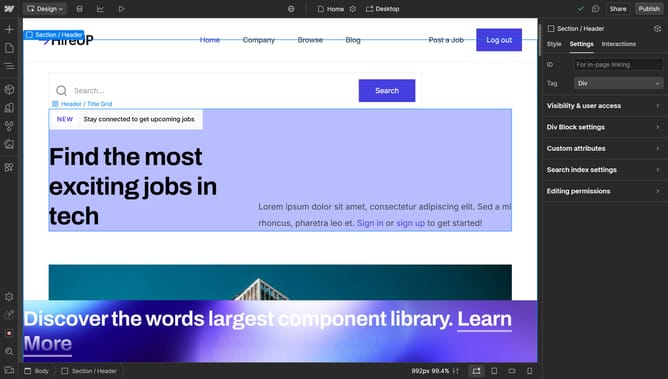
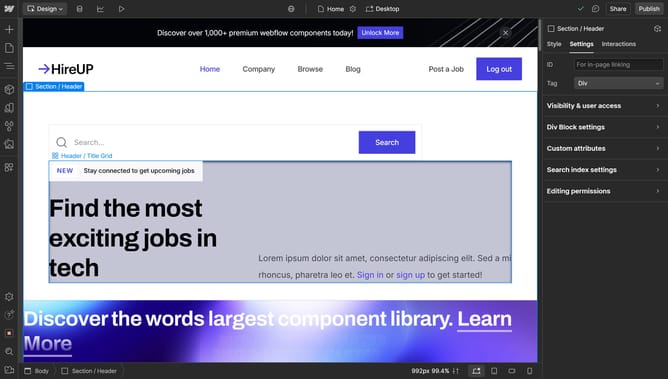
- Now you have your grid, and you can customize it using the options in the right sidebar
- For advanced editing, click the small "grid icon" to enter grid editing mode
- In Grid Editing Mode, click the "+" icon to add new rows and columns to your grid
- To adjust the column widths drag the edges or by clicking the column heading for further options
- When you're done editing, click "Done" at the bottom to exit the grid editor
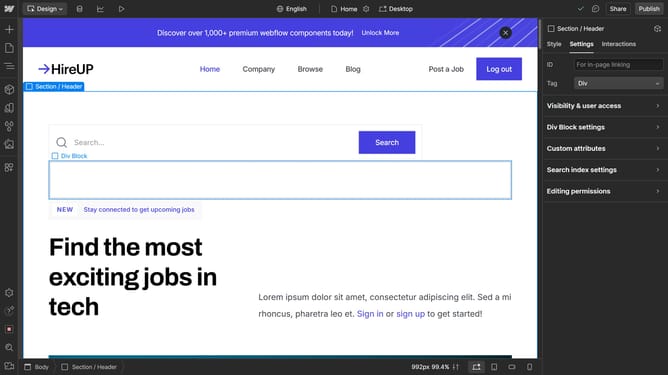
- While not required, adding a Div block to each cell helps with nesting content
- Next, go to your assets and drag an image into a grid cell
- Repeat the process for the other cells by adding text blocks or other elements
- Each cell’s content can be edited separately, without affecting the other cells
- You can adjust settings for individual cells, rows, columns, or the entire grid in the right sidebar
- Now you have a grid layout resembling a table, and you can customize it further like a traditional table
Why should you create a table in Webflow?
Webflow is a dynamic platform that bridges the gap between design, development, and marketing to streamline web design.
Creating a table in Webflow offers seamless organization and visual appeal for your content. With customizable styling, it allows you to align data beautifully with your design, ensuring consistency and accessibility. It's perfect for presenting complex information clearly, enhancing the user experience by making content easy to scan and understand.
Utilizing tables in Webflow not only enriches your site's functionality but also improves SEO by allowing search engines to index structured data effectively, ensuring your site is both user and search-engine friendly.
Last update