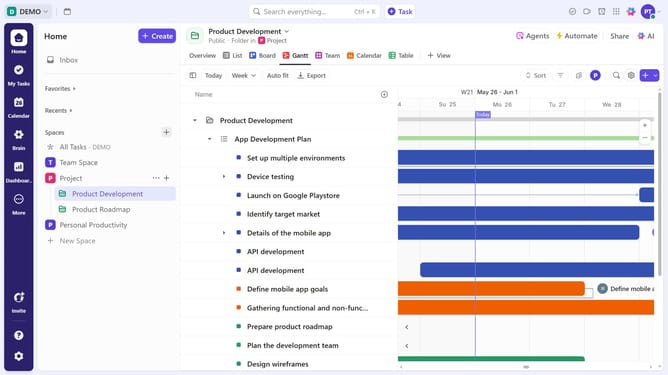
How to create a new dashboard in ClickUp
Here is how to create a new dashboard in clickup
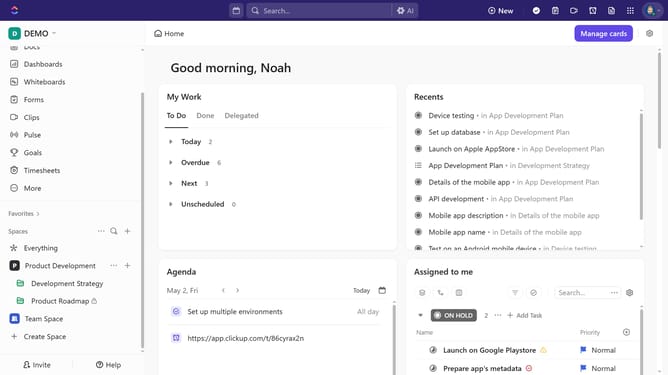
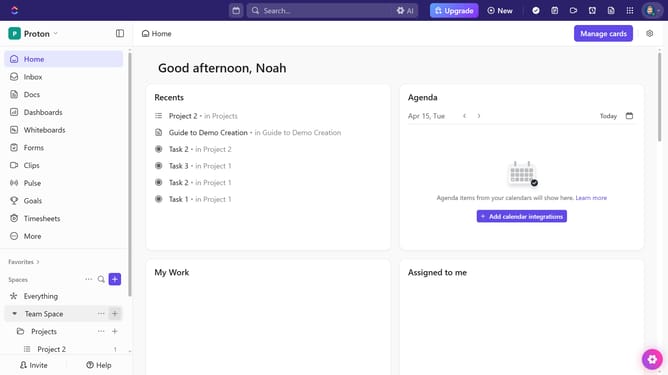
- First click on the "Dashboard" icon in the left sidebar menu
- Next in the Dashboards Hub, click on "New Dashboard" button in the top-right corner
- In the dashboard template selection, click on "Start from scratch" to build a fully custom dashboard
- Alternatively, select a template card for a ready-made layout
- Click on the "Data source" dropdown in the data source selection modal
- Choose a Space, Folder, or List from the dropdown to select the data source
- Then click the "Create Dashboard" button to create your new dashboard
- Next click on the dashboard name field to name it
- Finally enter a name for your dashboard and press "Enter"
- Your dashboard has been successfully created and you can now customize it and add cards as needed
Why should you create a new dashboard in ClickUp
ClickUp is a versatile platform designed to streamline project management for teams of all sizes.
Creating a new dashboard in ClickUp allows users to visualize data and metrics in a centralized location, enhancing oversight and decision-making capabilities.
This feature enables the customization of various widgets like charts, tasks, and goals, presenting critical information at a glance.
With dashboards, teams can effortlessly track progress and stay aligned, ultimately boosting productivity and achieving project goals efficiently.
Last update